views
On PC
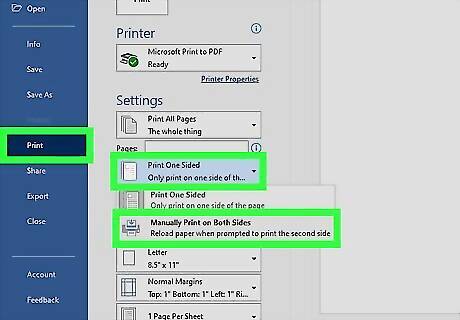
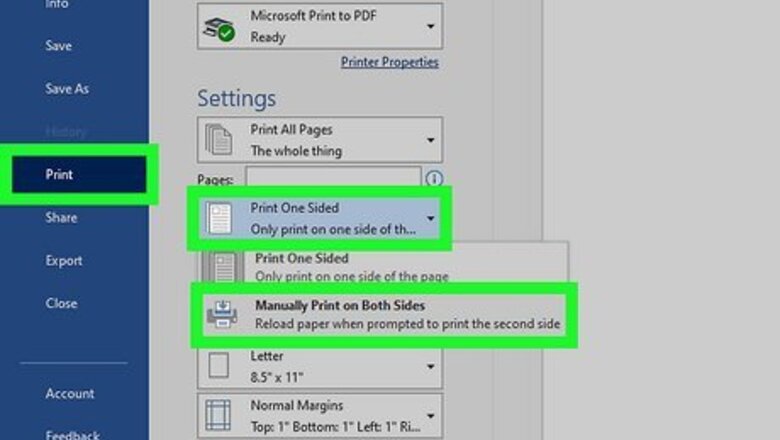
Figure out if your printer supports double-sided printing. If you're using Word, click the File tab, then click Print. From there, you can either click Print One Sided > Manually Print on Both Sides or Print on Both Sides. If you see Print on Both Sides, then your printer supports duplex printing automatically. Don't have Word? You can also check your printer's manual. If you have more than one printer connected to your computer, one printer may support duplex printing while another lets you reinsert pages for double-sided printing.
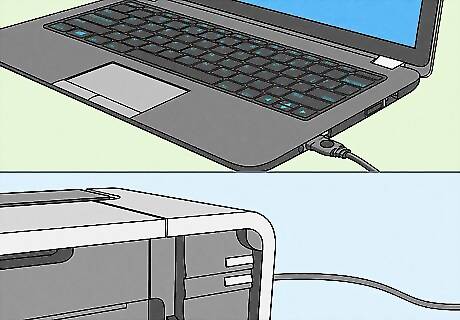
Make sure your computer is connected to your printer. You can see the name of the currently selected printer beneath the "Printer" heading near the top of the window. If necessary, first attach the printer's cable to a USB port on your computer. To change the currently selected printer, click its name and then select the printer you want from the drop-down menu.
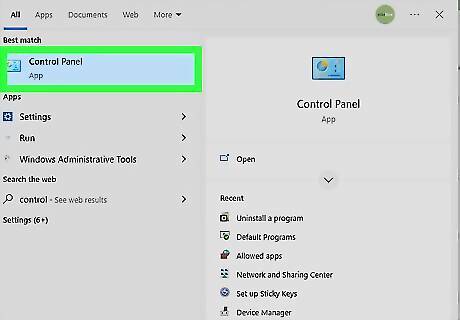
Go to Control Panel. In Windows 10 or 11, get here by pressing the Win key to open the Start menu and type "Control Panel." Click the app result from the list to open Control Panel.
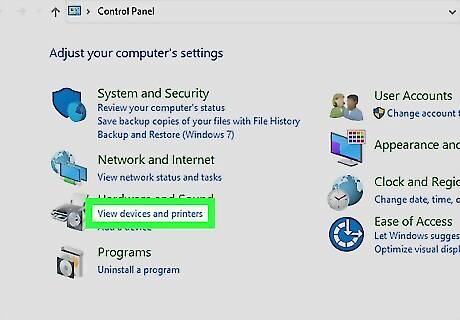
Click Devices and Printers. If you have the list sorted by category instead of icons, then you'll need to click View Devices and Printers instead.
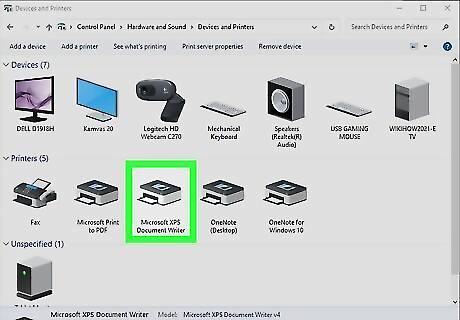
Right-click a printer. If your printer isn't appearing in the list, it isn't connected properly. A menu will appear next to your cursor when you right-click.
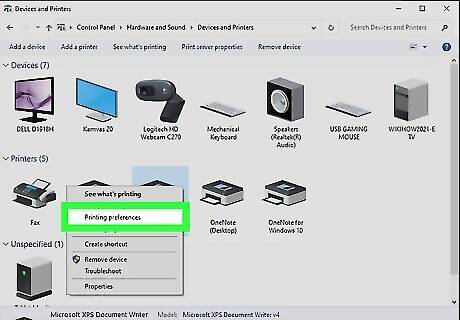
Click Printing Preferences. It's usually in the first grouping of options in the menu. You can also get to this preferences window by going to Settings > Devices > Printers & Scanners > Your Printer > Manage > Printing Preferences.
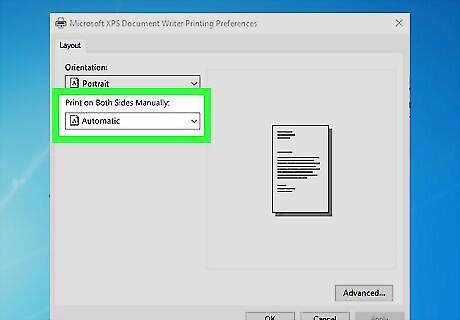
Click the drop-down next to "Print on Both Sides" and choose an automatic setting. The wording for this can vary depending on your printer's manufacturer, but you'll see automatic settings and an option for manual double-sided printing. You may need to click Advanced and go to Printer Features to find the double-sided printing option. Click Apply when you're finished to save your changes as default.
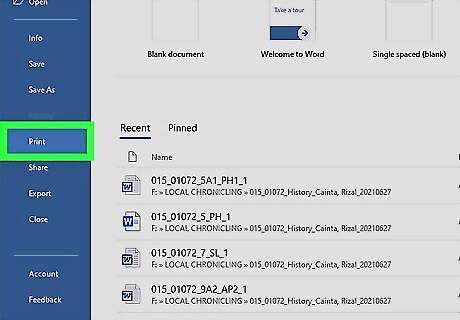
Open the Print dialog in the software you're using (Word, Acrobat). You can also press Ctrl + P to open the print dialog window. Select the option to print double-sided. You may need to click Properties first.
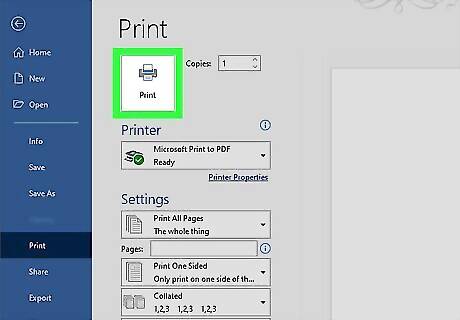
Click Print. The button is typically at the bottom of the window, though you'll find it at the top of the window in Microsoft Word. Clicking Print will prompt your printer to begin printing your document.
On Mac
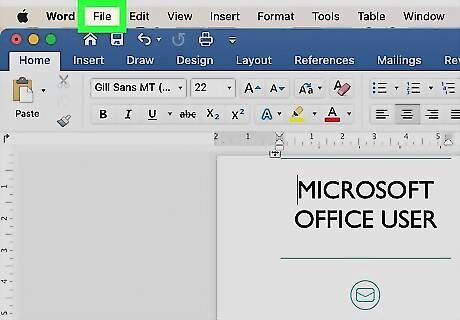
Click File in the software that you want to print. This menu item is on the top-left side of the menu bar that's at the top of the screen.
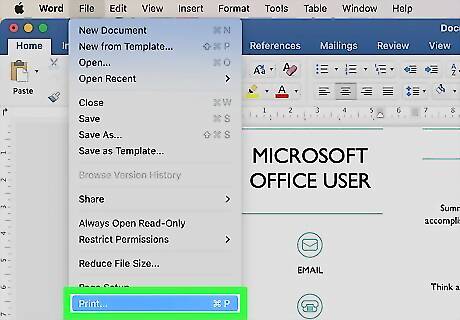
Click Print. It's an option in the File drop-down menu. Doing so will open the Print window. Alternatively, press Cmd + P.
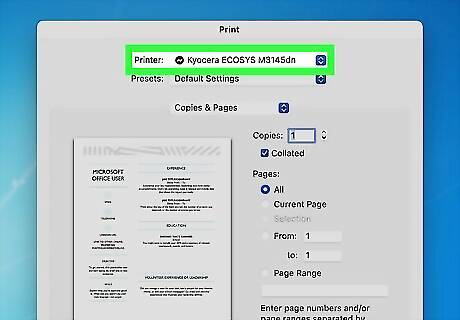
Make sure your Mac is connected to your printer. This can be an AirPrint printer you've connected wirelessly or a direct USB connection. You can see the name of the currently selected printer beneath the "Printer" heading near the top of the window. To change the currently selected printer, click its name and then select the printer you want from the drop-down menu.
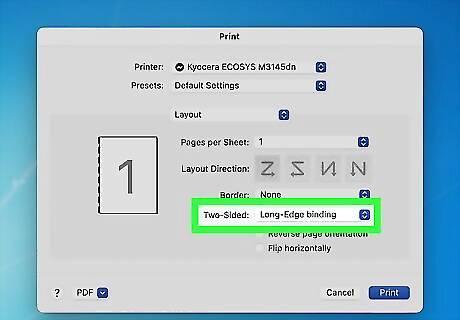
Check the box next to "Two-Sided" to print on both sides of the page. Since every app and the printer dialog is different, you might see something different. In that case, you may need to click Copies & Pages > Layout if you don't see the option for two-sided printing. If you're using Word, clicking the box next to "Two-Sided" will prompt a drop-down menu. In most cases, you'll select Long-Edge Binding from the drop-down menu. If you don't see a double-sided printing option, then your printer does not support automatic duplex printing, so you'll need to do it manually.
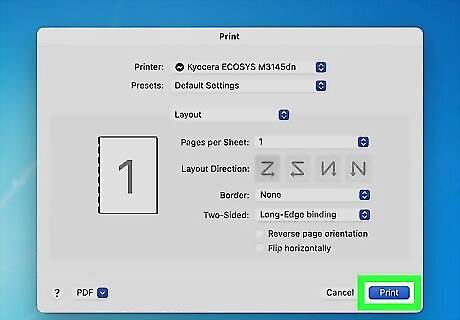
Click Print. It's at the bottom of the window. Your document will begin printing in double-sided format.
Printing Double-Sided Manually
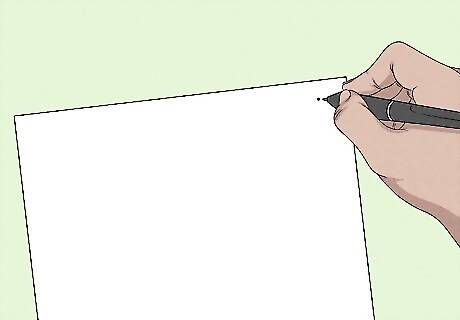
Make a small pencil mark on the top of the printer's paper. It should be on the face-up side of the paper, near the short edge that faces the printer.
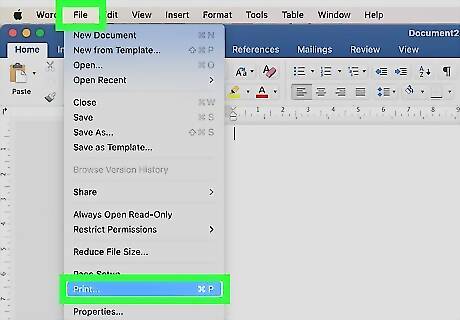
Click File, then click Print. You'll generally find the File option in the top-left corner of the screen, and Print is an item in the resulting drop-down menu. Doing this will open the Print window. If you haven't yet opened the item you wish to print, you'll first need to do so. You can also press ⌘ Command+P (Mac) or Ctrl+P (PC) to open the Print window.
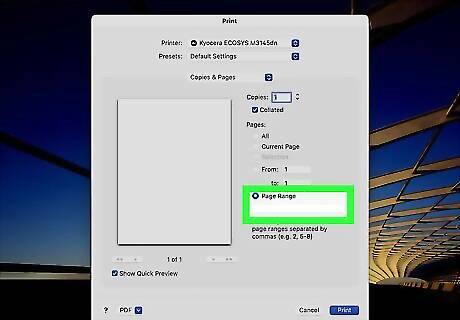
Locate the "Page Range" section. This section will allow you to select which pages you wish to print. You may have to click a "Pages" circle to select the Page Range option before continuing.
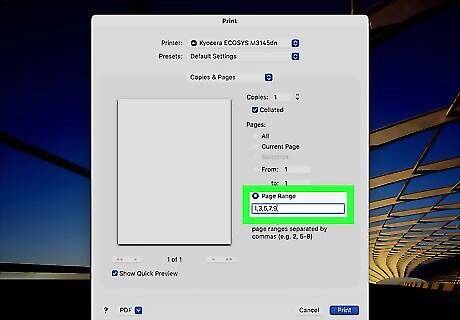
Type in odd or even numbers. These will dictate which of your document's pages are printed during the first round of printing. For example: if your document has ten pages, you will type either 1, 3, 5, 7, 9 or 2, 4, 6, 8, 10.
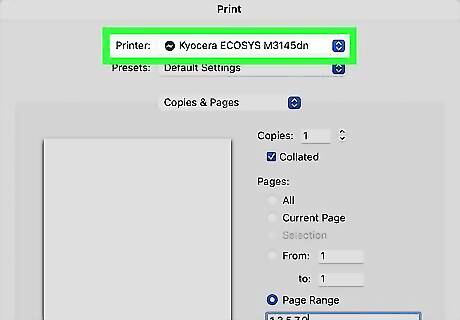
Make sure your printer is connected. You can see the name of the currently selected printer beneath the "Printer" heading near the top of the window. To change the currently selected printer, click its name and then select the printer you want from the drop-down menu.
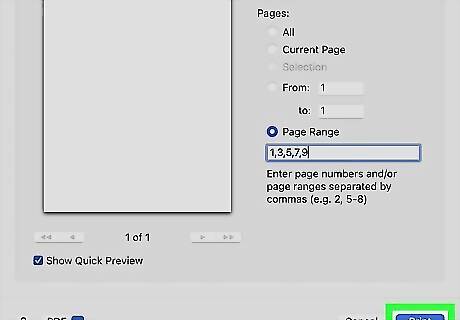
Click Print. This will prompt your document to begin printing only the even- or odd-numbered pages from your print job.
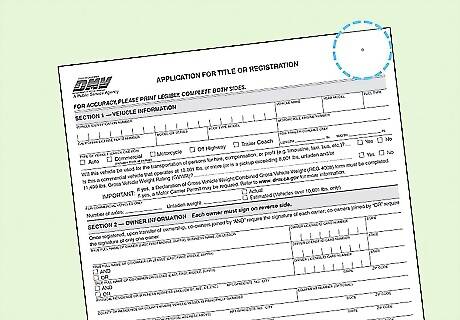
Look for the pencil mark to determine which side was printed. This will determine which way you re-insert your paper: Print and pencil mark face-down - Place the print side face-down with the top of the sheet of paper facing the printer. Print and pencil mark on opposite sides - Place the print side face-up with the top of the sheet of paper facing the printer.
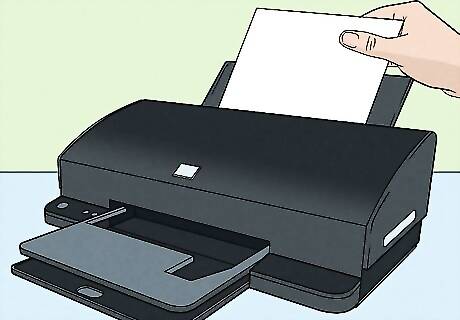
Place the printed pages back in the printer. Do so in accordance with the penciled mark.
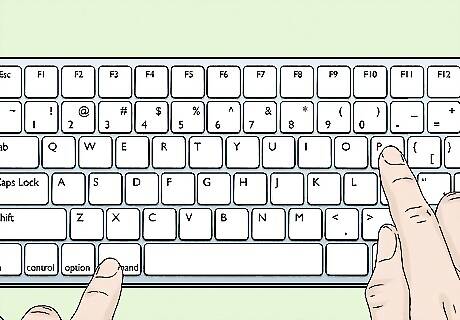
Re-open the Print window. The fastest way to do so is to press ⌘ Command+P (Mac) or Ctrl+P (Windows).
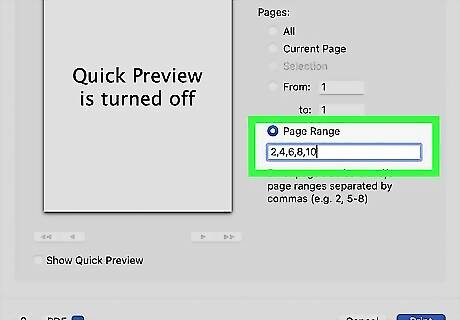
Type in a different page range. If you typed even numbers for your page range last time, for example, you'll type odd numbers this time.
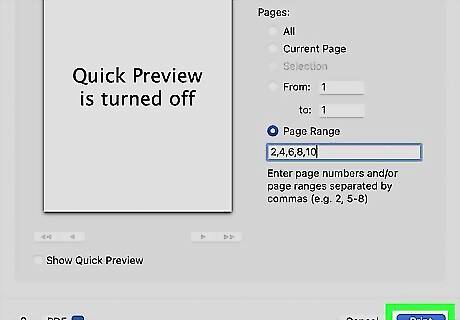
Click Print. As long as your pages are arranged correctly, this should print the un-printed pages on the backs of your currently printed ones.





Comments
0 comment