views
Try foam rollers for no-heat curls.
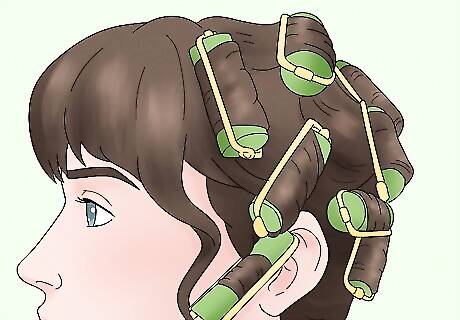
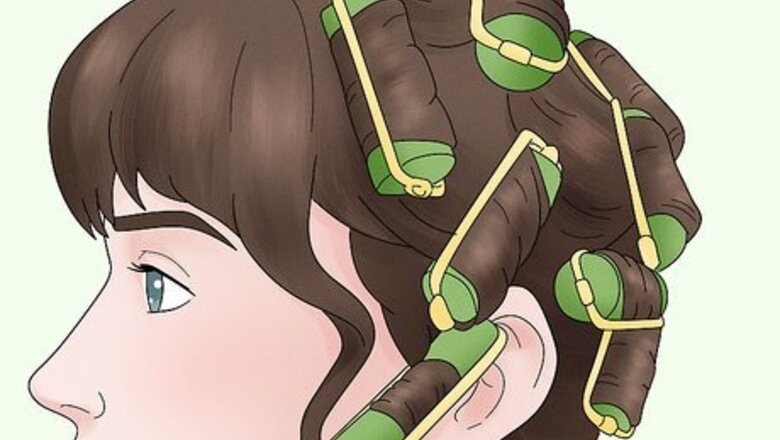
Foam rollers can transform straight hair into ringlets overnight. Start by dividing your hair into 4 equal sections: front, back, and sides. Clip the sides and back sections out of the way and grab a 1–2 in (2.5–5.1 cm) section of damp, clean hair at your front hair line. Place the roller at the ends of your hair, loop the hair around the roller, and roll upward until you reach your scalp. Snap the roller's attachment piece in place, move to the the next section of hair, and repeat. Once you finish the front, do the sides and back. Wrap a scarf around your head and let your hair air-dry overnight. For tight spiral curls, loop your hair around the rollers vertically. For soft, loose curls, place the rollers horizontally. Foam rollers come in different sizes. For tight, bouncy curls, use ⁄4–⁄2 in (0.64–1.27 cm) rollers. If your set has assorted sizes, that's awesome! Use the smallest rollers around your face and bigger ones for the back/sides. Sectioning makes your hair easier to work with and helps curls lay naturally once you remove the rollers.
Wrap damp hair around a headband.
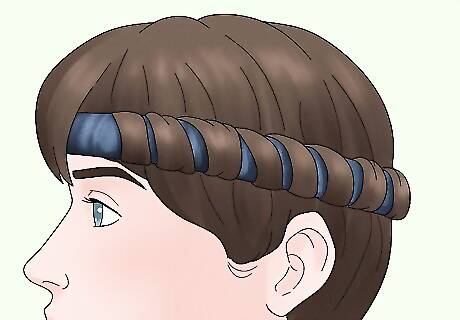
Use a stretchy cloth headband for this technique. Slip the headband over your head, pull the front part up over your face, and position it just beyond your front hairline. Tuck the sides of the headband behind your ears. Then, starting in the front, take a 1–2 in (2.5–5.1 cm) section of damp hair and loop it up and around the headband multiple times until you get to the ends. Tuck the loose ends under the headband, move to the next section of hair, and repeat the process. When you're done, let your hair air-dry before unwinding it and separate the curls with your fingers. This technique creates loose ringlets rather than tight curls. It works on all hair types, including straight hair!
Braid damp hair before you go to sleep.
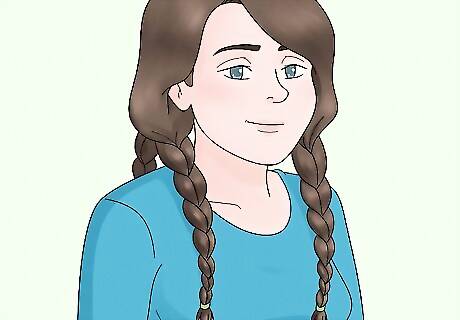
The tighter you make your braids, the tighter your curls will be. Divide damp hair into 4 sections (front, back, and sides), apply curl cream from root to tip, and braid each section down to the ends as you normally would. If the braids won’t stay in place on their own, loosely secure the ends with a hair elastic. When you wake up in the morning, unravel your braids and style your curls! If you want tight curls that start closer to your scalp, use French braids instead. Apply a little curl cream to define your curls as you're styling them.
Give sock curls a try.
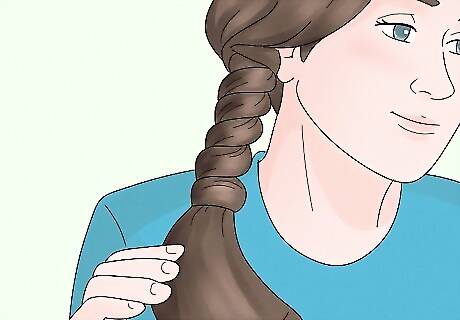
You'll need 6-8 clean socks for this technique. Comb through clean, damp hair and divide it into 6-8 even sections, clipping all of them out of the way except 1. Hold a sock vertically next to the first section of hair so their lengths are lined up. Wind the hair around the middle of the sock in a vertical spiral until it's completely wrapped. Then, tie the ends of the sock together against your scalp to hold everything in place. Do the same thing for the remaining sections. When your hair is dry, untie/unroll the socks and finger-comb your bouncy curls. The tighter you roll your hair around the sock, the tighter your ringlets will be. If you need to speed this up, use a blow dryer to dry each section of hair.
Twist damp hair and let it air-dry.
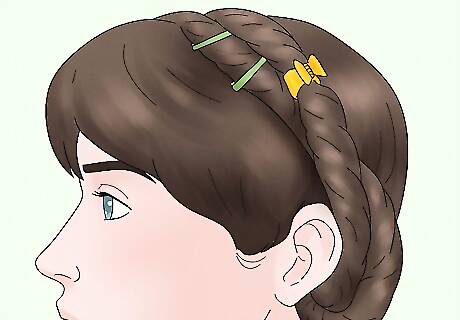
Twisting is a super easy way to get bouncy, heat-free curls. Comb out damp hair, apply curling cream from root to tip, and divide it into 2 equal sections (or more for tighter curls). Spray sea salt spray on the first section of hair and start twisting it away from your face. When you get to the ends, pull the twist up and clip it against the crown of your head. Then, twist the ends sticking out of the clip and bobby pin them to your scalp. Do the same for the remaining sections and let your hair air-dry. The tighter the twists, the tighter the curls.
Try the T-shirt halo technique.
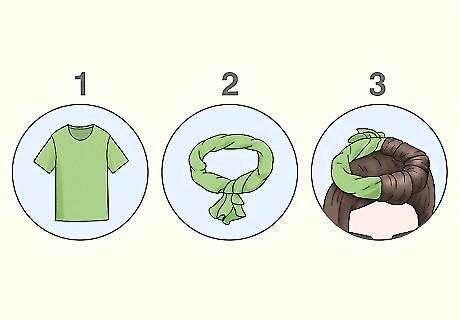
This technique works for all hair types including straight hair! Grab an old T-shirt, twist it until it looks like a rope, and tie the ends together with a hair elastic. Place the "halo" on your head like a crown. Starting in the front, grab a 1–2 in (2.5–5.1 cm) section of clean, damp hair and loop it up and around the T-shirt multiple times until you get to the ends. Tuck the loose ends under the T-shirt and continue the process for the rest of your hair. When your hair is completely dry, unwind it and separate your curls with your fingers. For tight spirals, use 1 in (2.5 cm) sections of hair. For big, loose ringlets, go for 2 in (5.1 cm) or larger.
Pin curl damp hair and let it air-dry.
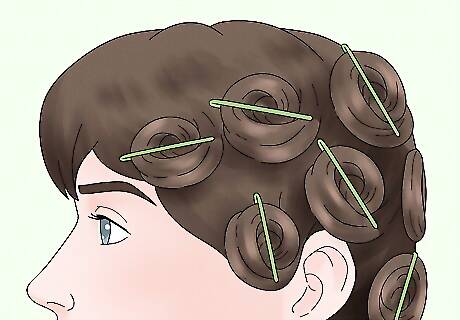
Pin curling is a classic way to get vintage-style curls. Start with clean, damp hair. Comb through your hair to remove any tangles and, starting in the front, gather a 2 in (5.1 cm) section. Wrap the ends around your index and middle fingers to get the loop started, then roll the loop all the way to your scalp. Pin the loop in place against your scalp. Then, grab the next 2 in (5.1 cm) section of hair and repeat. Once you've pinned all of your hair, let it air-dry completely before you remove the pins. This works for any hair type, including straight hair. It's also a great option if you have shorter hair!
Use a diffuser to create tight curls fast.
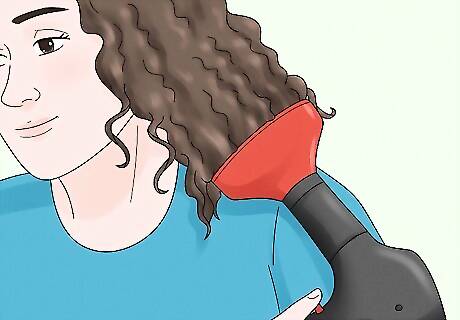
Start with clean, damp hair. Flip your head over and scrunch some curl-enhancing styling gel into the lengths. Then, cup the ends of your hair in the diffuser and push the diffuser up to your roots. Hold it there about 5 seconds, release, and scrunch your hair a few times with your hand. Continue diffusing using the same technique until your hair is dry. Diffusing is one of the best ways to get springy ringlets in minutes, especially if you already have some natural wave to your hair. You could also try hovering the diffuser over your curls for 5 to 10 minutes. Then, cradle the curls into the diffuser cup in up and down motion until the hair is dry. Stick with your blow dryer’s lowest heat setting to prevent damage. If you want, you could also apply some heat protector. This technique should encourage the curls and maintain the look. That said, using a diffuser the wrong way can encourage frizz.




Comments
0 comment