
views
- Use a master key to program additional keys by inserting the original into the ignition. Hold the lock button and wait for a blinking red light for a successful pairing.
- To reprogram a key fob, turn on the ignition, press the lock button on the remote, and turn off the ignition. Repeat this process quickly when pairing multiple fobs.
- Replace your car key’s battery by replacing the button cell battery with a brand-new one. Press any button for a response.
Programming a Second or Third Key
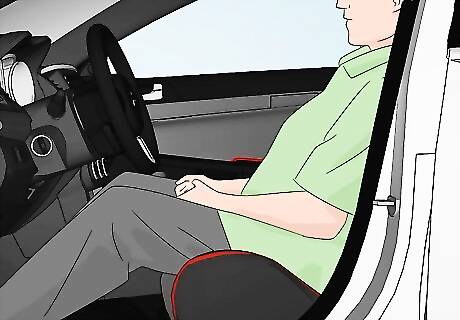
Sit in the driver’s seat to access the ignition switch. Before you begin, you’ll need at least one master (original) key to program a second. If you’re programming a third key, you’ll need two keys. Consult your owner’s manual for additional steps required by the manufacturer. If you do not have the original car key, contact your local auto locksmith or dealership with proof of ownership so you can get a replacement key. Search your car’s make and model online. You can find the exact steps needed to program keys for your car. Many newer cars have improved transponders in electronic keys. These have to be programmed by a dealer or auto locksmith for your car’s unique anti-theft system.
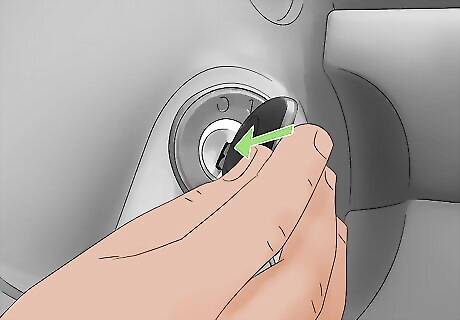
Insert a programmed key into the ignition. Put the master key in the slot and leave it alone momentarily. Place the additional keys that need to be programmed where you can easily reach them. You’ll need to move fast to activate the car’s programming mode. If you’re programming two additional keys, make sure you know which key is the master and which is the second or third key.
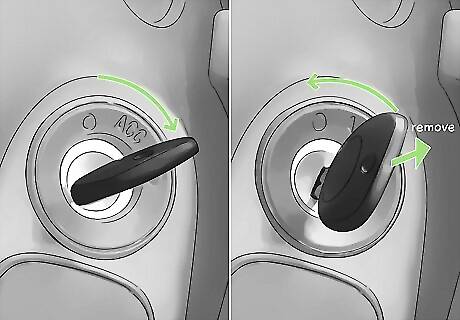
Turn the car on and off. Turn the master key in the ignition to activate the car’s electrical system. Don’t start the motor. When power is activated, shut the car off immediately and remove the key from the ignition.
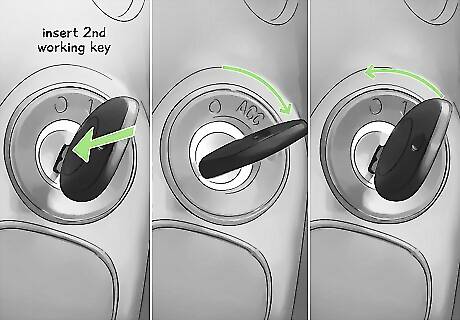
Turn the car on and off with the second working key. You have about five seconds to remove the master key. Take the second key and put it in the ignition to program it. Again, turn the second key so the car comes on without starting the engine. Turn the key back so the car shuts off.

Insert and turn the third key, optional. If you are programming a third key, you’ll have ten seconds to replace the second key with the third. Quickly turn the third key once again to the on position. A second later, turn it back to the off position. Leave the key in the ignition.
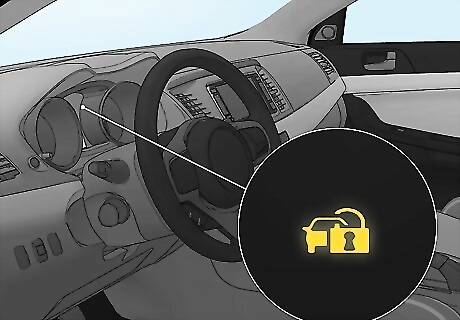
Wait for the security light to turn on. Look on your dashboard for the car’s security light. It should stay lit for about three seconds. You may need to press the buttons on the key you wish to program. When finished, remove the key and test it out. If this doesn’t work, try the process again. It’s easy to miss a step or take a second too long. However, after several attempts, refer to your local auto locksmith or dealership for further assistance.
Programming a Key without the Original
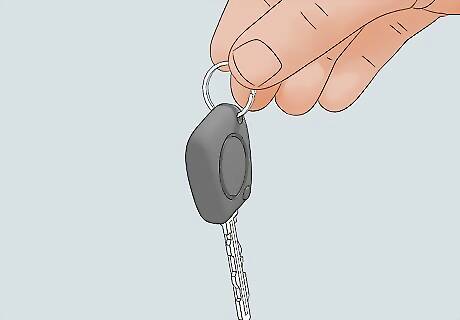
Order a replacement key from your auto locksmith. If you’ve misplaced or lost your original car key, you must contact your local auto locksmith or dealership with proof of vehicle ownership to order or make a new replacement key. This includes your vehicle’s registration, title, or purchase paperwork. Traditional car keys can be made by your local locksmith, whereas technologically advanced keys like switchblades, transponders, or smart keys may only be replaced through your dealership. Traditional keys may cost up to $10, depending on the make and model of your car. Fobs, transponders, switchblades, and smart keys can vary between $50 to $500.
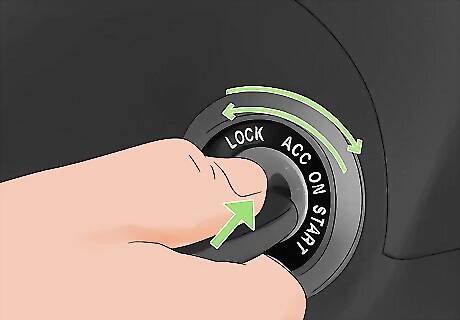
Insert your replacement key and turn the ignition on. To program a replacement or single key, insert the key and turn the car on without powering the engine. Lock your doors from the inside. Then, hold the lock button on your key (with it still powering the car) and wait for a blinking red light. Your vehicle's key is reprogrammed when you see a blinking red light. Now, safely remove the key from the ignition.
Programming a Key Fob
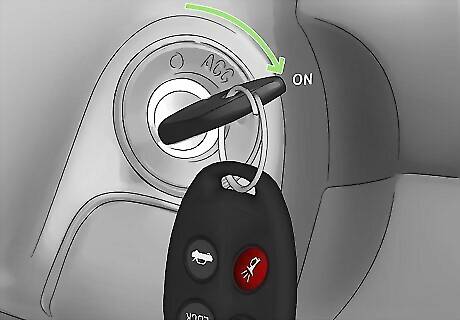
Turn the ignition on. Sit in the driver’s seat with the ignition key and the key fob, also called a keyless entry remote. Close all doors. Place the key in the ignition and turn it to the on position. Don’t start the engine. Consult your owner’s manual or online for specific steps for your vehicle. Different manufacturers require slightly different steps to complete the reprogramming process.
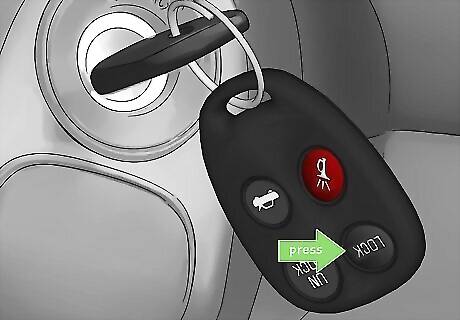
Press the lock button on your remote. Aim the remote at the transmission receiver, typically in front of the car, like the dashboard or above the rearview mirror. Aim the key forward. Hit the lock button within a couple of seconds of turning the key.
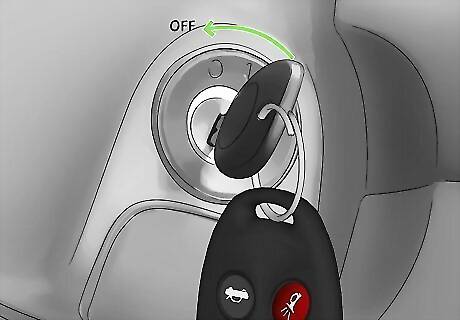
Turn the ignition off. Immediately reach for the key in the ignition. Shut the car off. Continue to move quickly. You only have a few seconds before the car’s system resets the commands.
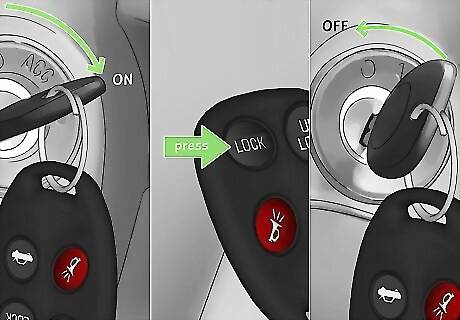
Repeat programming with other remotes. Many cars desync all remotes when you attempt to program a new one. Start at the beginning. Turn on the ignition, press the lock button on the next remote, and turn off the ignition. Reprogram each key right after the last one. If you wait over a few seconds, the car exits programming mode. You’ll have to start over if you wish to program all the remotes. For some cars, you’ll have to repeat the cycle several times to enter programming mode. You may hear the locks click, telling you that this was successful.
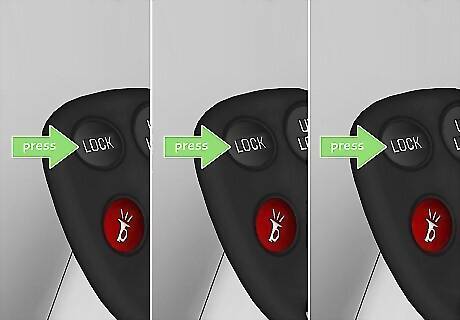
Press the lock buttons on all remotes. Start with the first remote and press it again to make sure it is programmed. If it's successful, the locks should sound. Quickly move to the next remote. Repeat the process for each remote you wish to program. Afterward, you can turn off the ignition and test your remotes.
Programming Fob on a Push-Starter
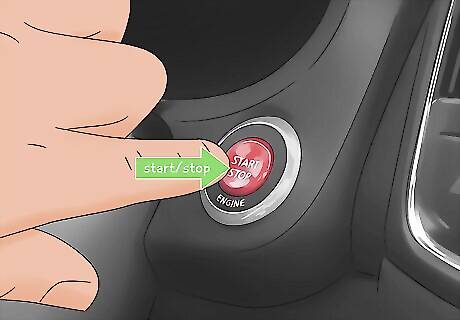
Power your vehicle on and immediately shut it off. After entering your vehicle, quickly shut the doors and press the push-to-start button twice. All of the dashboard lights will power on. Immediately press the push-to-start button one more time to power the vehicle down. Some vehicles, like Nissan, have a fob compartment inside the car near the driver’s door jam or under an armrest. Once you locate it, you should be able to find a small button that says “program.” Press this button instead of the ignition.
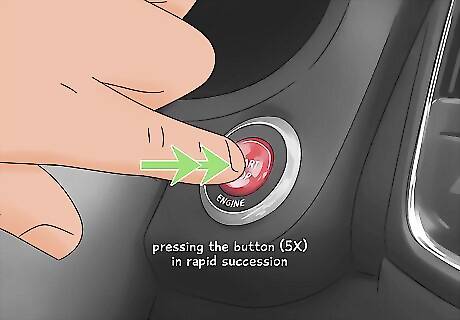
Press the push-to-start five times to enter programming mode. Switch between the on and off position five times by pressing the button in rapid succession. For Nissans, press and hold any button from your fob’s keychain until the door locks flash. Once you see this, release the programming button. When paired successfully, you should see a steady light on the fob. If not, try again by pressing the program button and holding down any button from your remote for three seconds.
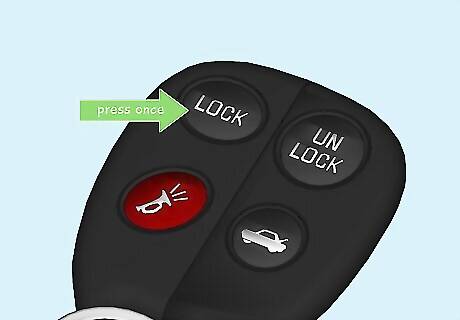
Click the lock button on the remote once. To program one key, grab your fob and press the lock button once until you hear a single click from your headlights. Wait a few more seconds; another two clicks should sound. This means your remote was programmed successfully.
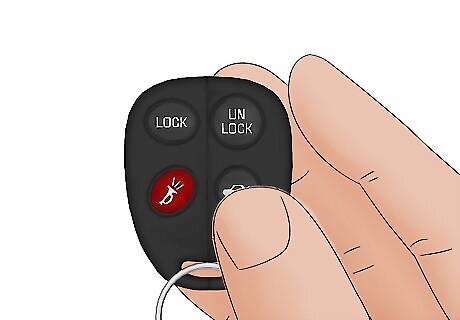
Test the remote by pressing any command. If you programmed your remote correctly, the fob should respond to any command you tell it. Try locking or unlocking your vehicle’s doors. If this doesn’t work, start from the beginning again. For further assistance, contact your local auto locksmith or dealership.
Replacing the Fob Battery
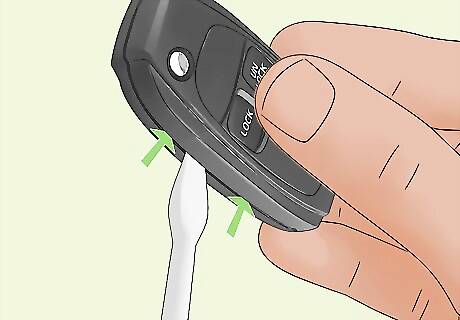
Use a screwdriver to pop open the remote. Depending on your remote or fob, a notch may or may not be visible. In this case, use a flathead screwdriver or a similar tool to wedge the remote open. You should be able to open it down the middle, revealing a round, flat battery inside. If your remote has small screws, find an appropriate size screwdriver to unscrew them to remove the battery without causing any damage to the remote.
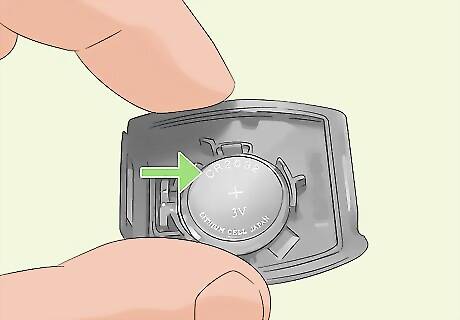
Identify the battery type by its marking. As with any battery, the type will be printed or engraved into its design. Be sure to purchase a brand-new battery of the same kind. CR2032, CR2450, CR2025, CR1616, and CR2016 are the most commonly used button cell batteries for car keys.
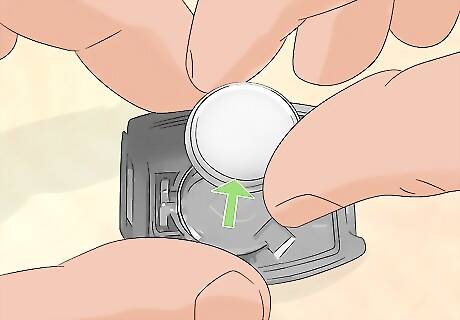
Remove the old battery with your finger. You should be able to easily pop the battery out with the tip of your fingers. If you’re having difficulty, use a toothpick or something similar to wiggle the battery out. Pop the new battery in its place.
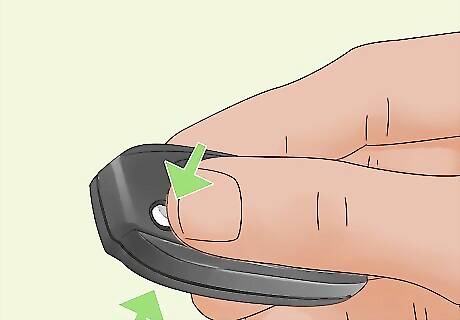
Snap the remote closed. Close up the remote or fob by snapping or screwing it back into place once the new battery is in place. Now, you can press any command on your key and receive a response. If it’s still not responding, you can try reprogramming it by following the earlier steps. If nothing happens, refer to your local auto locksmith or dealership.
Replacing Keys
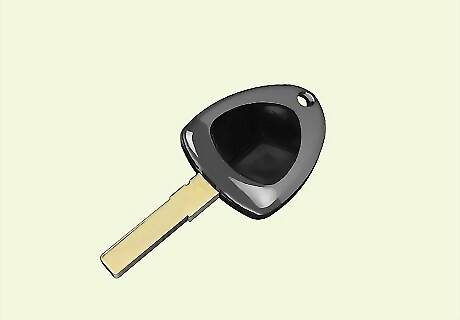
Get a blank key online for your vehicle’s make and model. Blank keys can be ordered online for as little as $5, though the prices may vary depending on the make and model of your vehicle. You can’t, for example, take a remote for your old car and program it to your new car, even if they are the same make and model. For newer cars, programming a new key may be more difficult. You may have to visit a dealer or an auto locksmith.

Call an auto locksmith or dealer. Electronic keys all have transponder chips. Some of these will let you unlock the car but won’t let you start the car. You’ll have to call a certified car manufacturer dealer or an auto locksmith. Either can help if you cannot program your key. These professionals will use your car’s vehicle identification number (VIN) number to make sure you get the right key. The VIN number can be found on most official documentation, including the vehicle title, registration, and insurance card. You may also find it by looking through the windshield onto the right side of the dashboard.
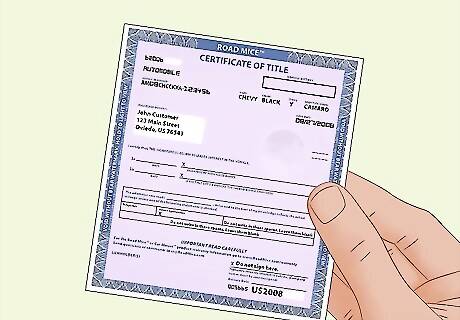
Bring ownership information to the locksmith. By law, you must show your license and registration when ordering an official key. This prevents someone from taking your car and getting a new key. You may also find a code card in your owner’s manual. Bring this along to make key creation easier.


Comments
0 comment