views
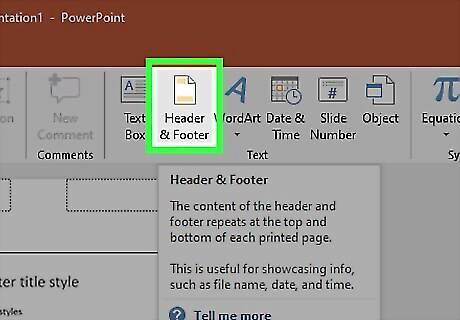
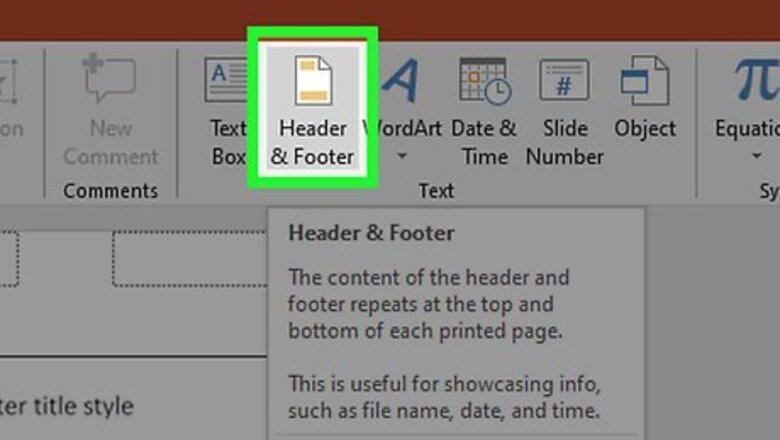
Click the Insert tab and select Header & Footer. If you want the header to appear in your presentation, click the Slide tab. Alternatively, click the Notes and Handouts tab to add a header (and footer, if you'd like) for printing only.
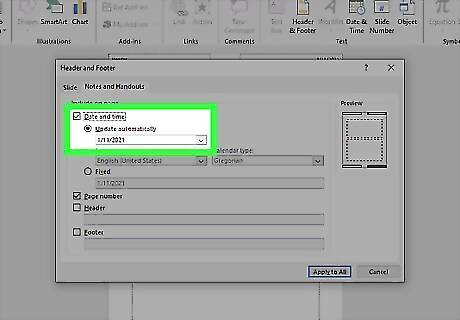
Check the “Date and Time” box and choose a time setting. Choose Update automatically and Fixed as a display type. If you choose Fixed, type the date into the blank.
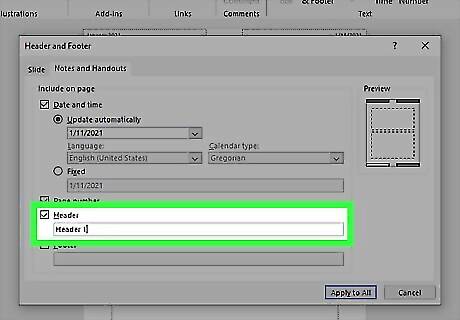
Check the “Header” box and type your text. Note that you cannot add headers to Slides and can only use this option if you're in the Notes and Handouts tab. If you want to create a header for your slideshow, go to View > Master and then create an image or text box on the Master so it'll show up on each slide.
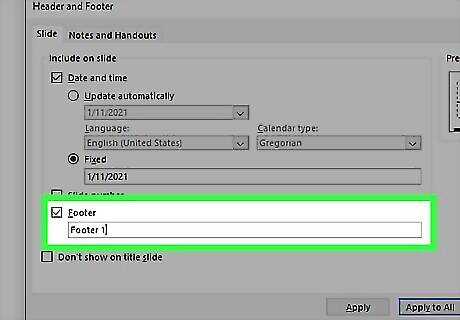
Check the "Footer” box and add footer text (optional). The footer is the text that appears at the bottom. If you want to standardize a bit of text other than the date, type your desired text into the box. The text you type here will appear on every slide. Check the box next to "Page Number" if you want each slide numbered in the footer.
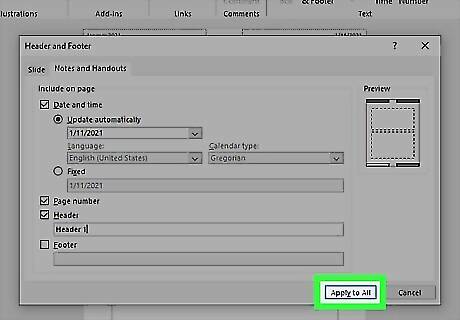
Click Apply to All to save your changes. This will add your header (and footer, if you added one) to every slide. You can return at any time to modify your header settings. You can also adjust the Header location. If you want to move the header to another place on the page, hold your mouse cursor over one of the lines surrounding it until a 4-way arrow cursor appears. Hold the mouse button down and drag the header to another location. Moving the header to another location on the Notes Master will not move it on the Handout Page—you’ll have to switch to the Handout Master on the Views tab if you want to reposition the header in that style of printout. Footers can also be moved this way. Edit your Headers and Footers simply by clicking inside their box. Changing the text, font style, or shape will apply changes to every slide.





Comments
0 comment