views
- If you rent a router from a ISP, you may have to use an app to access your router settings and change your Wi-Fi name.
- If you own the router instead of rent it, go through the router's settings in a web browser to change your Wi-Fi's name.
- If you don't know your router's address, you can easily find it on Windows or Mac.
Changing the Wi-Fi Name on the Web
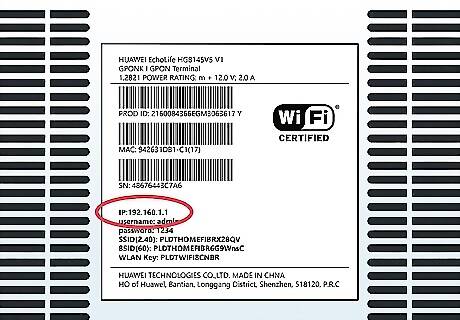
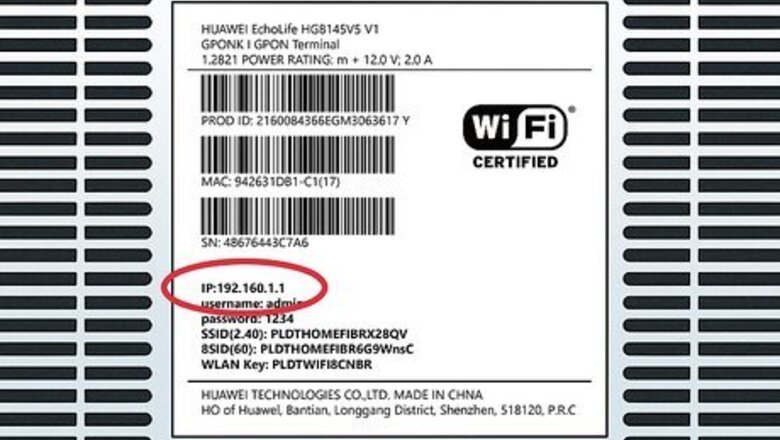
Get the IP address of your router. If you're not sure of your router's IP address, you can easily look it up using Windows or macOS. You might also find it listed on your router, but here are a few common ones: "192.168.0.1", "192.168.1.1", "192.168.2.1", "10.0.0.1", "10.0.1.1". Changing the name of your Wi-Fi also means that any devices that are currently connected will no longer have the correct credentials for your network, so they will all be kicked off.
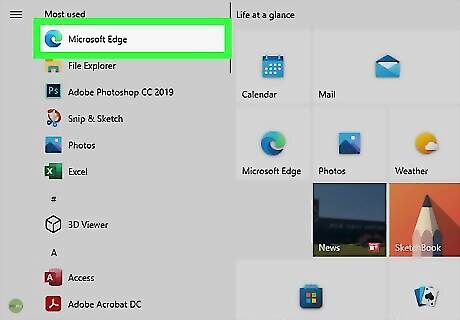
Open a web browser. Default web browsers for Windows and Mac computers are Microsoft Edge and Safari, respectively, but you can use any web browser for this step. You can also change the name of your phone's hotspot in your phone's Settings app.
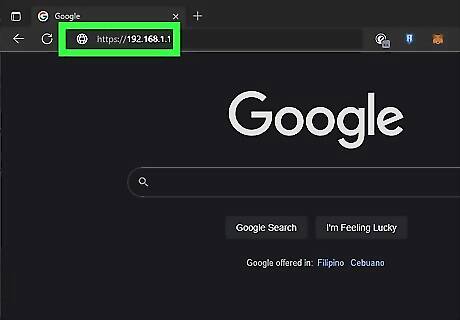
Enter your router's address. Type into the address bar the address number you found in the last method, then press ↵ Enter. Doing so will take you to your router's Settings page. For some specialized routers, such as Google WiFi routers, you'll be prompted to download an app onto your smartphone and proceed using the phone app to configure your network.
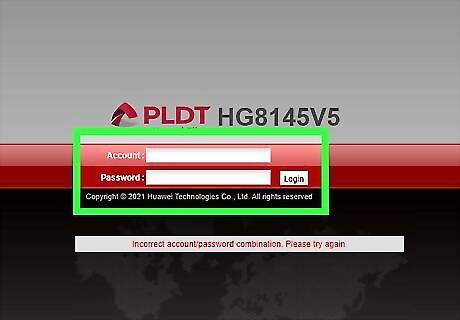
Enter the password for your router if prompted. If you set a specific password for the settings page when you installed the router, you'll need to enter it to continue. The default information including your username and password should be on the router's casing.
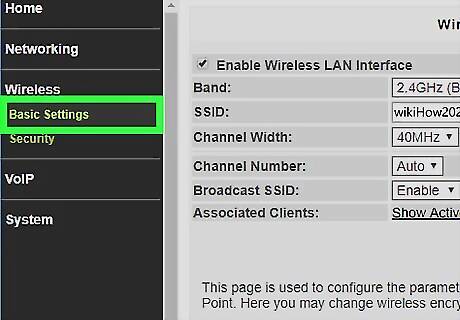
Select your router's current name. Since each router's Settings page is different, this step will vary. Typically, you can either click the router's name or click a Settings option to go to the general section of your router's settings.
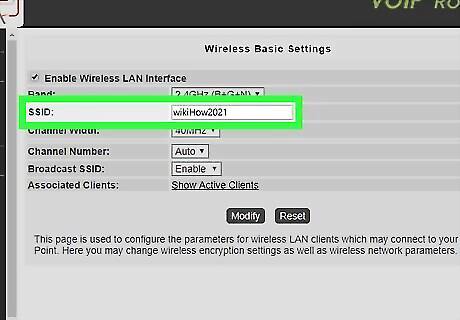
Look for the SSID field. It may also be labeled "Network Name", "Wireless Network Name", "Router Name", or something similar. There will likely be a name already in the SSID field (e.g., "Belkin.be") that correlates with your network's current name.
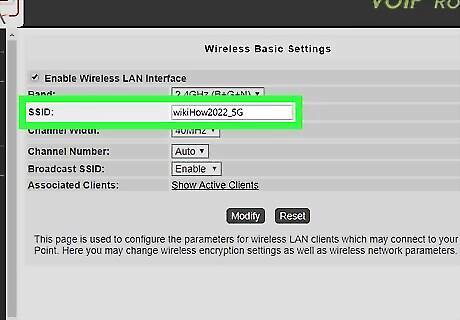
Enter a new name for your wireless network. This should be the name you want to see while selecting your network from your computer's Wi-Fi menu. Common names are bad and can lead to hackers getting into your network easier than non-common Wi-Fi names. A common name, like DoeHome, can invite hackers to use common passwords to crack that locked network (using, for example, the Does' pet's name or the street they are on). Creative and funny Wi-Fi names, like FBI Surveillance Van #3, Hey_You_Get_Off_My_Lan, are more difficult for hackers to access.
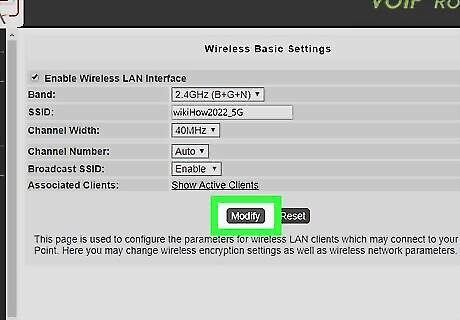
Save your new network name. Click Apply, Save Settings, Save, or whatever your configuration screen uses to finalize the process. This will save your new network name. In some cases, you may have to click an image of a floppy disc or a checkmark. Changing your router's settings will often cause the router to reboot and you'll need to reconnect every device that was previously connected. For even more security, you can make your Wi-Fi network invisible.
Resetting Your Router
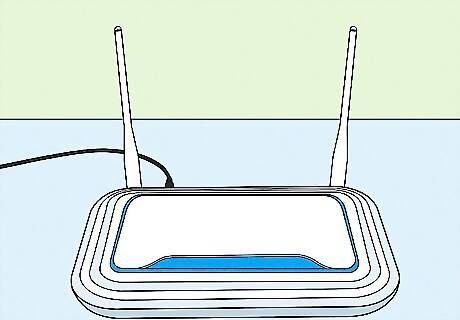
Understand when to use this method. If your router's page doesn't allow you to change your network's name or your network name changes aren't saving, you can reset the router to its factory settings and then assign a new name to the network when first signing into it. Since resetting the router also disconnects any currently connected items, this should be a last resort. Resetting your router will change the network's name back to the name (or "SSID") printed on the back or bottom of the router. If you reset your router, you'll need to reconnect manually every Internet-connected item in your home to the router.
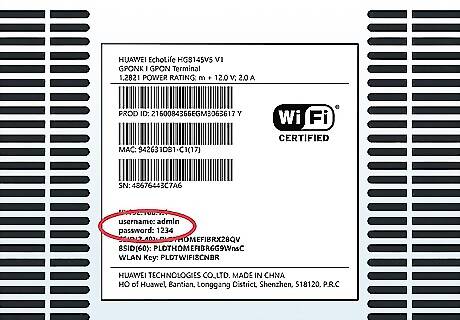
Make sure that the router has a password sticker. If you've had your router for a few years, the factory password sticker may have faded or been damaged. You'll usually find the password sticker on the back or bottom of the router. If you don't have the factory password, you won't be able to sign into the network with the necessary password after resetting your router.
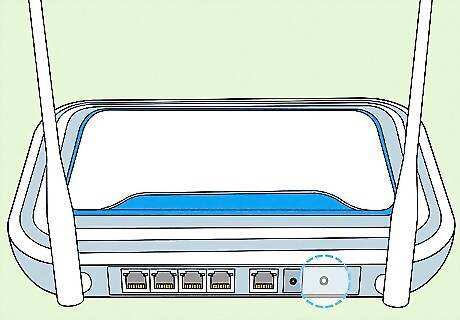
Find the router's "Reset" button. This is usually a small, recessed button on the back of the router.
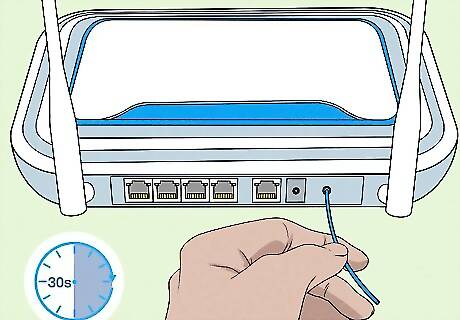
Press and hold the "Reset" button for 30 seconds. You may need to use a bent paperclip or a needle to do this.
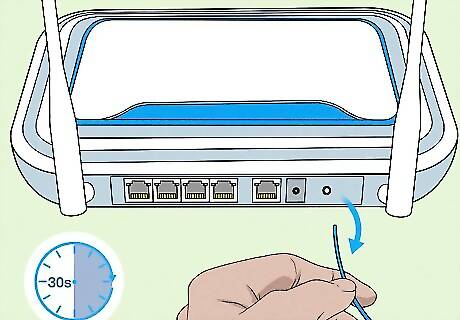
Release the button after 30 seconds. Your router should turn itself off and begin rebooting.
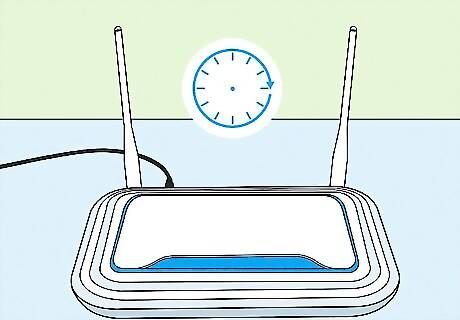
Allow the router to finish resetting. Once the router is on again, you can proceed.
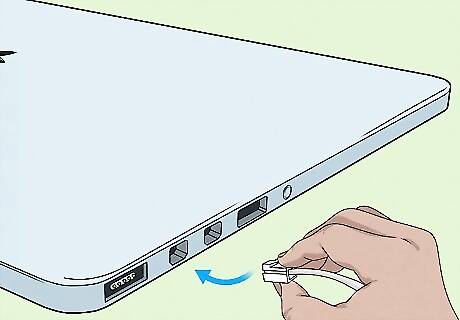
Connect to the router to a computer. In most cases, you'll be given the option of changing the router's name once you connect to it from your computer's Wi-Fi menu: Windows — Click the Wi-Fi icon in the lower-right corner of the screen, select your router's factory name, click Connect, enter the factory password, and click Next. You can then enter the network name you want to use when prompted. Mac — Click the Wi-Fi icon in the upper-right corner of the screen, select your router's factory name, enter the factory password, and click Join. You can then enter the network name you want to use when prompted.
Finding Your Router's Address on Windows
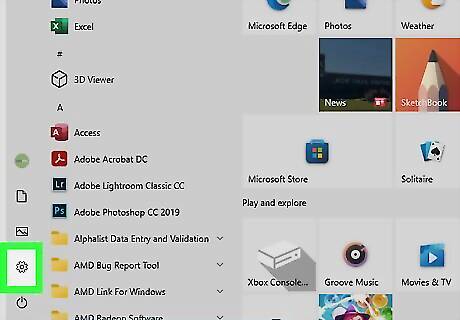
Open Settings Windows Settings. Click the gear-shaped icon in the lower-left side of the Start menu. To change your router's name, you'll need to connect to its IP address. This method will help you find the address you'll need to connect to.
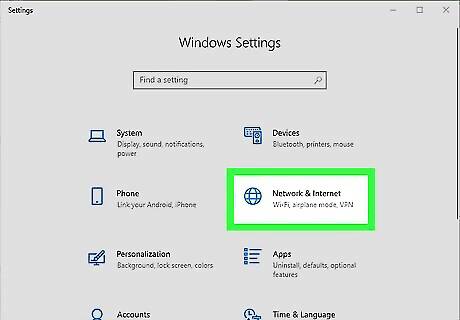
Click Windows Network Network & Internet. It's a globe-shaped icon in the Settings window.
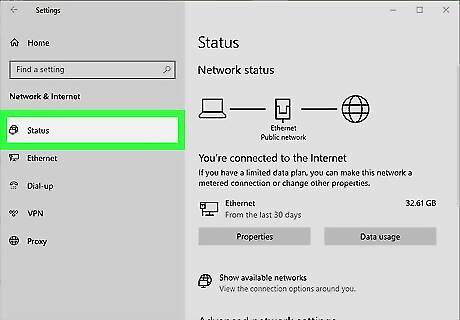
Click the Status tab. You'll find this in the upper-left side of the window.
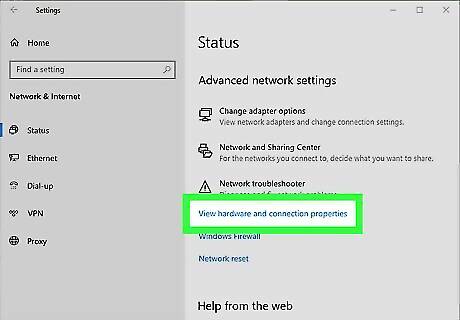
Click View your network properties. This link is near the bottom of the page. Doing so opens a list of the different Internet connection types currently available on your computer.
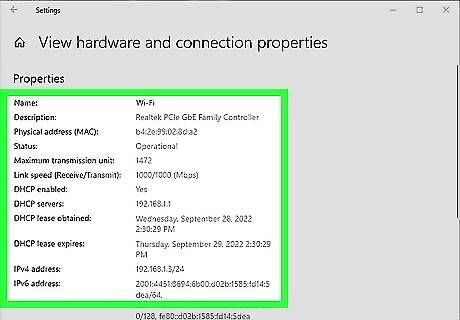
Scroll down to the "Wi-Fi" heading. It's near the bottom of the list.
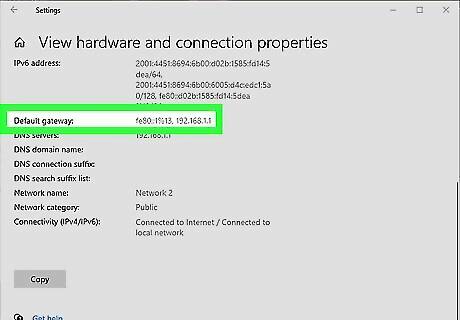
Review the "Default gateway" address. The number to the right of the "Default gateway" heading in the "Wi-Fi" list is the address you'll enter in your web browser to access your router's page. The address number will usually resemble something like "192.168.1.1" or "10.0.0.1".
Finding Your Router's Address on Mac
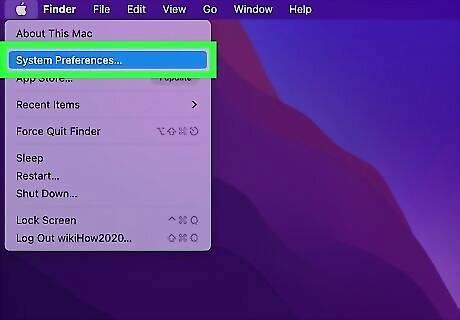
Open System Preferences… on your Mac. Click the Apple menu at the top-left and select System Preferences. To change your router's name, you'll need to connect to its IP address. This method will help you find the address you'll need to connect to.
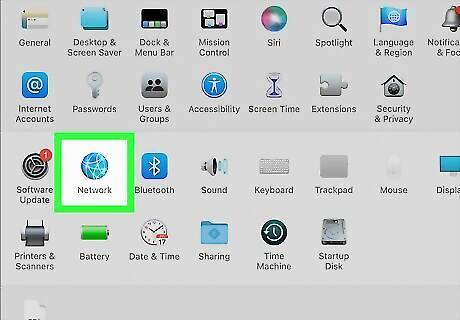
Click Network. This globe-shaped icon is in the System Preferences window. Clicking it opens a new window.
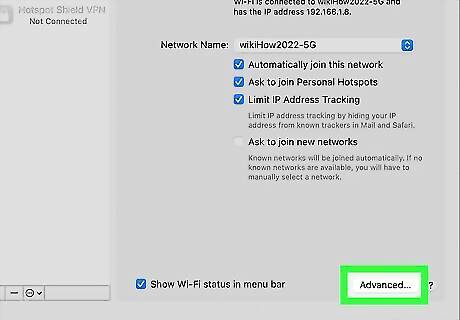
Click Advanced…. It's in the lower-right side of the Network window. A pop-up window will appear.
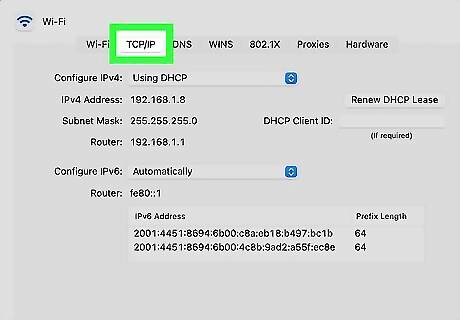
Click the TCP/IP tab. This is at the top of the pop-up window.
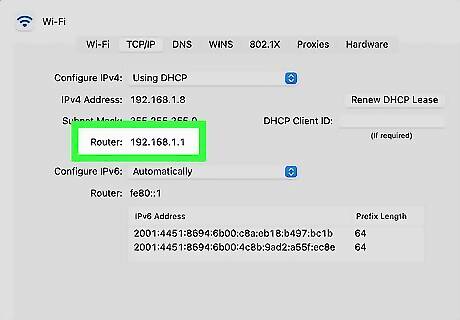
Find the "Router" address. You'll find this number to the right of the "Router" heading in the middle of the page. This is the number you'll enter into your web browser in order to access your router's page. The address will usually resemble something like "192.168.1.1" or "10.0.0.1".


Comments
0 comment