views
- View your photos on Android, iPhone, or iPad by opening the Google Photos app.
- You can also go to the Google Photos website and see your photos on your computer.
- Use Takeout to export and download all your backed-up photos in Google Photos.
Using the Mobile Google Photos App
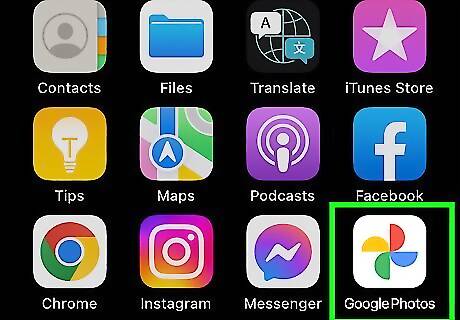
Open the Google Photos app on your iPhone, iPad, or Android. The Photos icon looks like a colored pinwheel with red, yellow, blue, and green arms. You can find it on your home screen, in an app folder, or on the Apps tray.
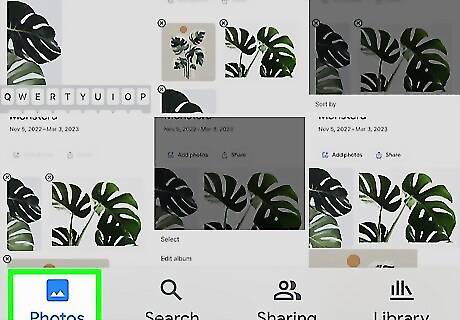
Tap the Android 7 Image Photos tab at the bottom. This button is on a navigation bar in the lower-left corner of your screen. You can find all your pictures here.
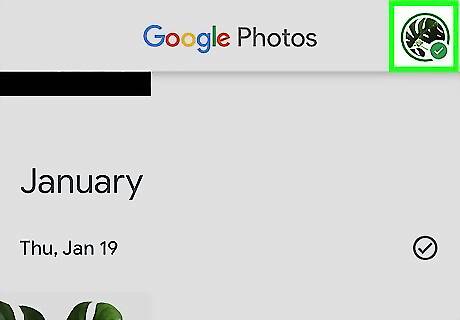
Check the backup message at the top. You can see at the top if your photos are backed up, currently uploading or waiting to back up. Your photos may be backed up automatically depending on the settings you have enabled. If you're not sure how to enable backups in Google Photos, make sure to check out this article for iOS and this article for Android.
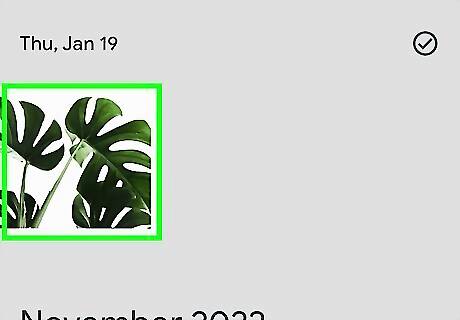
Tap the picture you want to download. You can tap any picture, and open it in full-screen.
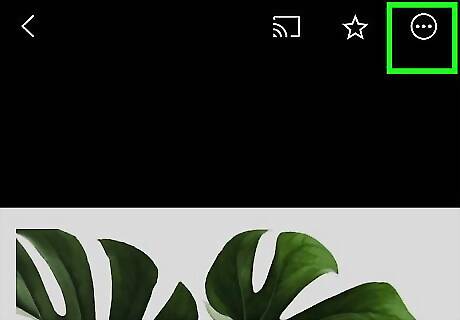
Tap the three-dot icon on the top-right. This will open your options on a drop-down menu.
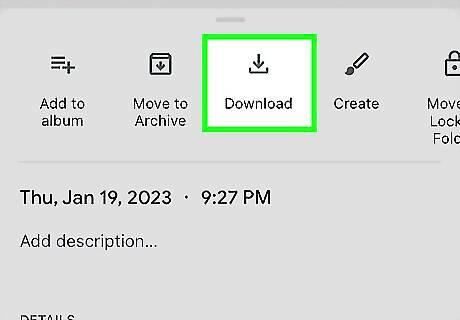
Tap Save to device on the menu. This will instantly download a full-size copy of the selected picture to your phone or tablet's local storage. Your backup will not be deleted from the cloud when you download a picture. If you don’t want to use Google Takeout or Google Photos, you can always use the iCloud backup if you use Apple products.
Using Google Photos on a Computer
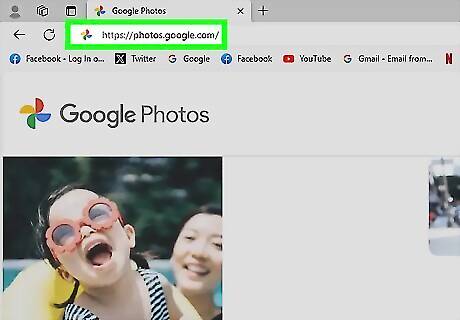
Go to https://photos.google.com/. You can use any web browser to see your photos within Google Photos. Sign in with your Google account if necessary.
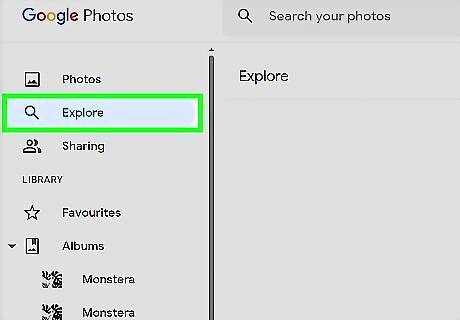
Browse through your photos. Use the menu options on the left side of the page to browse your backed-up photos in "Photos", or "Explore" by searching people, places, and time periods. In "Photos", scroll down using the timeline on the right side of the page to browse all your backed up photos by date. You can also use the search bar at the top of the page to narrow down the types of pictures you'd like to see. For example, enter "cats" to see only pictures of cats.
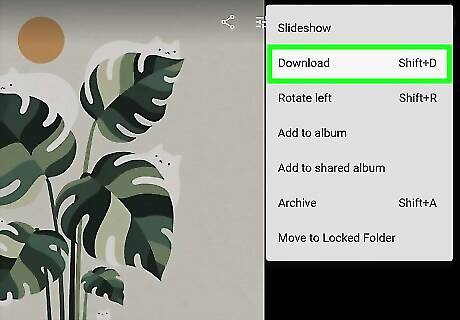
Click a photo to make it bigger. If you want to download the picture, click the three-dot menu icon in the top right corner and select Download.
Downloading with Google Takeout
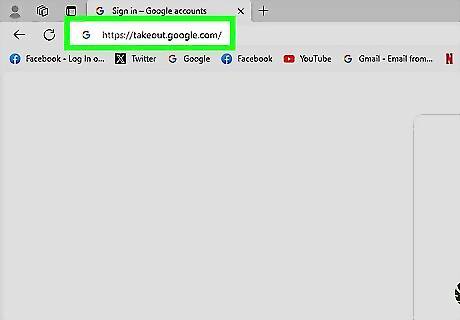
Open https://takeout.google.com/ in your internet browser. This page allows you to extract and download an archive of all your backed-up photos. You can use any desktop or mobile internet browser. Use this method if you want to download all your backed-up photos in Google Photos. You can also use the Google Photos website instead to make an export of all your photos. All you have to do is click the gear icon in the top right corner of Google Photos, then scroll down and click Export your data to expand it. Click Backup to prepare a file to export to your computer or another cloud storage service.
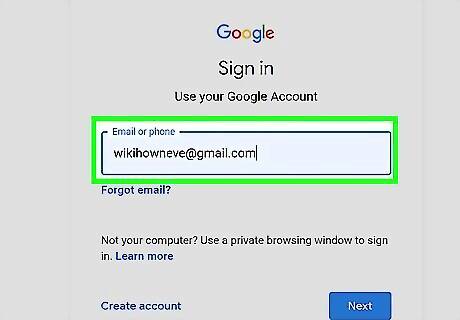
Sign in with your Google Photos account. Use your email address or phone number and your password, and sign in to the account your photo backups are saved.
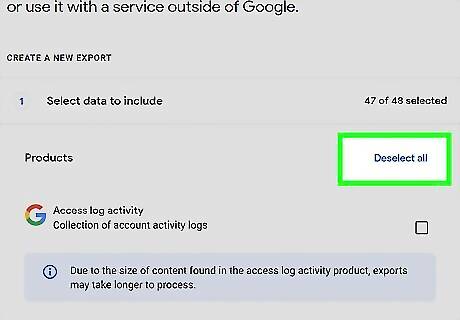
Click or tap Deselect all at the top of the "Products" list. This is a blue button in the upper-right corner of the data type list. It will deselect all the options.
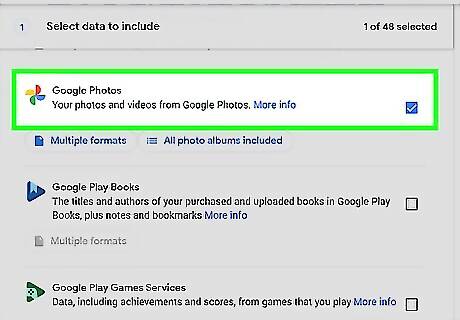
Click and check the Windows Unchecked box next to "Google Photos." Find the Google Photos option on the data list, and make sure the box next to it is checked.
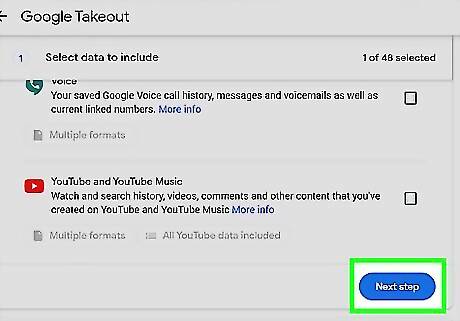
Click the Next step button at the bottom. This is a blue button at the bottom of the product list.
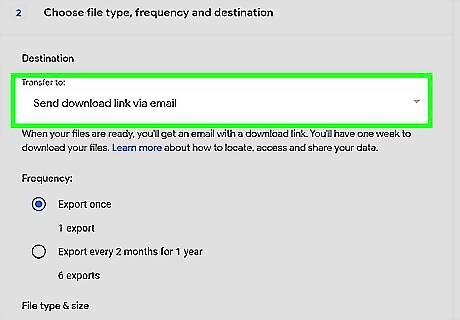
Select a delivery method for your photo archive. Click the drop-down menu under the "Delivery method" heading, and select how you want to receive your photos. You can get a link sent to your email address, and download it to your local storage. Alternatively, you can automatically get the pictures uploaded to Drive, Dropbox, OneDrive or Box Cloud. Optionally, you can play with some other settings here to schedule automatic archive downloads, change the compression file type to TGZ, or change the maximum file size for each archival package.
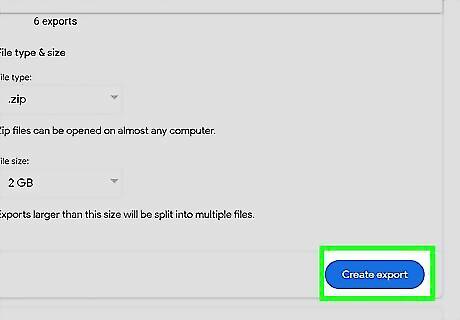
Click the Create export button. This is a blue button in the lower-right corner that changes according to the delivery method you choose. For example, if you have Add to OneDrive selected, you'll see "Link accounts and create export." This will create a compressed archive file of all your backed-up photos, and send your mailbox a direct link for download.
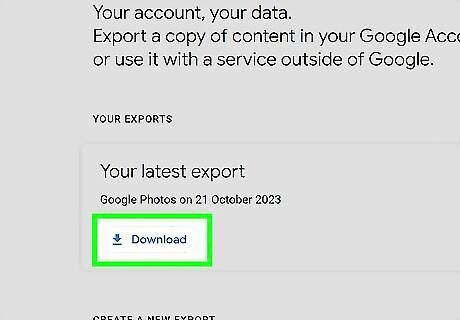
Click the Download button. When your archive is ready for download, it'll show up on your available archives list on this page. Click this button to download the package. This will download a ZIP file to your computer. If you're prompted, select a saving location. Alternatively, click the download link from your mailbox. You'll receive an automated email with a download link when your archive is ready.
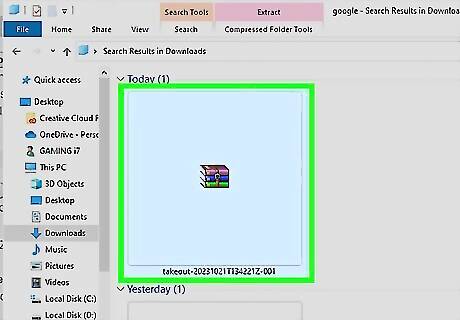
Open the downloaded ZIP file on your computer. You can find all your backed-up pictures and albums in the Google Photos folder here.



Comments
0 comment