views
Segmenting Your Hair
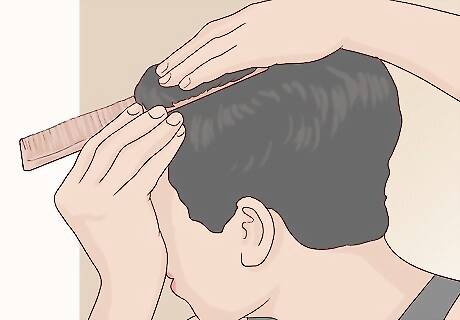
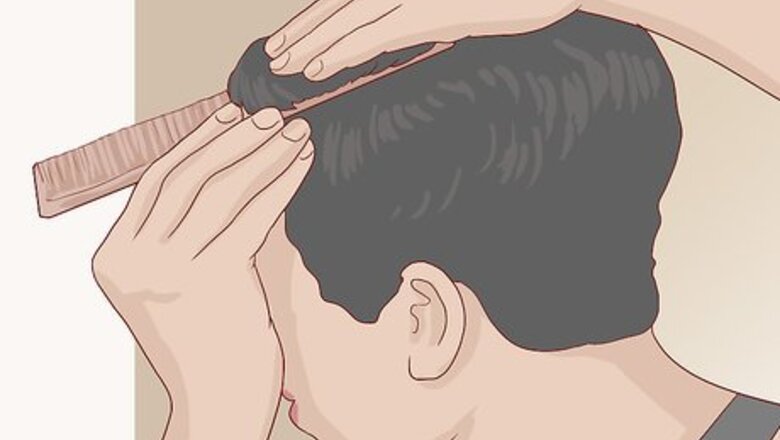
Start with a center part. To begin your sculpted curls, use a fine toothed comb to form a part down the center of your scalp. For best results, part your hair when it's dry. Strive to get your part as straight as possible, as your sculpted curls will look neater when centered around a straight part.
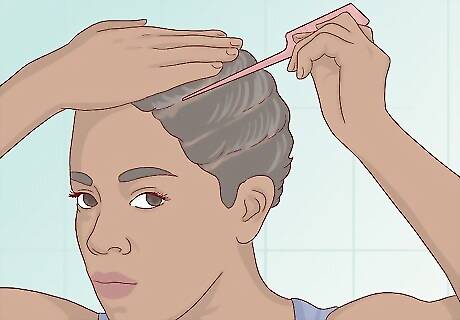
Create small horizontal parts. You want to create a series of horizontal lines running down either side of your head. You will sculpt curls within the sections created by these lines. To start, you should create one horizontal line about an inch up from your ear on one side of your head. It does not matter if you start on the left or right side. Use your comb the same way you would use it to create a part. Make a horizontal line running from the edge of your hair to the part at the center of your hairline. Use a hair clip to clip the hair on the top half of the hairline. This will keep it out of the way.
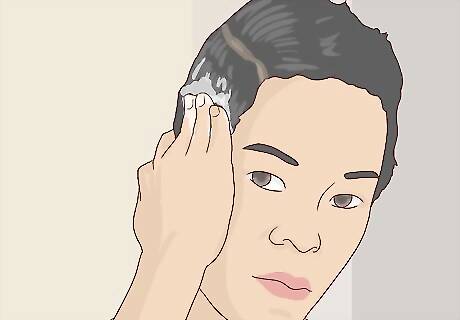
Add gel to the first section of hair. Apply a generous amount of sculpting gel (for thick or coarse hair) or foaming mousse (for fine or thin hair) to the hair that falls beneath the first horizontal line. You can use your fingers to work the gel or mousse into your hair.
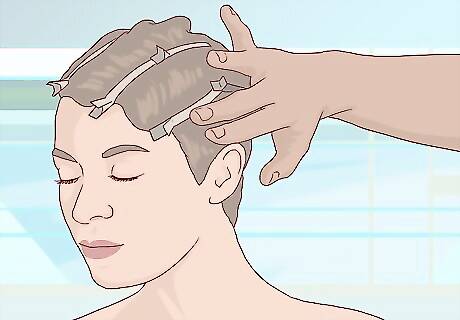
Repeat this pattern moving upward. Move your comb upward an inch away from the first line you made. Make another line and secure the hair above the line with hair clips to keep it out of the way. Then, add gel to the hair below the second line. Continue making horizontal lines and adding gel until you've reached your center part.
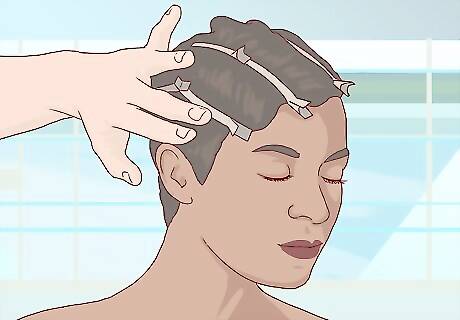
Repeat on the other side. Move to the opposite side of your head. Again, start with a line running about an inch up from your ear. Secure the hair above this line in hair clips and then apply gel using your fingers. Continue to make lines like this an inch apart until you reach your center part. When you're done, the hair on either side of your head should be separated into horizontal lines about an inch wide.
Sculpting Your Curls
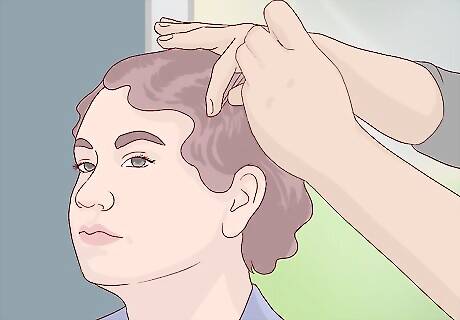
Create curl shapes with your fingers and comb. You can sculpt your curls into whatever shape you like using your fingers and a comb. Start creating curls at the top of your head. Press your finger down near your scalp, just next to the part line. Use your comb to curl a small segment of hair around your finger, creating a tight ringlet. Then, remove your finger. The gel should hold this ringlet in place.
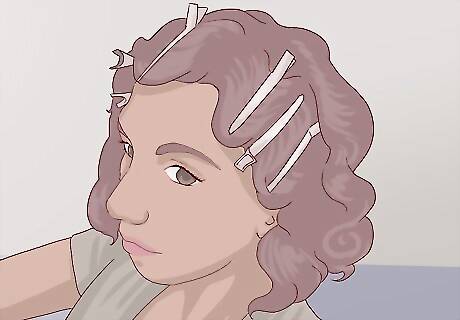
Work your way down and secure your hair with pins. While the gel should keep your ringlets more or less in place, you should further secure them with hair pins. This will allow the gel to set more. Keep creating ringlets in each section using your fingers and a fine toothed comb. When you're done, secure each section in place with pins.
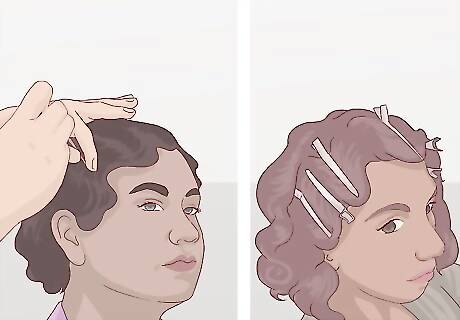
Repeat this pattern down both sides of your head. Keep moving upward, working your way towards the center part, sculpting curls in each section. Stop at the sections near the top of your ear, which were the first sections you created. You should not curl these sections for this look, as the ends of your hair are sensitive and prone to damage. Instead, tuck your hair inwards at the ends.
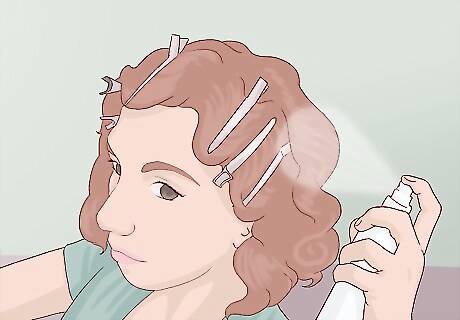
Set the look with hairspray. Once each section is curled and pinned, add hairspray. Apply a generous amount and hold the bottle close to your head while spraying. As you'll be applying hairspray at close range, it may be a good idea to wear goggles or something else to protect your eyes.
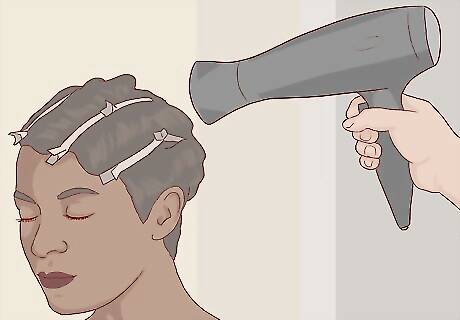
Blow dry your hair. After your hair is curled to your liking, use a blow dryer to dry it. Use the lowest setting, as you should always be gentle when drying hair. Slowly blow dry your hair until the gel has hardened. While you can use a normal blow dryer, sitting under a hooded hair dryer will reduce frizz.
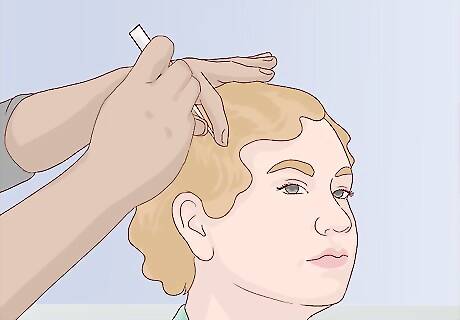
Remove the pins. You can now take the pins out of your hair. If the gel has hardened, the look should be set. It should hold well throughout the day as long as you do not engage in too many vigorous activities. You may want to add hairspray on occasion.
Avoiding Common Mistakes
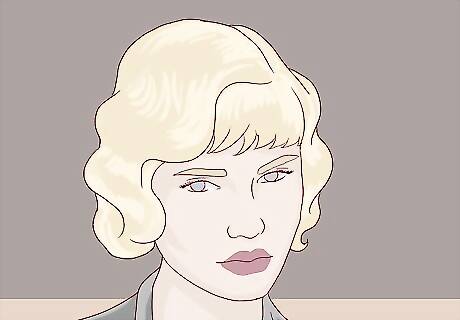
Leave your bangs alone. If you have bangs, do not attempt to flatten them with gel or push them apart with your side part. It's okay to simply let your bangs hang. It can be complicated to curl bangs as they're so short, and parting them may look awkward.
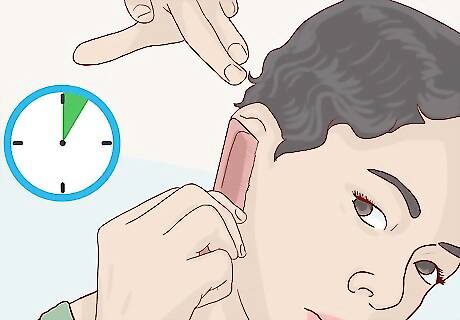
Do not overwork your hair. It's easy to damage short hair by overworking it. Try to get your curls in place quickly to minimize time spent teasing your hair with your comb. Try to work as quickly as possible sculpting your curls to prevent your hair from becoming frizzy or messy during the process.
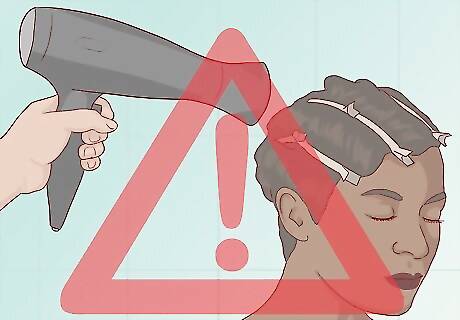
Avoid excessive blow drying. Short hair is much more susceptible to damage from blow drying than longer hair. Only blow dry your hair as long as necessary to harden the gel. Usually, you should only blow dry short hair about 50% dry. Let your hair air dry for the other half.
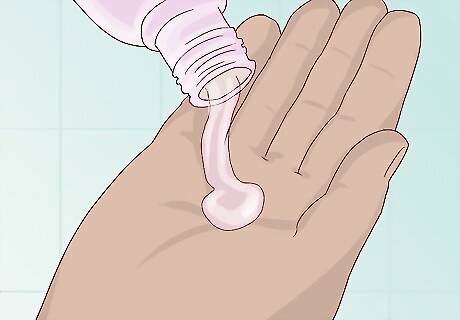
Use only as much gel as necessary. For sculpting curls, you will need to add more gel than usual. However, add only as much as you need for your hair to be shapeable. Too much gel can make short hair look greasy.






Comments
0 comment