


Pick a spot over the ditch where you would like to cross over. Try to find a spot where the two sides are closely even, level, and "clean". Also make the sure spot is less than 6 feet (1.8 m) across. If more than 6 feet (1.8 m), this bridge may not be for you.
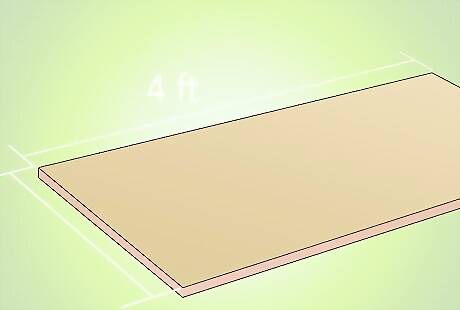
Figure out how wide you want your bridge. A 3 foot (0.9 m) bridge is good for a walking bridge, but a 4 foot (1.2 m) bridge is wide enough for most mowers. Measure 1 foot (0.3 m) behind the ditch and mark the spot in 4 corners, measuring that all 4 points meet up with each other.
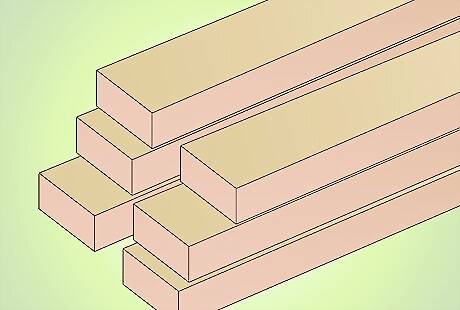
Purchase CCA treated lumber. Cut your 4x6x12 in half to give you two 6 foot (1.8 m) pieces. Purchase approximately 8-10 treated 2x4's, and deck screws. Have your level handy, and your post hole digger or shovel ready as well.

Dig up the ground up to a foot (or more) where you marked the 4 corners. You will then lay your 4x6's in the holes across the ditch. Try to dig at least 8–12 inches (20.3–30.5 cm) in the ground so that the posts are deep enough to be covered up with dirt. This part can be tricky, as the posts need to be level with each other, and the ground itself. They also need to be even. Measure across, sideways, and add dirt or dig more to get yourself to where you are exactly even, level, and secure.
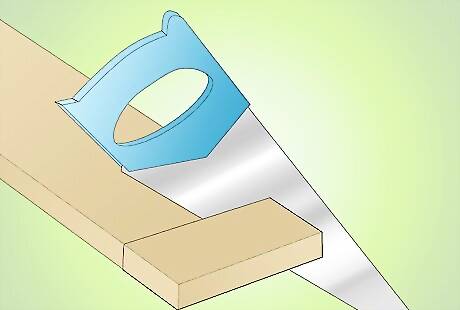
Cut your 2x4's to length, 3 or 4 foot (0.9 or 1.2 m), make sure they are even. Then lay them across the posts one at a time. Separate them about a pinkies length apart to allow for rain to drain through it. Screw two deck screws on each side, and continue laying boards all the way across. Make sure you are even, level, and the boards are staying put. You may need to remove weeds, dig into the ground to place the first and last board if it cuts into the ground, doing away with large gaps from the ground to the bridge.
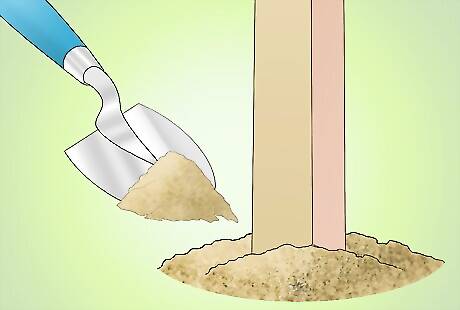
Cover up the posts and pack it tight. Level the ground with your feet or shovel before and after the bridge on each side and get a good flat entrance and exit.
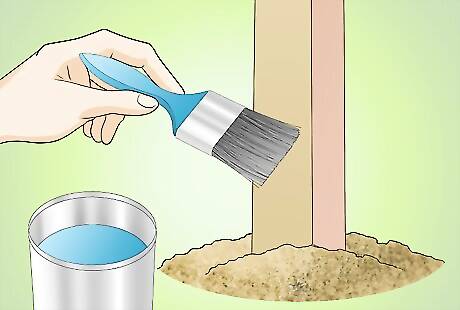
Test it out. Walk over it, paint it, seal it, do whatever you want to with it. This bridge will last many years and should be very strong.


Comments
0 comment