views
Steps
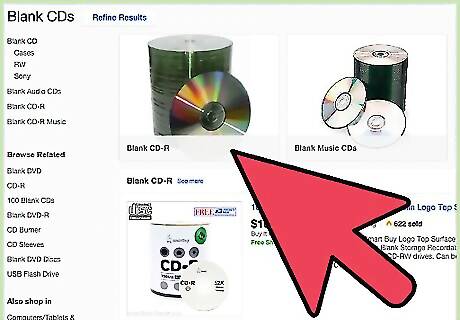
Obtain blank CDs. Now, professionally burned CDs (such as audio CDs) cannot be written over due to their special methods of being burned. CD burning is usually done with a CD-R (recordable) disc, but if your drive supports it, you can use CD-RWs (rewritable CDs) instead. To check whether or not your drive can support CD-RWs (or even CD-Rs, for that matter), click the Apple logo in the top-left corner of the screen and select "About this Mac" from the menu. In the popup that occurs, select the "Storage" tab, and all of the CD/DVD formats your Mac's optical drive can burn appear at the bottom of the window. If it says "CD-R" and/or "CD-RW" (and it most likely will, depending on your Mac's age), you're set.
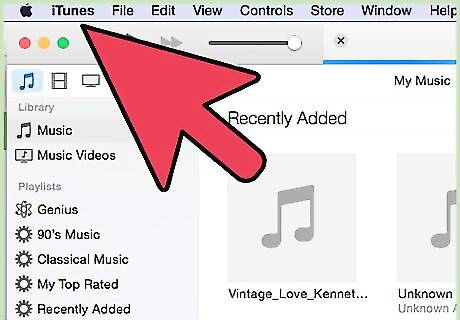
Prepare the files you are about to burn. If you are burning an audio CD, open iTunes or whichever music playing software you use.
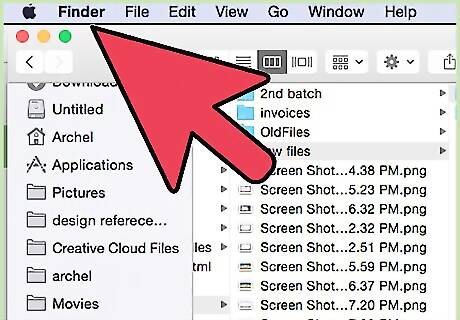
If you are burning a data or picture CD, open the location of the files you want to burn in Finder.
Burning an audio CD in iTunes
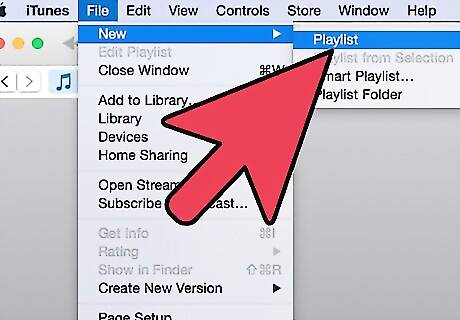
From the iTunes "File" menu, select "New Playlist". Type a name for the playlist and press Enter.
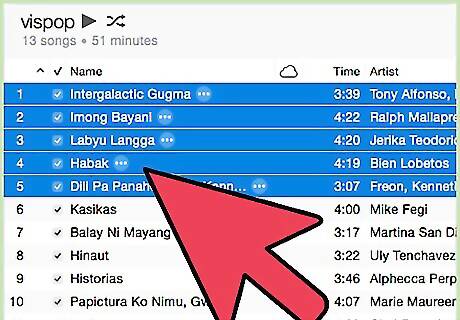
Drag the songs you want to appear on the CD into the playlist. Songs can be in any format, but to preserve the high-quality, lossless audio found on the original disc, it is recommended that the original files be ripped to Apple Lossless or AIFF format.
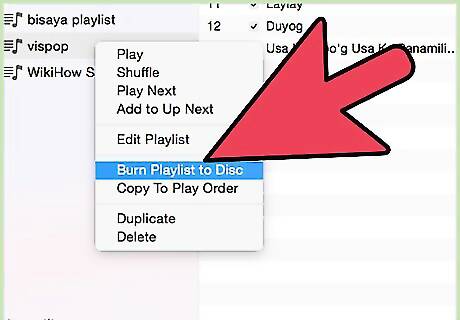
Click the "Burn CD" button at the bottom of the playlist window.
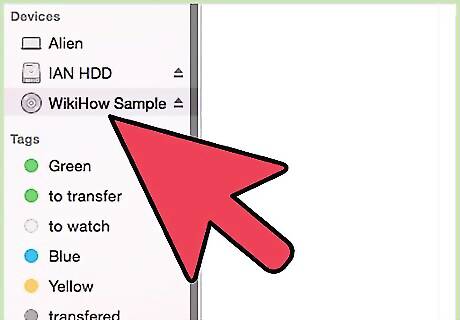
Insert a blank CD-R/CD-RW into your computer's disc drive.
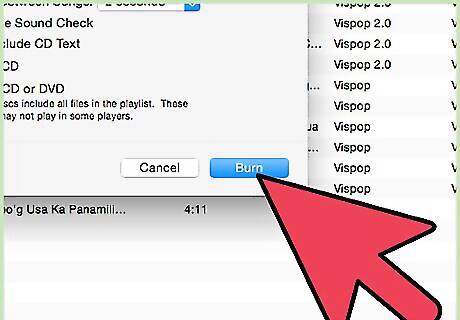
Click "Burn CD" another time.
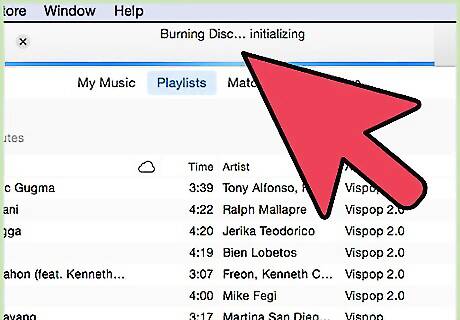
Wait for the burn to complete. This usually only takes a couple of minutes.
Burning a data CD in Finder
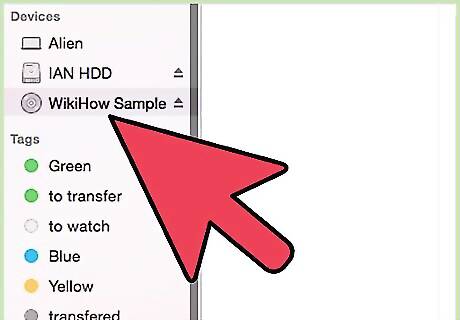
Insert a blank CD into your Macintosh's optical drive.
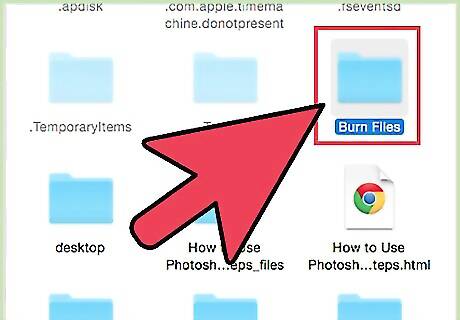
Move or copy all files you want to burn to a CD to a dedicated "burn" folder. This simplifies the process of burning certain files to a folder.
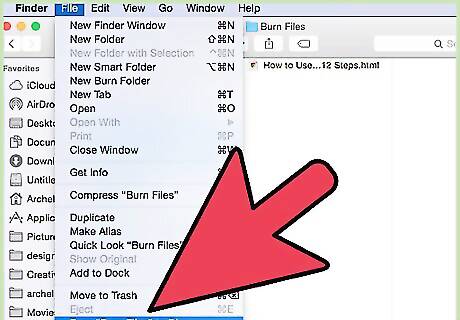
Open the folder in its own window, pull down the "File" menu, and select "Burn". Much like the process for burning songs in iTunes, this will take a few minutes.


Comments
0 comment