
Choosing the Right Location
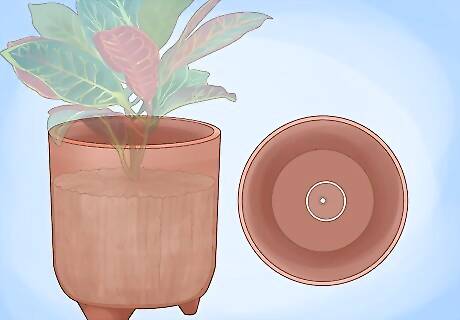
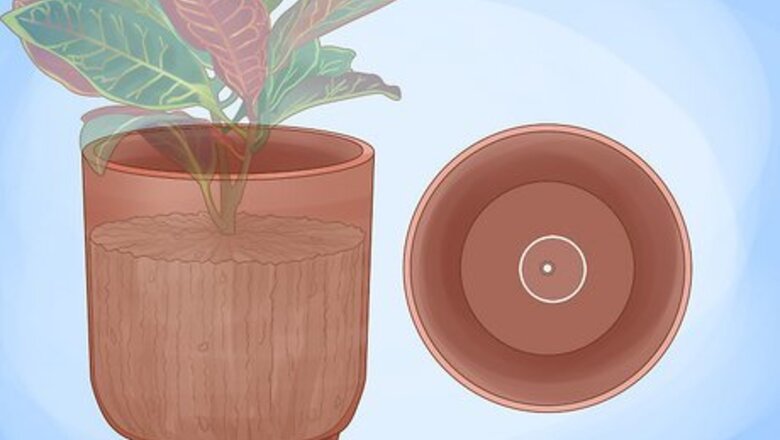
Select a pot with good drainage. Crotons like lots of water, but they don't do well in soggy or wet soil. To ensure the pot provides proper drainage, look for a container that has drainage holes in the bottom. When choosing a container size, look for a container that's about ⅓ larger than the plant's root ball. If you live in hardiness zones 10 and 11, such as southern Florida, you can skip the container if you want to plant the croton directly into the garden. To find your hardiness zone, you can look up a hardiness zone finder online.
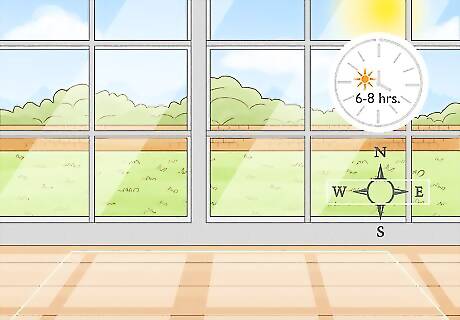
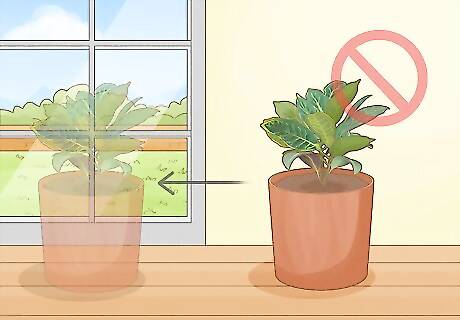
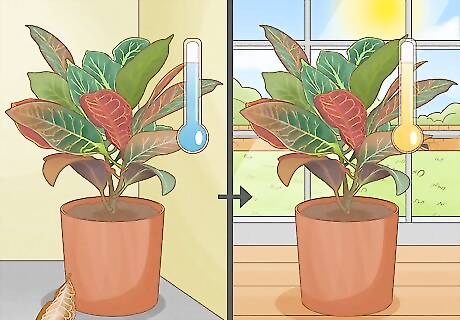
Choose an area that gets 6 to 8 hours of bright sunlight. Crotons need lots of bright sun to maintain their colorful leaves, but they can burn in excessively hot, harsh light if exposed all day. The ideal location is an east- or west-facing window that gets 6 to 8 hours of direct sun every day. Crotons that get too much direct sunlight may end up with scorched leaves.
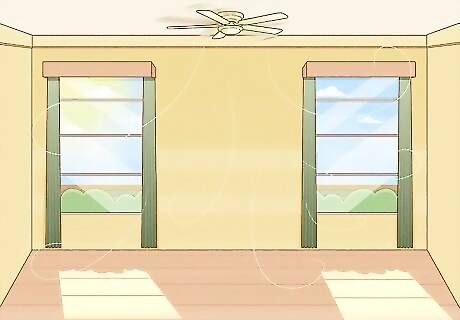
Keep the plant away from drafts. Crotons will not tolerate drafty air, especially if it's cold air. Choose a location that's far from drafty doors and windows, vents and air returns, ceiling fans, and anywhere else that it might be subject to air currents.
Move the plant as little as possible. Once you've found a location where the croton is happy, avoid moving it at all costs. Crotons don't respond well to shock, which includes being moved. Don't be surprised if your croton drops a number of its leaves after you move it.
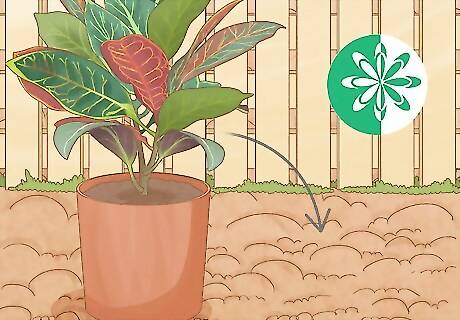
Transplant the croton to an outdoor location in spring. Crotons can be planted outdoors in hardiness zones 10 and 11, which includes places like southern Florida. To plant outside, choose a location with lots of indirect sun, such as under a tree that provides partial shade. Aim to move the plant outside in mid to late spring to minimize shock to the plant. A croton will not likely survive in cooler climates where the temperature gets lower than 40 °F (4 °C). If the winter temperatures in your area drop below this, you can transplant the croton back to a container and bring it inside for winter, or treat the croton as an annual and let it die over the winter. If you do move your croton inside and outside depending on the season, be prepared for the leaves to drop. The ideal soil for crotons is a rich and well-draining soil that's full of nutrients. To enrich your soil and improve drainage, amend it with aged compost before planting.
Growing a Healthy Croton
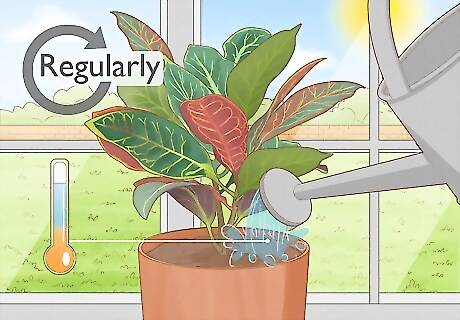
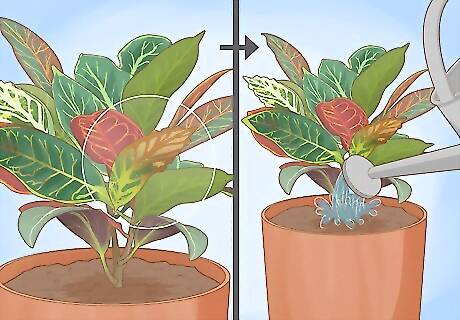
Water regularly with lukewarm water to keep the soil moist. Use lukewarm water to avoid shock to the roots, and water when the top ½ inch (13 mm) of soil dries out. Stick your finger into the soil, and if the top feels dry, it's time to water. Continue watering until the excess flows out the holes in the bottom of the pot. These tropical plants love plenty of water, but it's important to have moist, damp soil rather than soggy or wet soil. During dormancy periods in late fall and winter, cut back on watering and let the soil dry out to a depth of 1 inch (2.5 cm).
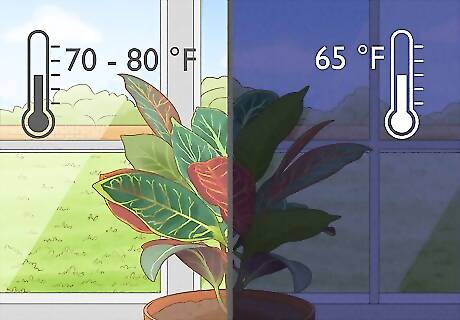
Keep the plant around 75 °F (24 °C). Crotons are native to tropical areas, and they won't thrive in temperatures below 60 °F (16 °C). The ideal temperature for these plants is between 70 and 80 °F (21 and 27 °C) during the daytime, and 65 °F (18 °C) at night. It is possible to grow crotons outdoors, but only in warm climates with high humidity levels. If you live in a cooler or drier climate, grow your croton inside where you can control the environment.
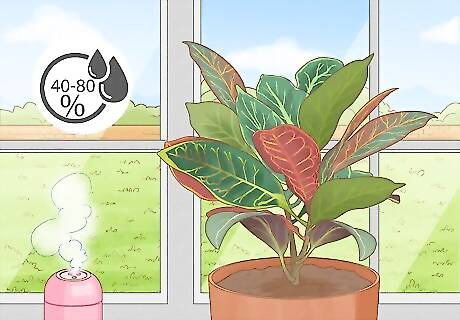
Maintain a higher humidity around the plant. The ideal humidity range for crotons is between 40 and 80 percent, with the optimal level being around 70 percent. You can achieve this by misting the leaves every 1 to 2 days, or by growing the plant in a bathroom that's used often for showers and baths. Another way to generate humidity for the plant is to place the pot on a tray filled with pebbles that are covered in water. Replace the water as necessary to keep the pebbles wet. To measure the humidity around the croton, you can use a device called a hygrometer. These are available at home, garden, and department stores.
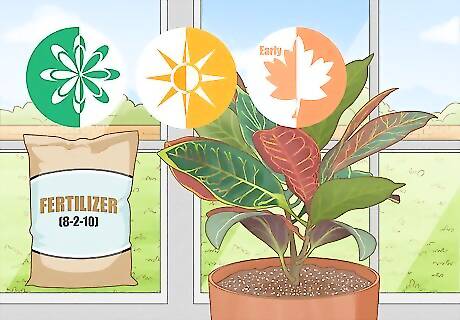
Fertilize the plant monthly during active growing periods. Crotons need lots of nutrients to grow their colorful leaves. During active growing periods in spring, summer, and early fall, feed the plant every month by adding a liquid or powder fertilizer to the water before watering. The best fertilizer for crotons is one that's high in nitrogen and potassium, such as an 8-2-10 mix, because these chemicals help plants grow strong stems and leaves. The numbers refer to the amount of nitrogen, phosphorus, and potassium in the fertilizer. Don't feed the plant during dormancy periods during the late fall and winter months.
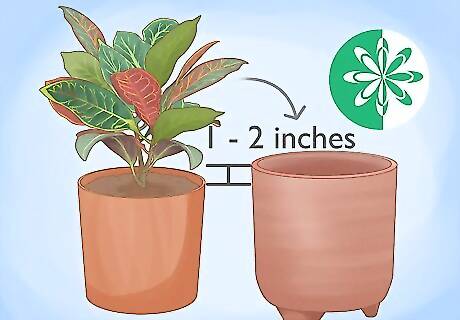
Repot the plant in spring when it outgrows its current pot. Choose a pot that's 1 to 2 inches (2.5 to 5.1 cm) larger than the current pot. Look for a pot with plenty of drainage holes. Fill the pot halfway with a rich potting soil. Carefully remove the croton from the original pot and place it gently into the new one. Cover the roots with additional potting soil and water to set the soil in place. Repotting a croton can result in leaf drop, but you can minimize shock to the plant by only repotting in mid or late spring. Instead of potting soil, you can also use a half-and-half mixture of peat moss and aged compost.
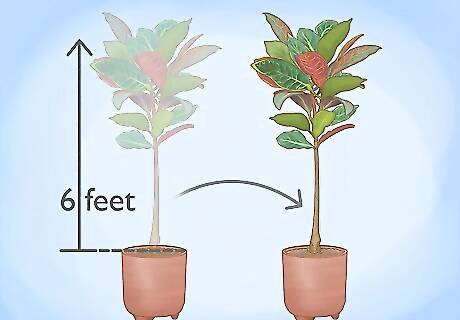
Stop growth by repotting with the same pot size. Some species of crotons can reach up to 6 feet (1.8 m), and you can limit their growth by maintaining the same container size. When you want the plant to stop growing, repot it in spring into a pot that's the same size. Instead of repotting the plant, you can also top dress it to keep it healthy. Remove the top 3 inches (7.6 cm) of soil each spring and replace it with fresh potting soil.
Troubleshooting Common Problems
Water the plant more if the leaf tips turn brown. Underwatering is a common problem with crotons, and they'll start to drop their leaves if they don't get enough. Inspect the dropped leaves for browning on the tips and general dryness. Provide the plant with more water and start misting the leaves more often to correct the problem.
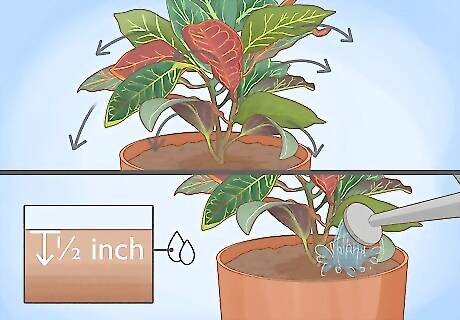
Water less if the leaves wilt. Although crotons love moist soil, it is possible to water them too much. Wilting leaves are a sign of overwatering, and you can correct the problem by cutting back. Only water when the top ½ inch (13 mm) of the soil becomes dry, and never leave the croton sitting in soggy soil. Always choose a pot with good drainage holes to prevent overwatering.
Move the plant if the leaf edges brown. If the plant starts to drop its leaves and it's not because of underwatering, inspect the leaf edges for browning. This is an indication that the plant is being exposed to cold temperatures or a cool draft. Move the plant to a warmer location, or away from fans, vents, and other draft sources.
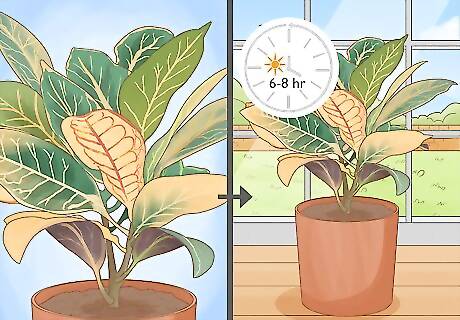
Provide more light if the colors start to fade. The most distinct thing about crotons is their vibrant foliage, and the plant requires lots of sunlight to produce these bright colors. If the leaves start to lose their color, or if new leaf growth is a dull green, move the plant to a sunnier location. Crotons need about 6 to 8 hours of bright, indirect sunlight every day to maintain their health and colors.
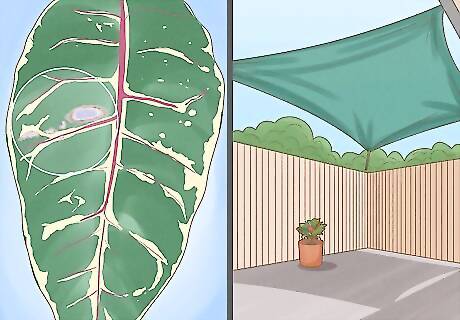
Provide more shade if the leaves develop gray patches. Gray patches on the leaves indicate that the plant is getting too much hot, direct sun. You can move the plant to a window that gets less direct sun, or install a shade cloth to protect it from the harshest UV rays.
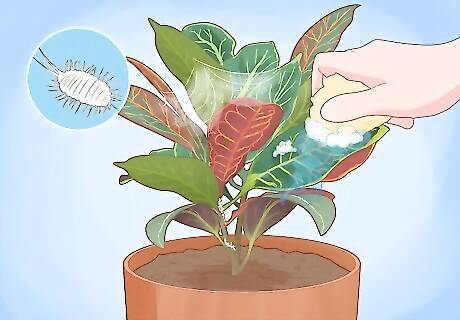
Wash the leaves with soapy water to kill spider mites. Signs of a spider mite infestation include yellow or brown spots on the leaves, pale or dull colors, and whitish webbing. Fill a small bowl with warm water and stir in a teaspoon (5 ml) of liquid dish or hand soap. Use a clean cloth to gently wash the tops and bottoms of the leaves with the solution. Leave the plant for about 10 minutes, and then wipe the leaves with a damp cloth. Repeat every few days as necessary until the mites are gone. Alternatively, blast the plants with a sharp stream of water once a week to control infestation.


Comments
0 comment