views
Choosing Your Caulk and Caulking Gun
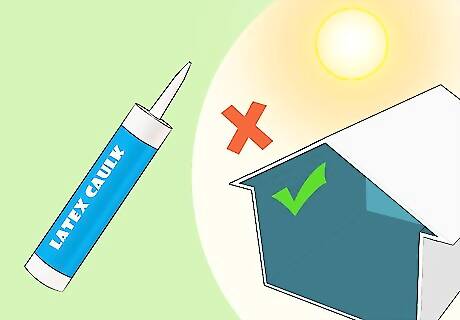
Use latex caulk for delicate indoor jobs. One aspect of caulking that can be confusing to first timers is the fact that multiple types of caulk exist for (seemingly) the same job. However, different types of caulk have different strengths and weaknesses which can make some varieties more appropriate for certain jobs than others. For instance, latex caulk is a type of caulk which is great for indoor projects. It has a low odor, which is important when ventilation is limited. It also has great expansion properties, can be easily cleaned up with water, and even comes in a variety of colors. Finally, latex caulk can be painted when it's dry, allowing you to make it practically invisible. However, latex caulk doesn't quite have the durability of other varieties, which can be a problem if it's exposed to widely-varying temperatures, severe weather, and heavy wear.

Use acrylic latex caulk for long-term projects. As you may expect from its name, acrylic latex caulk is a type of caulk that's made from latex combined with acrylic resins. This variety has all the strengths of latex caulk listed above. However, because of its acrylic properties, this caulk is more flexible and durable than ordinary latex caulk, making it a great choice for indoor situations in which it will be exposed to a high degree of wear and tear.

Use silicone caulk for tough jobs and extreme temperatures. The sturdiest variety of caulk, which uses a silicone base, can be a pain to apply, but is suitable for the harshest conditions. Silicone caulk's toughness makes it great for situations in which it is exposed to widely-ranging temperatures, harsh weather conditions, and heavy wear. For durable all-weather protection, silicone chalk has no substitute. However, silicone caulk has several disadvantages. It can't be painted, which means you may be stuck with its default clear appearance. It also is difficult to clean up with water, making spills and drips during the application process into serious headaches. Finally, it has a strong odor before drying, which makes good ventilation a must when applying the caulk.
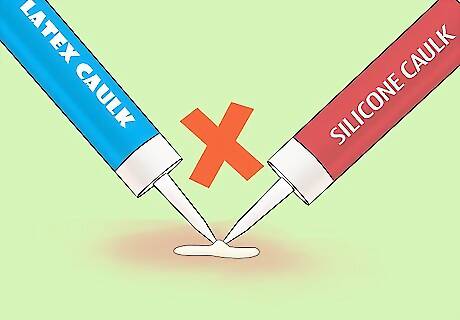
Don't mix different types of caulk. Though it may seem like combining different varieties of caulk, like acrylic latex and silicone, for instance, might give you the strengths of each, in fact, doing so will simply give you a caulk that won't do its job. Each variety of caulk is specially formulated to work on its own. Mixing one type of caulk with another can leave you with a substance that may not bind to your surfaces, set, or provide proper protection. For baseboard caulking, where protection against water damage is a serious concern, you'll always want to use only one type of caulk at a time.
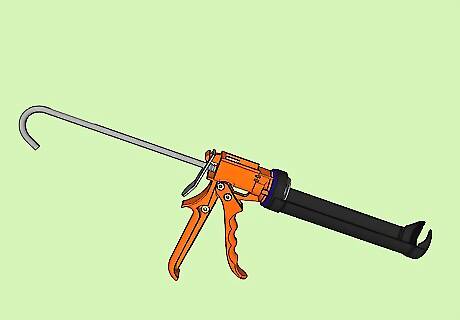
Use a caulking gun for large projects and tubes for small ones. If you're tackling a relatively small, simple project, like, for instance, caulking your baseboards at the point that they meet a bathtub, you can usually get away with buying and using small "tubes" of caulk which allow you to squeeze caulk out like toothpaste for easy application. For larger projects, you'll want to use a caulking gun and compatible caulking cartridges, which are much quicker. Though it can take some time to get used to them, they're ultimately the more efficient option for large jobs. Most caulking guns are quite cheap, costing around $10-$20 or less.
Preparing Your Work Area
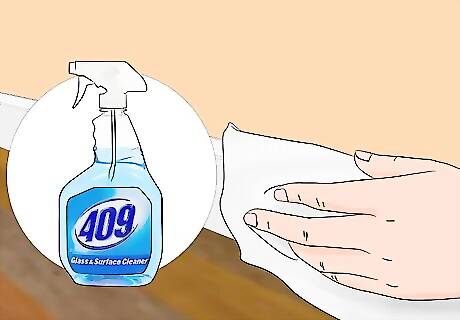
Clean your floor and baseboards. Caulk is tremendously sticky stuff — it's liable to bind to any "loose" object it touches. Because of this, it's very important to ensure that both your wall and your baseboard are clean before caulking. Dirt, dust, grease, and grime can mix with or stick to your caulk and make it look unappealing. More importantly, however, they can interfere with the ability of the caulk to bind to the surfaces you do want it to stick to. Since one of the uses of baseboard caulking is to prevent water damage, a tight seal is a must. Use water or a household cleaner like Formula 409 to give your floor, baseboard, and wall a thorough cleaning. Try not to use soap with water, as this combination can leave a slick film on your surfaces, making it difficult for your caulk to stick. For floors that have accumulated lots of dust, vacuuming is one additional quick, efficient cleaning option. If you have the option, try using your vacuum's long, skinny "hard-to-reach-places" attachment to remove dust from corners.
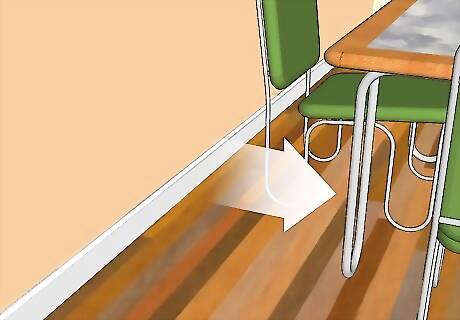
Keep the area free of obstructions. While caulking is by no means a dangerous process, it is one that can be frustrating if you are forced to re-do work you've already done. To minimize the risk of avoidable mistakes, ensure that your work area is completely clear of furniture, rugs, and other potential obstructions before beginning. If you have children or pets, you'll also want to make sure they're kept out of your work area by setting up barriers or getting another person to monitor them. Nothing's worse than stopping your project to clean caulk out of a screaming toddler's hair.
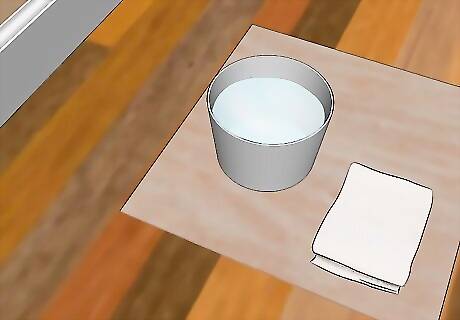
Have water or a household cleaner and several rags handy. When you caulk your baseboards, mistakes are inevitable. If it's your very first time, they'll be common. Luckily, when it comes to caulking, it's hard to make serious mistakes. For the vast majority of the errors you'll make, the old-fashioned combination of water and rags will suffice, though many household cleaners will also work well. Additionally, since you'll be on your hands and knees for most of the caulking process, rags can be used as knee pads to provide comfort. Note that, as will be explained below, water alone is ineffective for cleaning up silicone-based caulks.
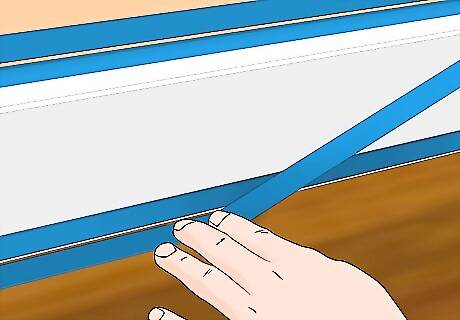
Lay down masking tape before beginning to caulk. Perhaps the single most important thing you can do to ensure an easy, efficient caulking process is to lay down tape with great care. Taping beforehand allows you to protect against spills and ensures that your caulking job is smooth, clean, and uniform. No special tapes are required. Simply use ordinary masking tape (also called painter's tape), a thin, papery variety of tape which is usually tan or blue. You'll want to lay two strips of tape along each area to be caulked. One should be on the floor, following along the length of the baseboard and almost touching it. The other should be on the wall roughly 1/16th of an inch above it, running parallel to it. A single, long length of tape is usually the easiest option in the long run, but using multiple manageable lengths is perfectly fine so long as they are all parallel to the baseboard and aligned with each other.
Caulking the Baseboards
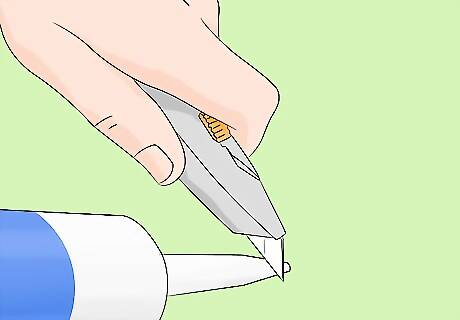
Cut a hole into your caulk cartridge's point. Caulking guns use specially-designed cartridges to dispense caulk. These look like long cylindrical tubes with a skinny pointed cone or "nose" at one end. Before loading your cartridge, take a knife or a sharp pair of scissors and trim off the very end of this "nose" at about a 45 degree angle to create a small, slanted hole. This hole should be only about 1/8th of an inch in diameter — about the width of a matchstick. Try to cut your cartridge's tip as conservatively as possible. It's easy to make a small hole bigger, but impossible to make a large hole smaller.
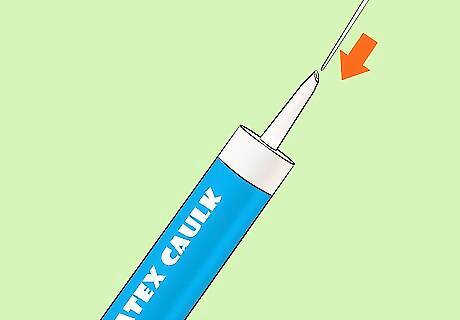
Pierce the cartridge's inner membrane. Next, use the gun's piercing rod (which is usually a stiff piece of wire attached to the gun) to poke a few holes in the cartridge's membrane through the hole you just cut in the tip. This allows caulk to flow easily out of the cartridge. The more holes you poke, the more easily the caulk will flow. About 4-5 holes is usually sufficient. Note that some plastic cartridges don't have an internal membrane. If you don't feel any resistance when using the piercing rod, you'll know this is the case.
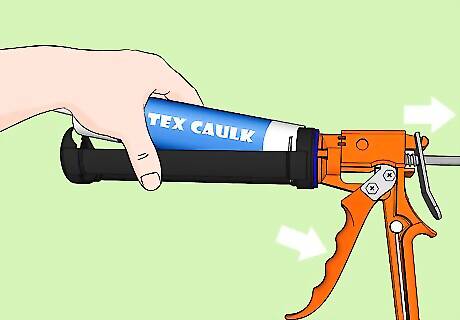
Load a cartridge into your caulking gun. Most caulking guns can be loaded via the following steps: Push the spring-loaded lever on the gun and hold it down. Pull the rod at rear of the gun (the "pushrod") all the way back while holding the lever down. Insert the cartridge into its slot butt-first, then drop the cartridge's point down into the space in the front of the gun. Make sure the angle of the cut in the point is facing downwards. You may need to turn the cartridge to do this. Finally, twist the pushrod so the notches are facing downward. Pull the trigger a few times until you feel resistance. You're now ready to caulk!

If inexperienced with a caulk gun, practice first. To practice, spread out a large piece of newspaper on the floor and hold the point of your caulking gun against it. Pull lightly on the trigger until caulk begins to flow out of the nozzle. When caulk begins to flow out of the gun, move it slowly back while keeping constant pressure on the trigger. Try to make a long, thin, consistent line of caulk without any gaps or thick spots. When you're done, lift the nozzle from the work surface, then twist the pushrod so the notches are in the "up" position and depress the spring-loaded lever. This releases the pressure on the cartridge and stops the flow of caulk. Don't squeeze too hard when you're applying caulk — this can rupture the cartridge, causing a mess and forcing you to start over.
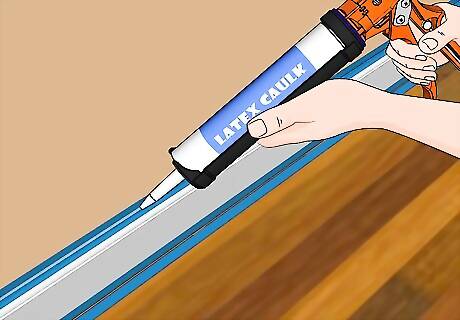
Caulk the tops of the baseboards. When you're ready to caulk for real, hold the tip of your caulking gun against the space where the wall and the top of the baseboard meet. Keep the hole in the tip flat against the wall (this means you should hold the gun diagonally. Turn the notches in the pushrod downward. Squeeze on the trigger with steady pressure and begin moving the caulk gun along the length of the baseboard as the caulk flows out. Move at a slow, even pace. Continue along the entire length of the baseboard. Treat any spills with a damp rag. Don't forget to repeat the process outlined in the practice step for stopping the flow of caulk when you're done with your run.
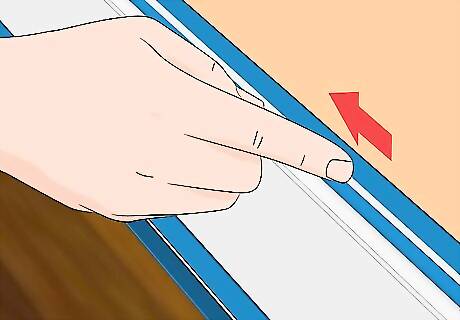
Smooth the caulk with your finger. When you've caulked one edge of your baseboard, you'll want to smooth the caulk with your finger to ensure the caulk sits in its gap as securely as possible and also to ensure that the caulk has a uniform, smooth appearance. Drag the tip of one finger along the caulk lightly a few feet at a time. As soon as a significant amount of caulk accumulates on your finger, wipe it off with a clean, damp rag. Treat any spills with a separate damp rag. Don't smooth with too much force. Apply only gentle pressure with your finger. Pressing too hard can scrape the caulk from the wall entirely.
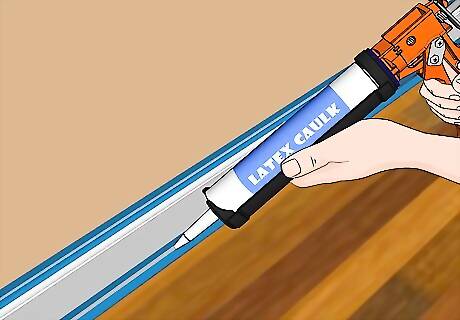
Caulk the bottoms of the baseboards. Next, repeat the caulking process for the bottom length of the baseboard. Keep firm but steady pressure on the trigger of the caulking gun to dispense caulk along the bottom edge of the baseboard. Caulking the bottoms of the baseboards after you've finished smoothing the caulk on the top of the baseboard ensures that leftover caulk from the top won't spill onto your work below. When finished, smooth over the caulk with your finger as described above.
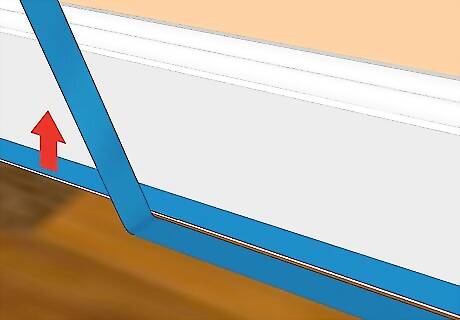
Pull your masking tape before the caulk dries. When you've caulked and smoothed both edges of a length of baseboard to your satisfaction, it's time to pull your tape up. Be sure to do this while the caulk is still fresh. If the caulk dries before you pull up the tape, you'll end up pulling the caulk from the baseboard along with the tape and will have to repeat your work. Grab one end of your length of tape and pull it gently away from the surface at a forty five degree angle. Proceed slowly and delicately along the entire length of tape. Repeat for the second length of tape. If you used multiple lengths of tape for a single surface, pull the tape from the wall in the same direction that you laid it. For instance, if you laid three overlapping pieces of tape from left to right, pull the tape from left to right as well. Handle the tape with care — the leftover caulk can stick to (and stain) clothing with ease.
Caulking Safely
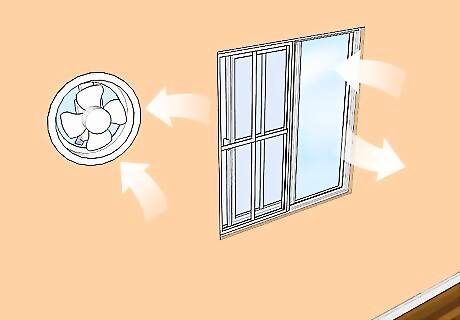
Ensure proper ventilation. For the most part, caulking isn't a terribly dangerous activity. You're unlikely to endanger yourself or others while caulking. This being said, there are things you can do to improve your (already very good) chances of finishing your caulking job unscathed. The first is to ensure that your work area is properly ventilated. Setting up a fan and/or opening windows improves the flow of air through your work area, which can disperse the odor and fumes that wet caulk can give off. This is especially important for silicone-based caulk, which has the strongest odor. If you're working outside, you don't usually need to worry about this.
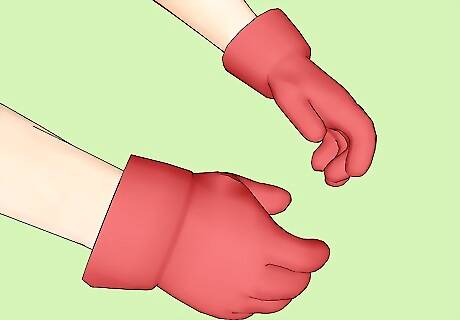
Wear gloves if desired. Caulk isn't dangerous or caustic like certain substances used for other home improvement projects — its very purpose is essentially to be as inert as possible. However, it is very sticky and hard to remove from skin and clothing (especially once it dries), so you may want to wear gloves when you work with caulk to keep it off of your fingers and sleeves. This also gives the benefit of making clean-up very quick and easy. You may also want to wear goggles or protective eyewear, as caulk can be painful if splashed into the eyes (though this is unlikely).
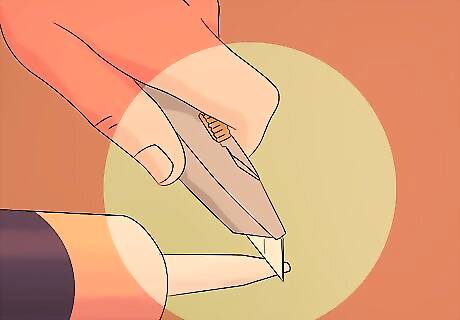
Handle knives with care. The one time that you're most likely to hurt yourself while caulking is, ironically, before you're using caulk. As you cut the tip off of your caulk cartridge, take caution to ensure you don't cut yourself. If you're using a knife, be sure to hold the cartridge with your other hand away from the tip. Always cut away from your body — never towards it. When you're not using your knife or scissors, store it safely away from your work area.
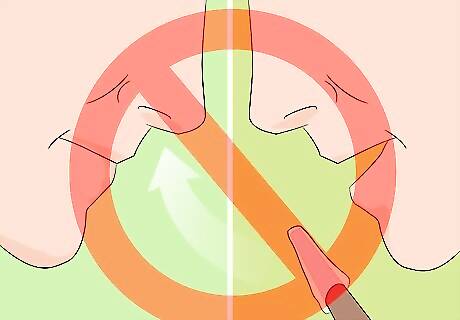
Don't eat or inhale caulk. Finally, it bears mentioning that, although caulk is fairly harmless, it is not meant to be consumed or inhaled and can cause serious health problems if it is. If you or someone you know accidentally consumes caulk, call a poison control center immediately for guidance. Be sure to wash your hands after caulking to ensure you don't accidentally consume caulk while eating, drinking, coughing, and so on.
Finishing the Job

Protect the caulk while it "sets". When you've caulked your baseboard and pulled your tape, all that's left to do is to allow it dry. Different types of caulk will have different drying times, so check your caulk's packaging for more information. Regardless of the amount of time it takes your caulk to dry, you'll want to ensure that no dirt or dust disturb it as it sets. You'll also want to ensure that young children and pets are kept away from the caulk as well.
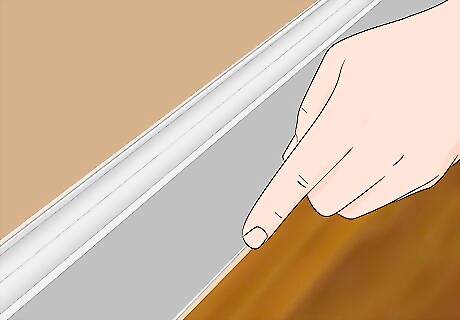
Fix any minor errors by hand. When it comes to caulking, minor errors are all too common. Usually, fixing these errors by hand before the caulk sets by using your fingers is simpler and easier than fixing the errors after the caulk dries. To do this, just repeat the smoothing process with your finger, using extra caulk as needed. If you notice an error after your caulk has dried, re-apply tape to the offending area, apply caulk to your finger, and work it into the crack or gap until it's well-blended with the surrounding dry caulk. When your caulk dries, the repair should be barely-visible. If you used a caulking gun for your main job but have a small caulk tube handy, you may find that it's much easier to use the tube for touch-up work than to have to assemble a caulk gun again, dispense caulk, and potentially clean up spills. Just be sure to use the same type of caulk as you used for the main job! As always, remember to remove the tape while the caulk is still fresh.
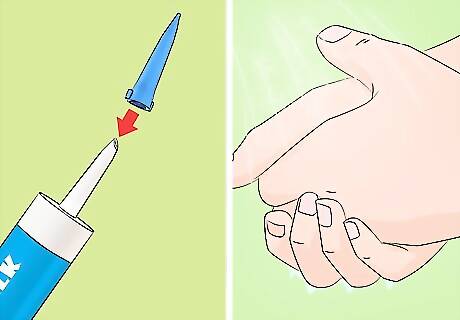
Clean up. Congratulations! You're done. All that's left to do is to return your work area to the way it was before you began. Release the pressure on your caulking gun and remove the cartridge. Most cartridges come with a cap to preserve the leftover caulk. If yours does not, try using plastic wrap and a rubber band or tape. Wash your hands and your equipment with soap, water, and a washcloth. Remove any garbage or debris and replace any furniture, rugs, etc. you moved. When using leftover caulk at a later date, note that you may need to use a nail or tack to remove dried caulk from the nozzle of the cartridge.
Deciding Whether Caulking is Right for You
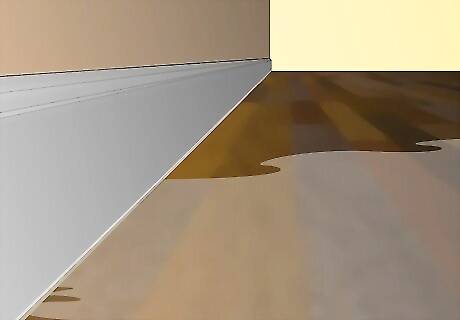
Understand where caulking is appropriate. In general, caulking is a fairly cheap and easy home improvement project. However, it has its limitations. Caulk is useful for sealing small, thin gaps between baseboards and the floor or wall. It's not, however, appropriate for protecting the baseboard itself, which must be painted to provide protection from water damage and wear and tear. Additionally, while baseboard caulking is great for making the bottom edges of a room water-tight, it provides little protection against large sources of water damage, like burst pipes, leaky ceilings or walls, and so on. Thus, baseboard caulking is best used as just one part of a more extensive plan for water-proofing a room which should also include painting, finishing, tiling, and more. It's also worth noting that baseboards should not be caulked when the floor or wall is unfinished wood. In this situation, caulk provides little protection from water and cannot form a tight seal against the surface it is applied to.
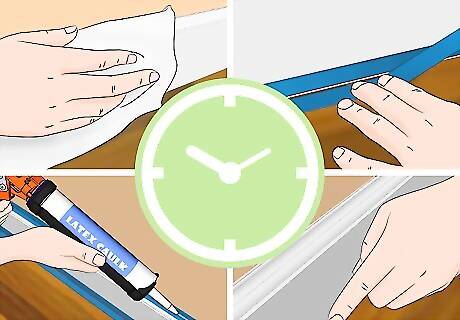
Understand the time commitment of caulking. The time that it will take to caulk varies based on the size of your project as well as how long it takes you to become familiar with your tools. Most one-room jobs can be completed within an hour or two, while longer jobs can take days. Regardless of the size of your job, you won't want to rush, so leave yourself more time than you think you'll need. A thorough caulking job can take lots of time in the short term, but mistakes in your caulking that can result from rushing can cost you more time in the long run.

Understand the costs associated with caulking. Generally, caulking is quite cheap. Caulking guns retail from about $5-$10 for cheap options up to about $20 for the highest-quality options. Cartridges of caulk usually cost no more than $5. In addition to these things, you may need to buy masking tape, a knife or scissors, and gloves. All in all, you usually won't need to spend more than $30-$40. If you own some of these materials already, your costs will be lower. Your costs will vary based on how many cartridges of caulk you need to buy. As a point of reference, for a 10 x 10 foot bathroom, you'll need about 1 or 2 cartridges. It's usually smart to buy a little more caulk than you think you'll need — you can always save this left-over caulk for later.




Comments
0 comment