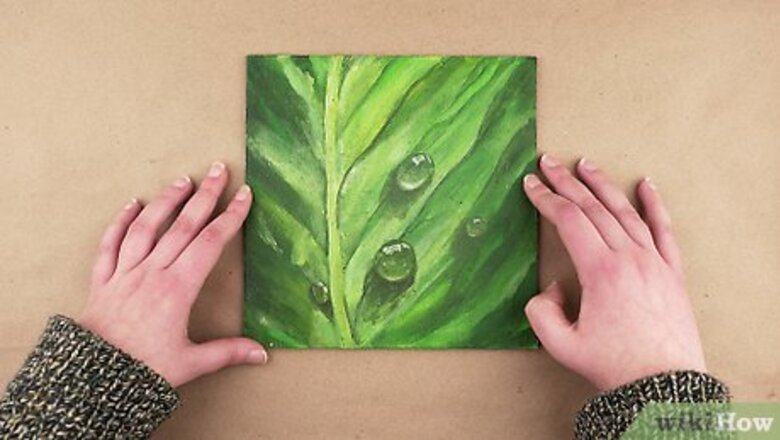
views
Caring for Acrylic Paintings
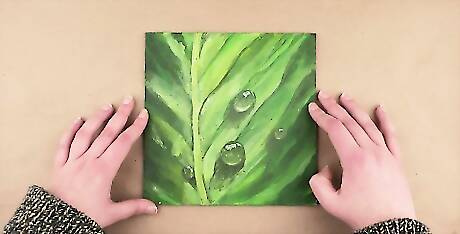
Place the painting on a sturdy work surface. While all paintings are delicate, keep in mind that acrylic paintings are especially fragile. With this in mind, find a sturdy, clean area where you can display and clean your canvas safely, like a table. This is especially important for paintings that don’t have a sturdy backing.
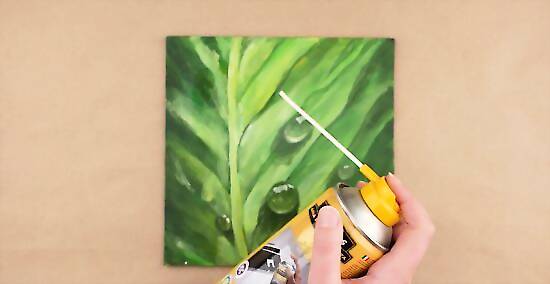
Blow away any dust with a can of compressed air. Try not to touch or physically handle the painting, if possible. Instead, take a can of compressed air and squeeze a few spurts of air near any obvious specks of dust or dirt. Hold the can several inches or centimeters away from the painting so you don’t get any residue on the canvas.
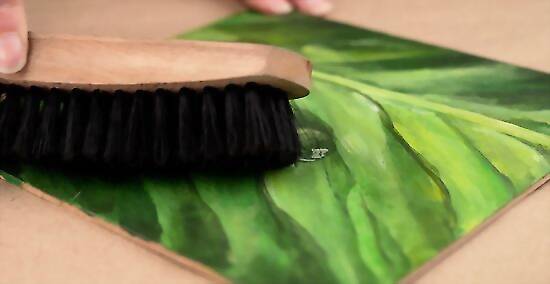
Dust off your painting with a brush and vacuum if you don’t have compressed air. Use a sable brush to loosen any dust and grime on the surface of the painting. Once you’ve done this, hold a small, handheld vacuum at least 2 to 3 in (5.1 to 7.6 cm) away from the painting to suck up the loose dust. Repeat this process with any obvious sections of dirt or dust.
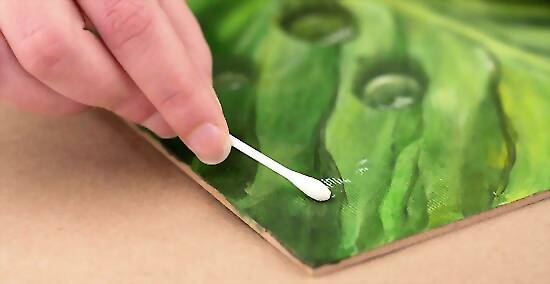
Use saliva and a cotton swab to clean the painting. Swipe a clean cotton swab along your inner cheek or tongue to pick up some saliva. Lightly roll the cotton swab over the surface of painting, focusing on any spaces that look especially dirty. Make sure you haven’t had anything to eat or drink at least 30 minutes before cleaning your canvas. Saliva is a tried and true cleaning method that’s stood the test of time—plus, you already have most of the supplies on hand! Consider testing a tiny corner of your painting with saliva before rubbing it over your entire painting. If the spit seems to clean off the painting, feel free to continue cleaning with it. Only use moisture to clean your painting as a last resort. If you don’t want to use saliva, you can dip your cotton swab in a tiny amount of deionized water instead. You can find this water online, or in some grocery stores.Warning: Despite popular belief, foods like white bread and raw potatoes aren’t a great solution for cleaning and restoring old paintings, as they can leave residue on the canvas. Thankfully, there are plenty of other safe household items you can use to clean your artwork!
Tending to Oil Paintings
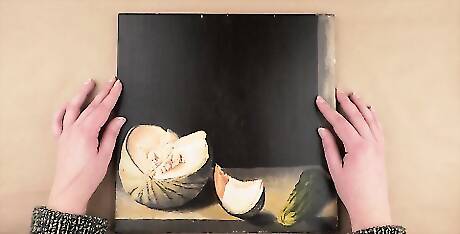
Set your painting on a piece of craft paper. Visit your local craft or art supply shop and pick up a roll of all-purpose craft paper. Cut out a section that’s larger than the oil painting you’re cleaning, then lay out the paper on a flat, sturdy surface. Place your oil painting on top of the craft paper so you have a clean workspace. Always clean your painting on a clean, sturdy surface, like a table.
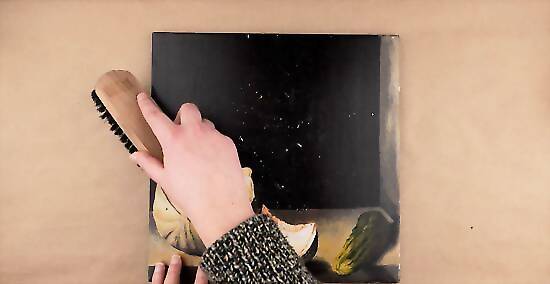
Dust off the painting with a soft-bristled brush. Pick up a soft-bristled, 1 to 2 in (2.5 to 5.1 cm) wide brush and lightly go over the surface of your painting. Move the brush in long, horizontal or vertical strokes across the painting, focusing on especially dirty areas as you go. Don’t apply too much pressure as you do this, as you don’t want to scratch or damage your piece of artwork. Brushes with natural bristles are best for this. Don’t use feather dusters or hard-bristle brushes to clean your oil painting, as these may damage the surface.
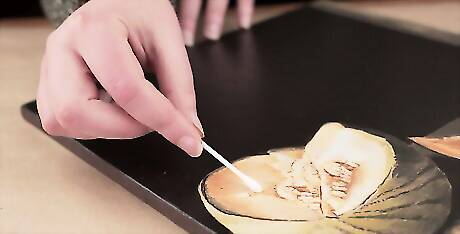
Test different cleaners on small sections of the oil painting. Check online or in an art supply store for an emulsion cleaner, which is specially used on oil paintings. Roll the cotton swab over a tiny, dusty corner of the painting to see if you notice a positive difference. If the painting still looks dirty, dip a clean cotton swab in a cleaning neutralizer and go over the cleaner. You can find neutralizers online or at most art supply shops. As the name suggests, this product cancels out the effects of the emulsion cleaner. Varnish removers are sometimes used to clean and brighten the surface of a painting, but you shouldn’t use them unless you know what you’re doing.
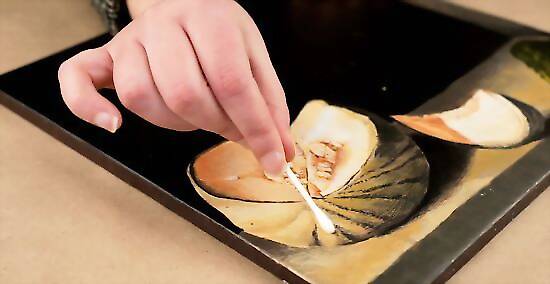
Swab an emulsion cleaner over the surface of the painting. Dip a clean cotton swab into the emulsion cleaner and roll it over the surface of your painting. Focus on the varnished areas, where there’s obvious dirt and yellowing. Check the swab periodically to make sure you’re picking up dirt, and not any paint. Don’t soak a dirty swab with more emulsion cleaner. If your swab is dirty, feel free to use a new, clean one instead. Always roll your swab across the painting instead of scrubbing the surface.
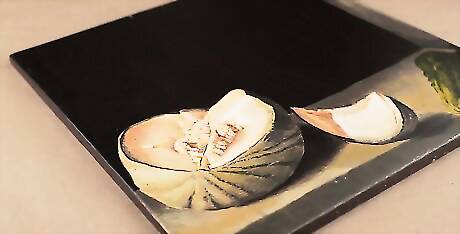
Consult a professional restorer for extra help. Oil paintings are really finicky, and are tricky to care for at home. If you’re really invested in the quality and condition of your painting, visit your local art restorer and have them clean and restore your painting. Don’t try to remove any varnish from the painting. Even if you’re really careful, you may end up damaging the painting.
Removing the Painting from a Frame
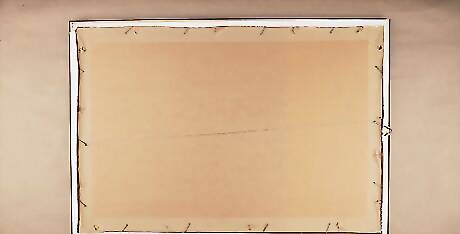
Lay the painting on a sturdy surface. Choose a workspace for your painting, like a table or countertop. You don’t want to risk damaging your frame or painting by handling it on an uneven surface. Before you start working, make sure that the frame and painting are both face down in your workspace.
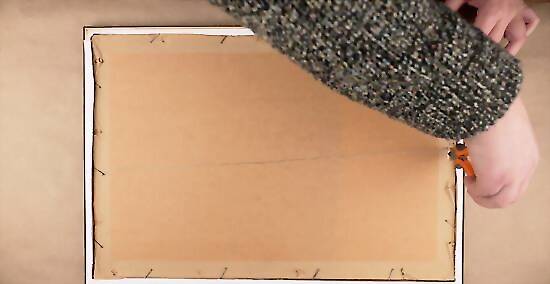
Unscrew any wires on the back of the frame. Search along the back of the frame for a long, thin wire that helps secure the painting to a wall. Use a Philip’s screwdriver to detach both ends of the wire from the frame, which makes it easier to access the painting. Set the wire nearby for whenever you reassemble the painting.
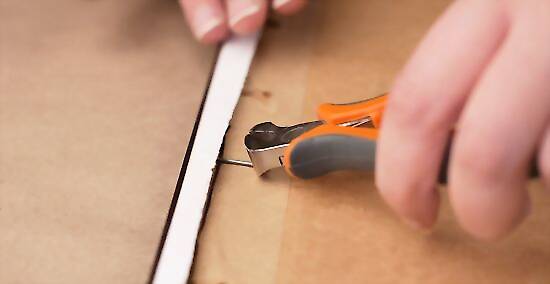
Pull out any nails with a set of needle-nose pliers. Look and feel along the edge of your painting for nails so you can remove the canvas. Squeeze the pliers around each nail, then remove them at an outward angle from the painting. Continue removing the nails until the frame is completely bare. If you jostle the painting while removing the nails vertically, there’s a chance that you could damage the artwork.
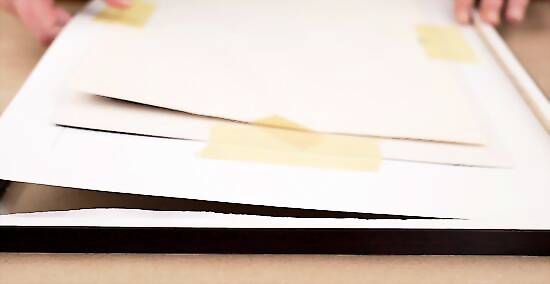
Lift the painting out of the frame at a slight angle. Use both hands to hold onto the back section of the painting. Gingerly lift the canvas and it’s backing out of the frame—if you feel any resistance, don’t try to tug or force the painting out. As you remove the painting, try not to touch the back of the canvas, as this could hurt the painting. If you think the painting is stuck to the frame in some way, ask a professional for help.
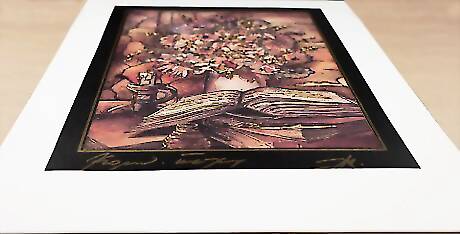
Set the painting aside so you can clean it. Place the canvas face down on a clean, sturdy surface. Try to handle the artwork as gently and carefully as possible so the canvas doesn’t get scratched or damaged in the process.






Comments
0 comment