
views
- To trim a clip in iMovie on desktop or mobile, select the clip and drag in from either edge.
- To split a clip in iMovie on a Mac, click the desired position, then press Command-B to split.
- On an iPhone or iPad, long-tap the video roll, drag your finger to the precise position, tap "Actions," and then tap "Split."
- Once you split the video into separate clips, you can discard the parts you don't want to keep.
Trimming Clips on Mac
Open iMovie on your Mac. The icon looks like a purple star with a video camera in the middle. The Clip Trimmer allows you to shorten a clip, or to change which portion of a clip you use in your movie, without actually Cut-Videos-on-iMovie#Splitting-Clips-on-Macsplitting it. However, it will only allow you to trim frames from the beginning or end of the clip.
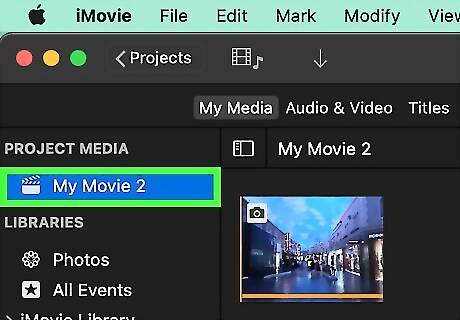
Select the project you want to trim. If iMovie doesn’t automatically open to the Projects screen, click the Projects tab at the top left corner of the window. Double-click a project to open it.
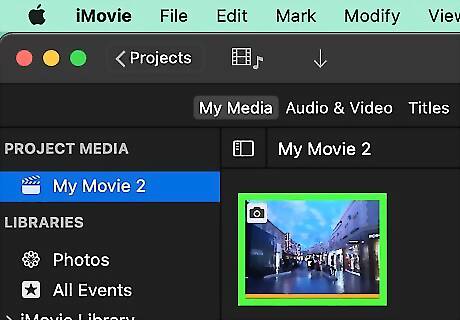
Click the clip you want to trim. This will select the clip. You’ll see a yellow outline around it. From here, you can quickly and easily trim the clip simply by clicking and dragging either edge toward the center of the clip. For more precise trimming options, go to the next step.
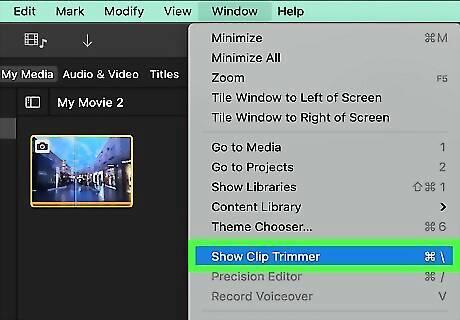
Click Window and select Show Clip Trimmer. The Window menu is in the menu bar at the top of the screen. Click it and select Show Clip Trimmer, or use the keyboard shortcut Command + \.
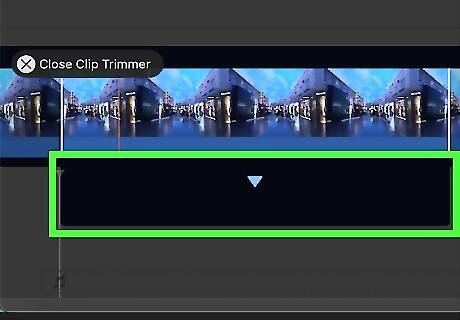
Hover your mouse over one of the clip borders. The portion of the clip that appears in your video will be highlighted between two white lines in the Clip Trimmer view in the Timeline. Hover your mouse over one of those lines until the trimmer tool appears. It looks like a vertical line with a horizontal arrow pointing away on one side. If you hover your cursor over the middle of the highlighted area, you’ll see a different tool that looks like a strip of film. You can use that tool to click and drag the selected area to a different portion of the clip without changing its length.

Click and drag the border of the clip to trim it. Drag from the left edge toward the center to trim the beginning of the clip, or from the right edge to trim the end. You can also drag either end away from the center of the clip to add frames to your selection. Click the X next to “Close Clip Trimmer” when you’re done.
Splitting Clips on Mac
Open the iMovie app on your computer. The iMovie icon looks like a purple star with a video camera in the middle. You can find it on the Dock or in your Applications folder. As the name suggests, “splitting” lets you cut clips into smaller pieces so you can edit them individually. This is a good way to remove sections from the middle of a clip, since you can delete any of the split portions of the clip. If you just want to cut frames off the beginning or end of a clip, use the Trim method instead.
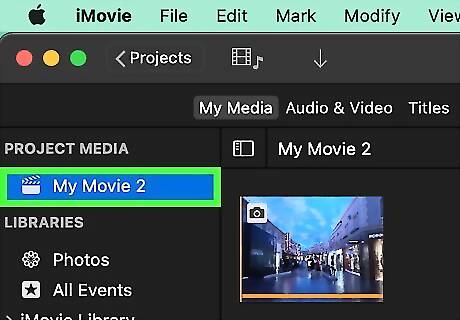
Select the video project you want to edit. Double-click a movie or video project on your "Projects" page to open the editing suite. The video editor will be in the bottom half of the app window.
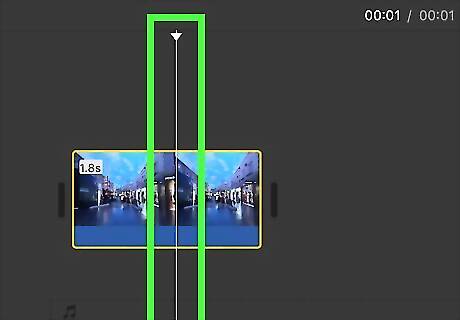
Click the point where you want to cut your video. Play the video clip in the editor in the bottom half of your screen and pause it at the exact moment you want to cut. You can also simply scroll through the timeline below your video preview to find the moment where you want to cut and click that spot to position the playhead there. The white, vertical playhead bar should be located at the exact moment where you want to cut. Zoom in using the slider above the timeline at the right side of the screen to see your clip in more detail. You can press the space bar on your keyboard to play and pause the video. Use the right and left arrow keys to move the playhead one frame forward or backward. You can find a full list of all the iMovie keyboard shortcuts on Apple's official help page here.
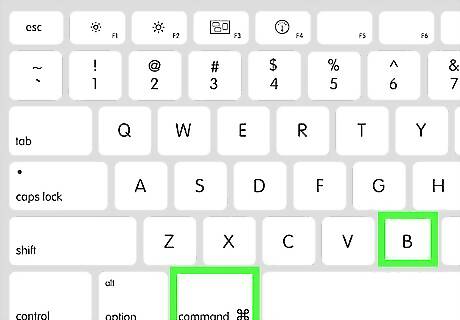
Press ⌘ Command+B on your keyboard. This keyboard combination will automatically split the clip into two parts at the exact moment where the white, vertical video line is located. Alternatively, select Modify > Split Clip from the top menu bar. You can also Ctrl-click the clip where you want to split it and select Split Clip from the popup menu.
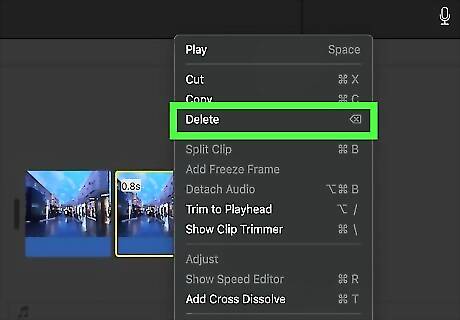
Delete any clip fragments you don’t want. Once you’ve split your clip, you can do whatever you like with the individual pieces. For instance, if you want to remove some frames from the middle of the clip, split the clip on either side of the piece you want to cut. Then, click the piece you want to remove to select it and hit the Delete key. You can also drag the split pieces around in the timeline to rearrange the order of the clips, add effects or filters to individual clips, or shorten the new clips with the Clip Trimmer.
Trimming Clips on iPhone or iPad
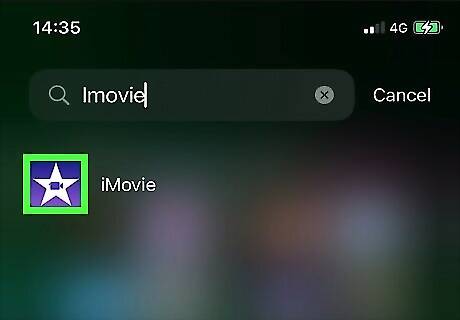
Launch the iMovie app and open your project. The iMovie app icon looks like a white star on a purple background with a video camera in the middle. Tap on a movie in the Projects screen and tap Edit, or start a new one and add some clips to start editing. This method will let you easily shorten a clip from the beginning or end. If you want to cut frames out of the middle of a clip, use the split method instead.
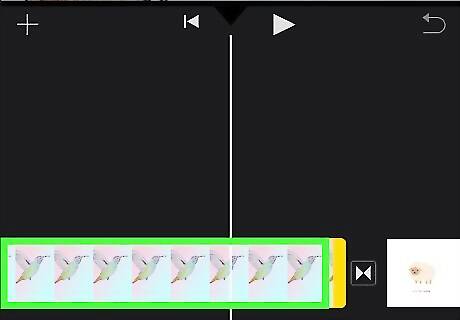
Tap a clip in your timeline to select it. Under the preview of your project, you’ll see a timeline with all your clips. Tap a clip you want to shorten. A yellow outline will appear around it. If you want to zoom in on the clip for more precise trimming, touch the center of it with two fingers and spread them apart.
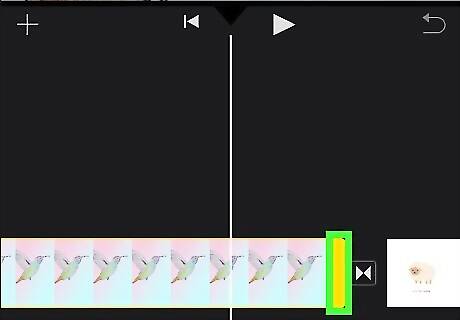
Drag either end of the clip to trim it. To shorten the end of the clip, tap it and drag it toward the center. You can also shorten your clip from the beginning in the same way. If you trim too much of the clip, simply drag the edge outward again.
Splitting Clips on iPhone or iPad
Open the iMovie app on your iPhone or iPad. The iMovie icon looks like a purple Android 7 Videocamera video camera icon in a white star on a purple background. You can find it on your home screen or in an app folder.

Tap the project you want to edit. Select the video or movie project you want to edit on the "Projects" page to open its details.

Tap the Edit button. You can find this button below the video thumbnail and title. It will open the selected video in the editor.
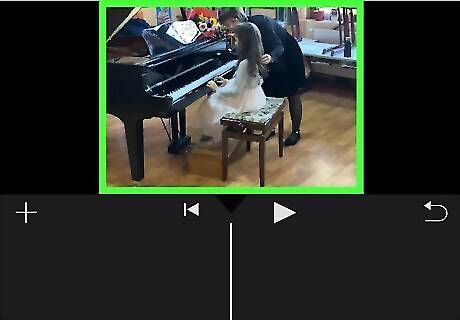
Hold down and drag the video roll at the bottom. You can hold down the video roll at the bottom of your screen and drag it to the exact moment you want to split the video. You will see an editing roll of the whole video in the bottom half of the screen. Make sure to place the white, vertical playhead on the exact instant you want to split the clip.
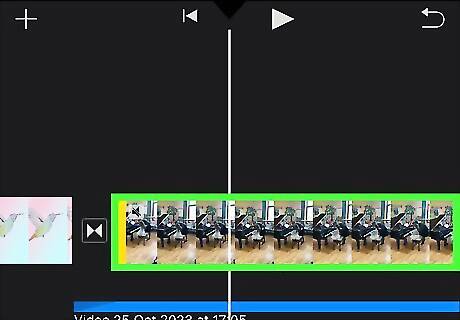
Tap the clip to select it. This will show a yellow highlight around the clip in the editor, and display your editing tools at the bottom of your screen. Pinch outward to zoom in on the clip so you can choose your split point more precisely.
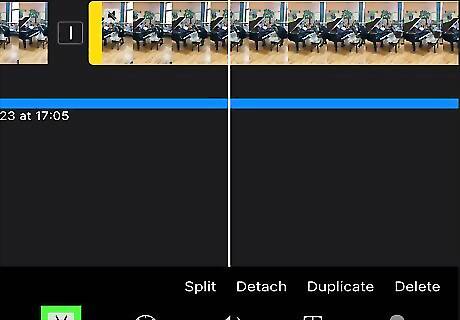
Select the scissor icon. By default, the Actions icon may be selected already once you select a clip. It’s at the far left and looks like a pair of scissors. It will show several editing options, including Split.
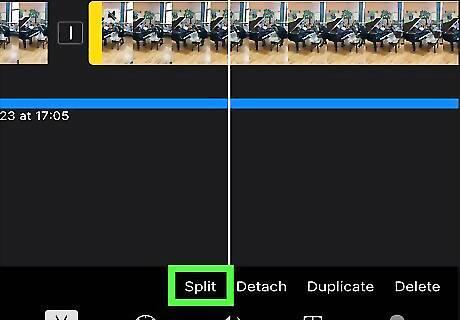
Tap Split above the toolbar at the bottom. This will cut the video where the white, vertical line is located. Once you make the split, you will have two clips to edit individually. For example, try splitting a clip on either side of some frames you want to cut, then tapping the new section and tapping Delete in the list of actions.


Comments
0 comment