
views

Take your ruler, and draw two lines. These lines will be the overall size of your eye. It really depends on how big you want to make your eye, but the one we'll be drawing takes up a good portion of the paper. (We'll erase these lines later, so sketch them lightly!)
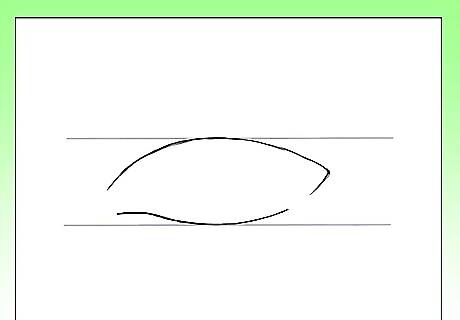
Draw an almond shape, while staying in between the two lines you had previously sketched. After you draw the shape, erase the rounder area, and a small sized portion of the corner of the eye. It will look like the image.
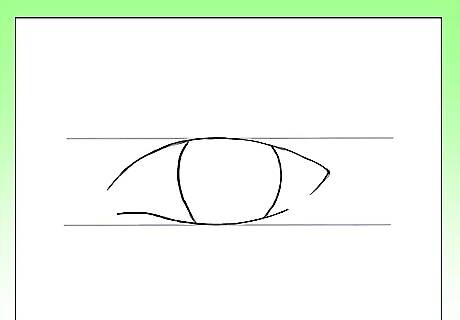
Without making an EXACT circle, slowly sketch a banana-like shape on either side of the eye. This is your eye's iris.
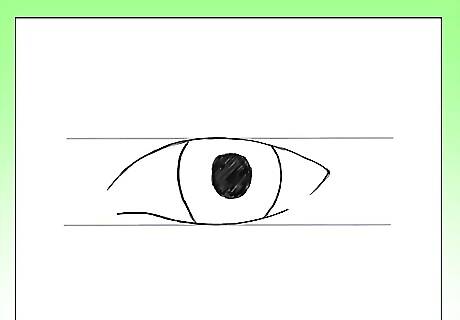
In the center, draw a small circle as your pupil, and colour it black with your pencil. The circle need not be perfect.
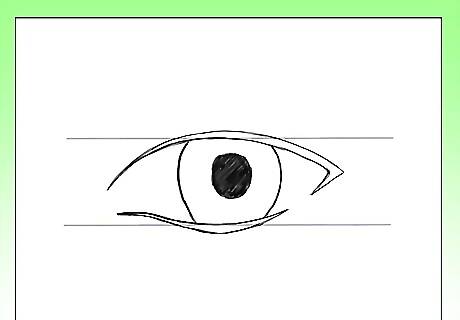
Draw the outer edge of the eye. Because this is a female eye, we want to make the eyes really pop by outlining the eyelids. We can assume this is some sort of eyeliner, or not, as you wish. Let it thicken as it reaches the outer edge.
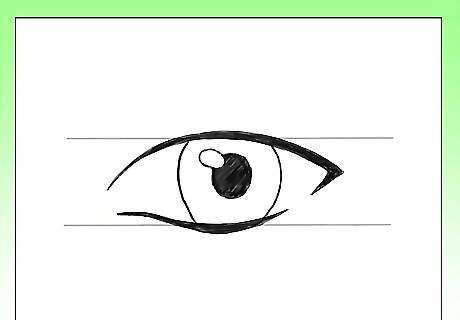
Next, colour in the area you just sketched on the both upper and lower eyelids, as well as adding a small highlight on the top left corner of the pupil.
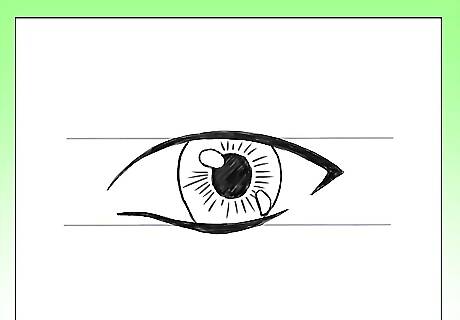
Add a second highlight towards the outer-right hand edge, and also add some lines protruding from the iris. Don't let them touch the pupil, or the circle, but draw them remaining within the iris. The top area of the eye will be darker, with a gradient effect going on as we descend.
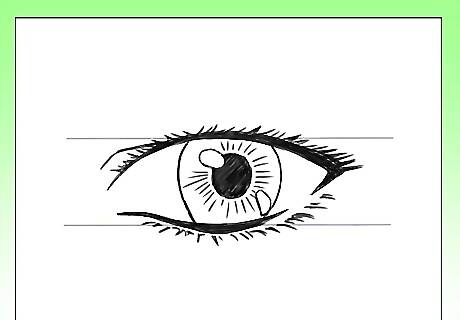
Add some lashes, as well as a crease above the eye. This adds realism. At the outer edge, the lashes are the most thick and as the lashes start to shape in the center, the face the center. With the lashes occurring on the left side, the become shorter and flow more to the left. The lower lash line will have less lashes, but still follow the same idea for both the top and bottom lashes.
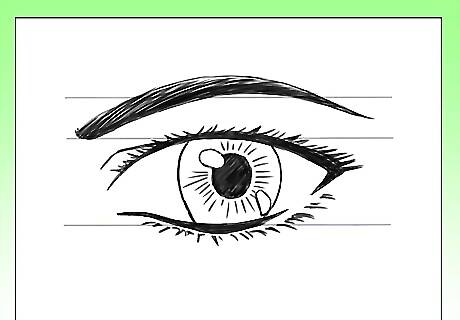
Add a second line with the ruler slightly above the crease with the ruler, The eyebrow is quite straight, except for a sharp and short curve upward towards the inner eye. This gives the expression in the face a questioning look. The eye, believe it or not, is fine the way it is, if you prefer it to be more lighter. But if you want to take it all the way, keep on reading.
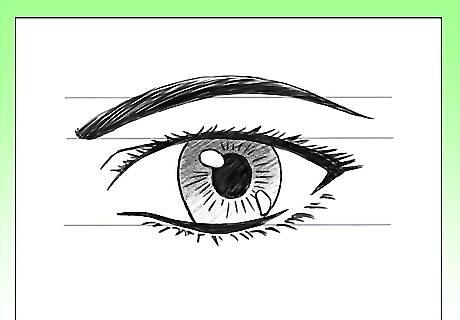
Starting at the top of the iris, apply pressure to your pencil for maximum depth and tone. We want the top of the eye to be much darker than the lower section. Travel downwards with your pencil, slowly applying less and less pressure. You should barely be using your pencil at the end. Doesn't that look different?
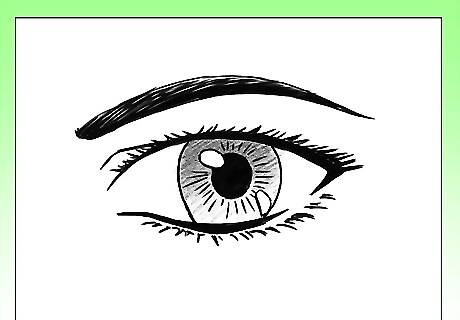
Take your permanent marker, and outline the eyelids, lashes, iris, two highlights, lines, and eyebrow. I lefts a small squiggle on the eyebrow white, as to highlight it. Try this too!
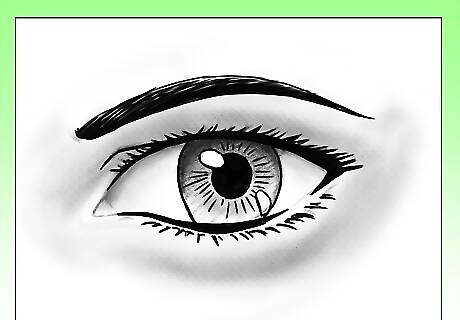
Use your pen to touch up anything, as well as using your eraser on the highlights to whiten them. (Erase any lines we did in previous steps.) By layering the textures onto the outer edge of the eyelid, I attempted to create a smokey eye effect. Really darken the upper half of the eye, for a more dramatic look.





Comments
0 comment