views
Preparations
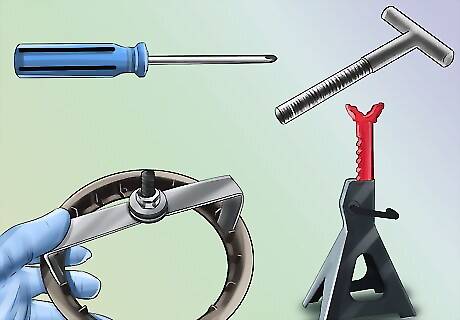
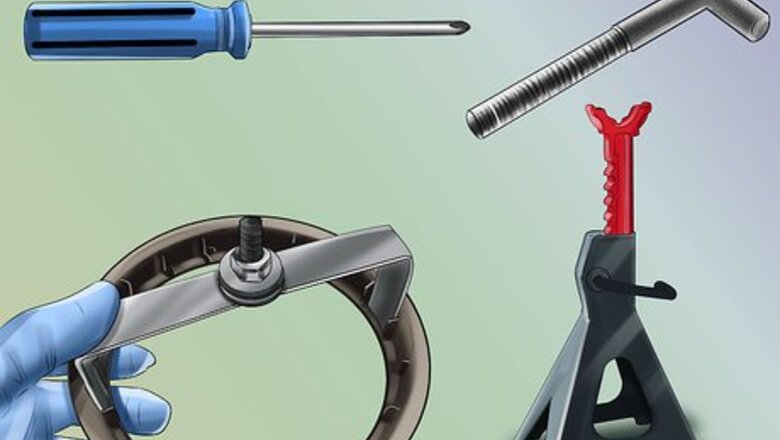
Make sure you have the necessary tools and equipment for the task. There are many different fasteners, clamps, and connections that must be removed or loosened to remove a fuel tank. Here are some: Strap bolts, usually requiring a ⁄2 or ⁄16 inch (1.3 or 1.4 cm) or 12, 13, or 14 mm open-end wrench. Slotted and Phillips screwdrivers for hose clamps. Special tools for disconnecting fuel line fittings. Other items you may need include a jack, jack stands, a pump for removing the fuel, fuel rated containers for fuel that is removed from the tank, rags, and a fire extinguisher in case of an emergency.

Locate the vehicle on a flat surface, preferably a concrete driveway, since asphalt can be damaged if you spill fuel on it. Hard, compacted soil is acceptable if no other option is available.
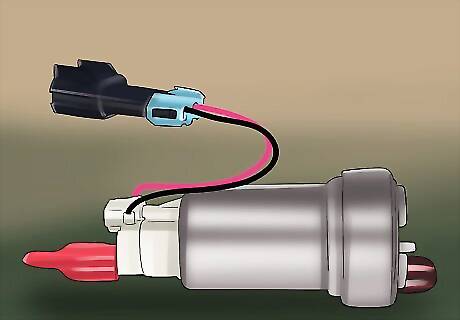
Make sure you have access to repair parts before beginning this project. Submersible fuel pumps are usually readily available from a local auto parts supplier, but fuel level sensing units may require special ordering from a dealer.
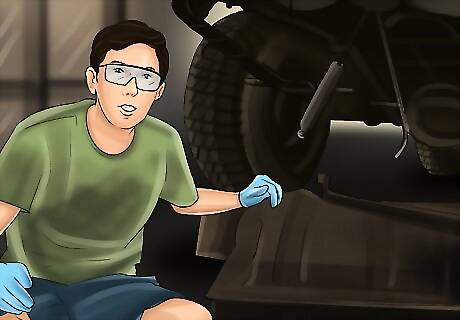
Try to get help before beginning this project. Even an empty gas tank can be heavy and difficult to manage while lying underneath a vehicle. It is also better to have an assistant to hand you tools, and to respond if you have an accident while performing this task.
Removing the Fuel
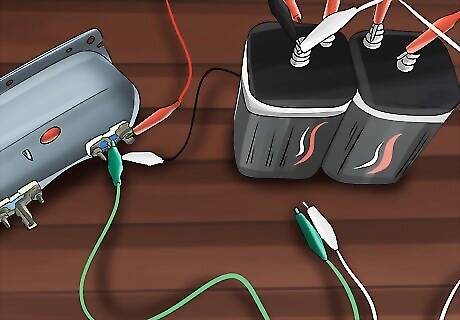
Remove the ground cable of your battery to avoid sparks before continuing with this step.
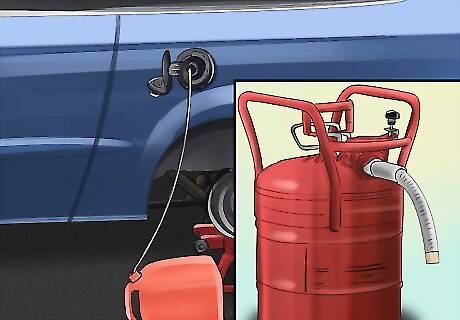
Make sure the container you are draining the fuel into is large enough to hold it all. Most fuel tanks have a 12 to 20 gallon (45.4 to 75.7 L) capacity, so if your fuel gauge is working properly, you can estimate the amount of fuel in your tank. Get the EPA/Underwriter's Laboratory approved gas container ready below your car in a position to catch the draining fuel. Remove the drain plug if your car has one, being careful not to allow the fuel to spill on your person when it begins to drain. If your car doesn't have a drain bolt, find your tank's drainpipe or filler hose.
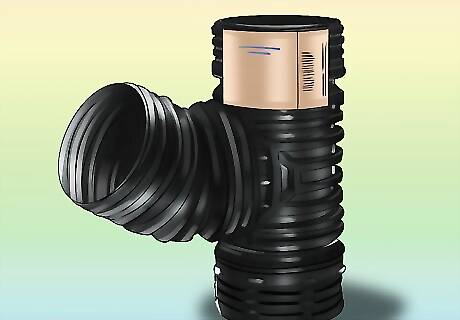
Locate the proper adapter for your car's drainpipe or filler hose, if necessary, and connect the intake hose from an air or hand pump to the pipe.
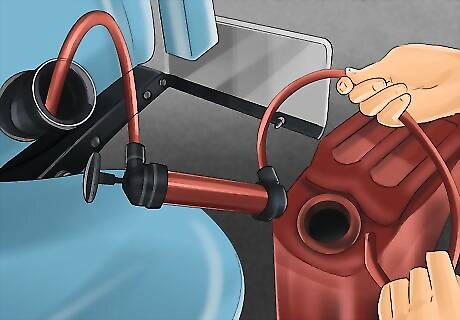
Place the discharge hose of the pump into the gas container. Use the pump to extract all of the fuel. Seal any openings so vapors cannot escape.
Raising the Car
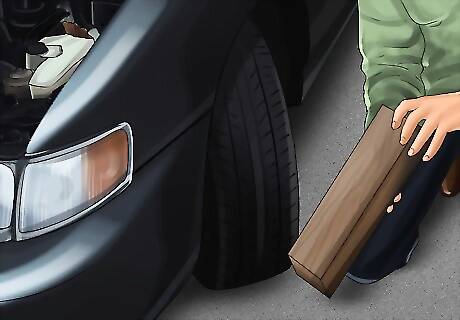
Chock the front wheels of the car, making sure it can't roll while you are raising it or working underneath it.
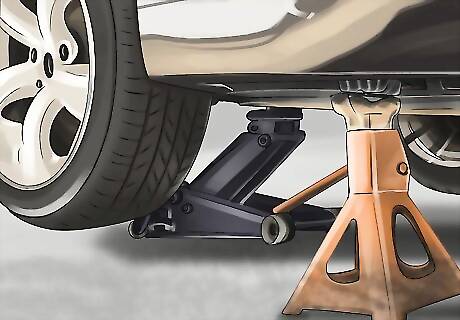
Lift your vehicle with a hoist or a jack. You will need to raise it high enough to access the brackets or straps that secure the tank, and if the tank it to be completely removed from underneath the vehicle, you will want to be sure it is high enough the tank will clear the frame members. Once the car is lifted off the ground, support it with jack stands.
Removal of the Tank
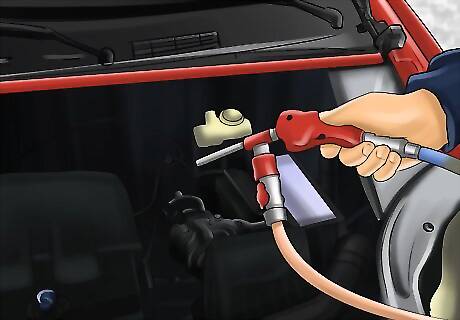
Blow compressed air to remove debris from the outside of fuel lines and wiring connectors. You might have to do this a couple of times, using a small stiff brush to loosen the accumulated debris.
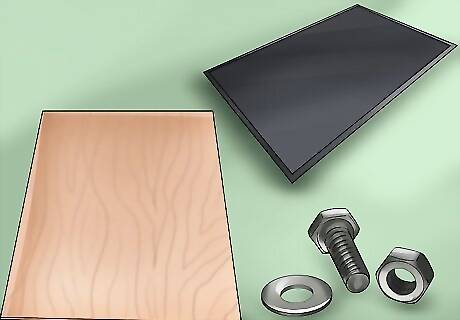
Place a work mat, a sheet of plywood, or even a scrap piece of carpet underneath the car to lay on while working for your own comfort, and to prevent the loss of fasteners, nuts, and washers if you want. This will also give you something to protect the tank if you need to drag it out from underneath the vehicle.
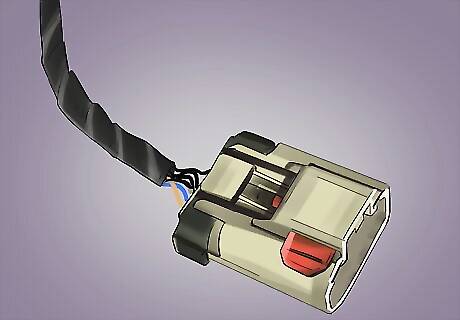
Disconnect the fuel tank wiring harness connector from the auto body's harness connector. Remove the ground wire screw from the chassis if your vehicle if it is equipped with one.
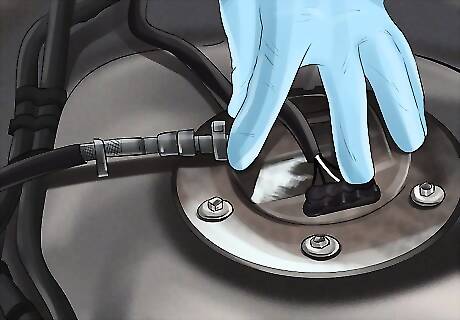
Remove the fuel lines from the gas tank. Sometimes you need a specialized tool to separate "quick disconnect" fittings. Consult your vehicle's service manual for directions on your specific type of car.
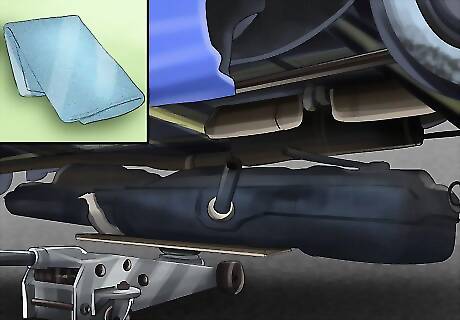
Wipe off the filler and vent pipes with a soft towel and disconnect their tubes to the tank. Note that often, the tank must be dropped several inches before you can access these connections, so be careful they do not become fouled while doing so.
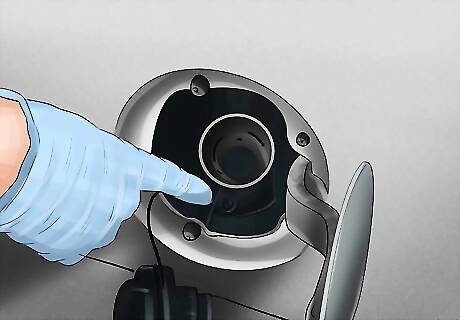
Unhook your filler neck. There are two possible types. If yours is one piece, remove the screws around the filler neck. If it is a two or three-piece assembly, loosen the clamp and remove the neoprene hose from the filler neck. Make sure the fuel hose that goes to the top of your gas tank has enough room to drop down when the tank is lowered. These are often molded assemblies and may need to be guided while the tank is lowered to avoid obstructions and possible damage to this part.
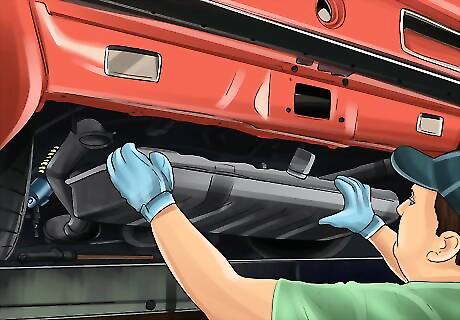
Locate the fastening system that holds your fuel tank in place. Usually, there are two straps that wrap around the fuel tank, the ends of which are adapted to bolts that fasten through a bracket mounted to the vehicle's frame. Some vehicles have two support frames similar to a trapeze with four bolts fitted through them which must be removed.
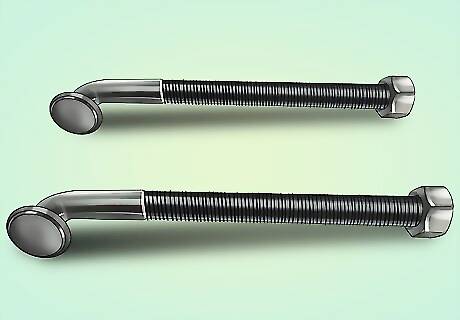
Loosen the gas tank strap bolts until they are only held on by enough threads to support it. Carefully lower the fuel tank to the ground as you finish loosening the bolts. You may be able to place a low profile floor jack underneath the tank to help lower it, provided you have one and the car is jacked up high enough to allow it.
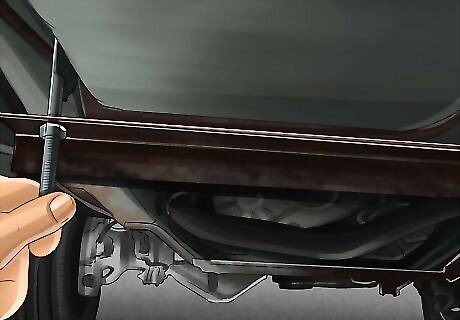
Pull the gas tank support straps out from around the tank so they do not interfere with moving it. They are fairly flexible, but make sure you don't kink or damage them in the process.
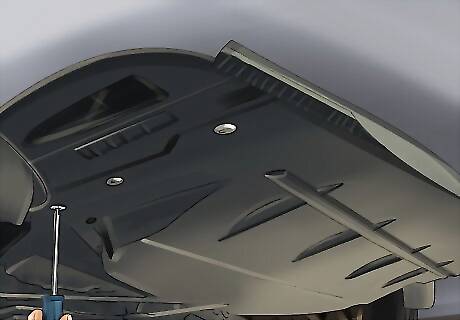
Remove the tank from underneath the car by dragging it sideways. Perform the maintenance or repairs required to the tank, then reinstall it by following the previous steps in reverse order.





Comments
0 comment