
Editing a List Based on a Named Range

Open the workbook that contains the drop-down list. Double-clicking the file on your computer will open it in Microsoft Excel.

Enter additional options for the drop-down list. For this example, we’ll add two new values to a drop-down list in column A. Type each additional option into its own cell at the bottom of the current list.
Click the Formulas menu. It’s at the top of Excel.
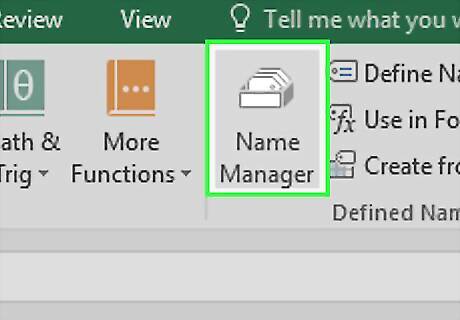
Click Name Manager. It’s near the center of the ribbon at the top of Excel. A list of named ranges will appear.
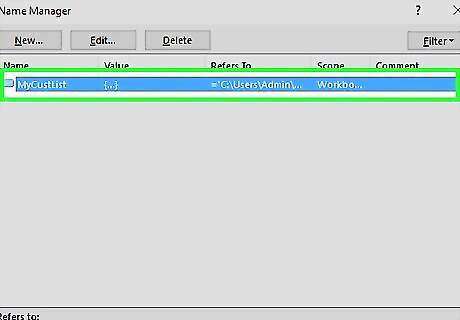
Click the range that contains your drop-down list items.
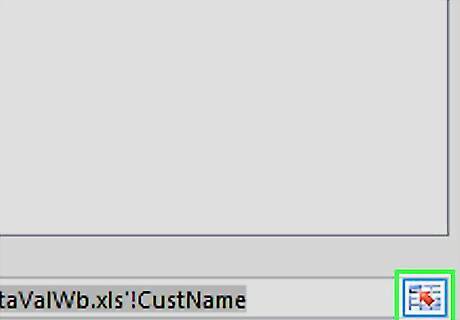
Click the upward-pointing arrow button. It’s to the right of the “Refers to” box at the bottom of the Name Manager. This will collapse the Name Manager to a smaller size.
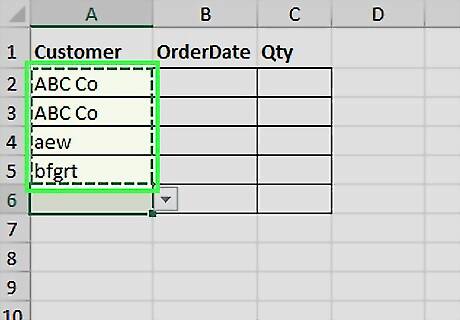
Select all of the cells in the drop-down menu. Be sure to include the new values you’ve added. For example, if the items in your drop-down list are in A2 through A9, highlight A2 through A9.
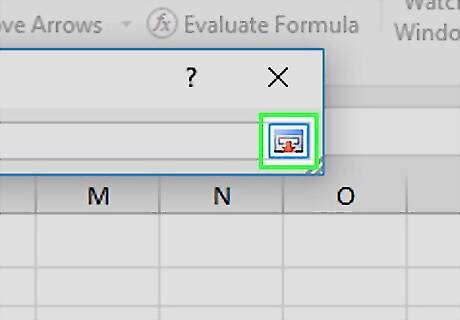
Click the downward-pointing button on the Name Manager. It’s at the top of your sheet (the box you collapsed earlier). This re-expands the Name Manager.
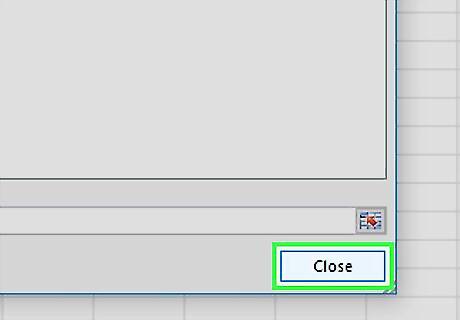
Click Close. A confirmation message will appear.
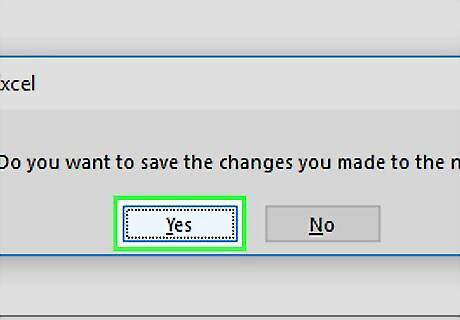
Click Yes. The new options you entered are now included in the drop-down menu.
Editing a List Based on a Range of Cells
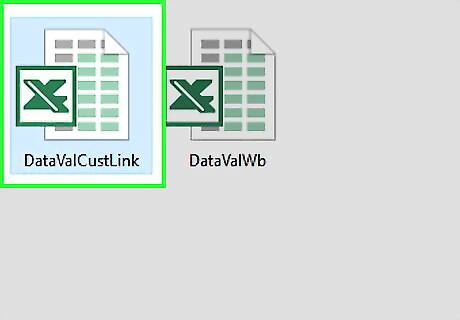
Open the workbook that contains the drop-down list. Double-clicking the file on your computer will open it in Microsoft Excel.
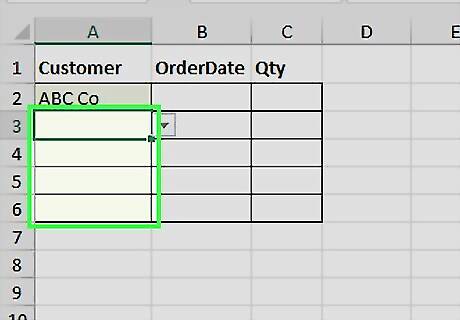
Enter additional options for the drop-down list. For this example, we’ll add two new values to a drop-down list in column A. Type each additional option into its own cell at the bottom of the current list.
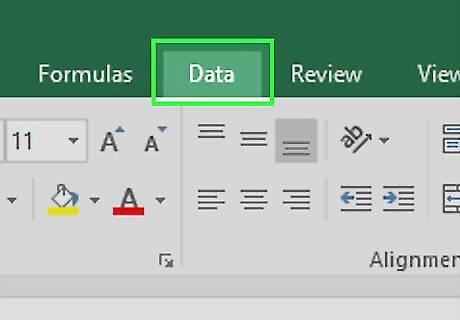
Click the Data menu. It’s at the top of the screen.
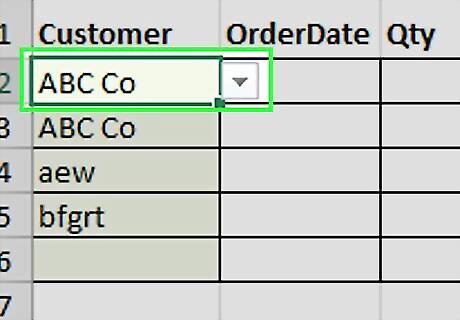
Click the drop-down list. It’s the cell at the top of the list that contains a downward-pointing arrow button.

Click Data validation. It’s in the “Data Tools” group in the ribbon at the top of Excel. This opens the Data Validation window.
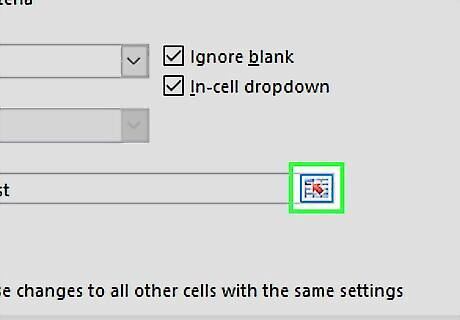
Click the upward-pointing arrow. It’s next to the “Source” field. This collapses the Data Validation window to a smaller size.
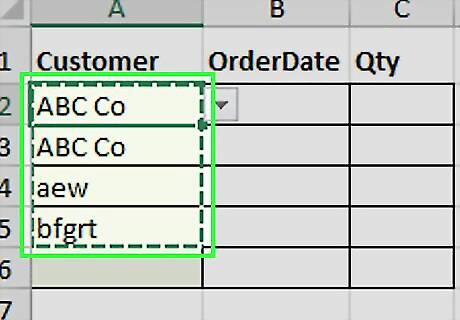
Select the range that contains all items in the list. Be sure to select the old values as well as the ones you just added.
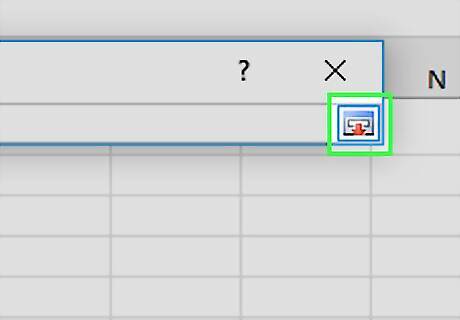
Click the downward-pointing arrow on the Data Validation window. This is the window you collapsed earlier. The full window will reappear.

Check the box next to “Apply these changes to all other cells with the same settings.”
Click OK. Your drop-down menu is now updated.
Editing a List with Manual Entries

Open the workbook that contains the drop-down list. Double-clicking the file on your computer will open it in Microsoft Excel. Use this method if your drop-down list is not based on a range of cells, but instead a comma-separated list entered directly into the Data Validation window.
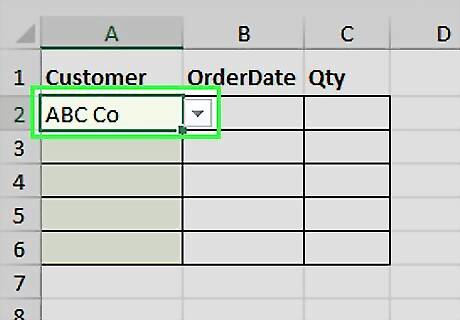
Click the first cell in the list. This is the cell with the downward-pointing arrow.

Click the Data menu. It’s at the top of the screen.
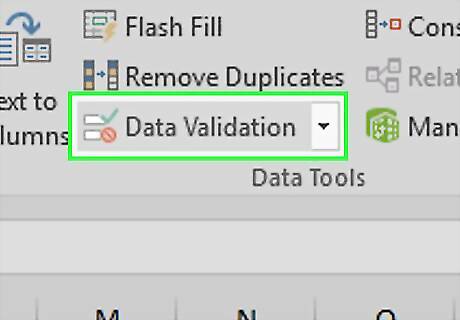
Click Data Validation. It’s in the “Data Tools” section of the ribbon bar at the top of Excel.
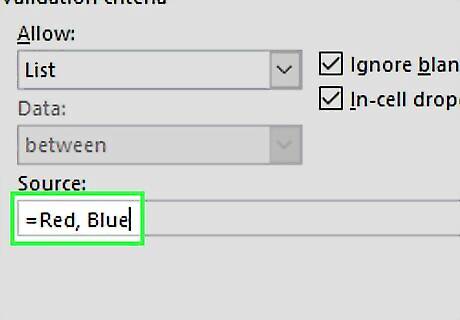
Add or remove items from the “Source” field. Be sure to separate each item with a comma (,). Example: Red, Blue, Green, Yellow.
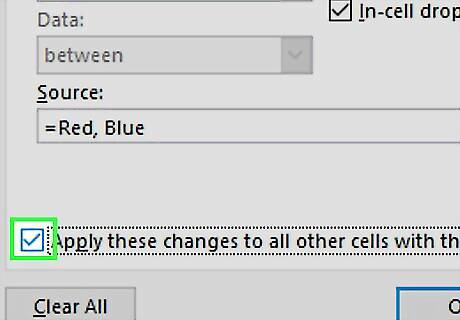
Check the box next to “Apply these changes to all other cells with the same settings.”
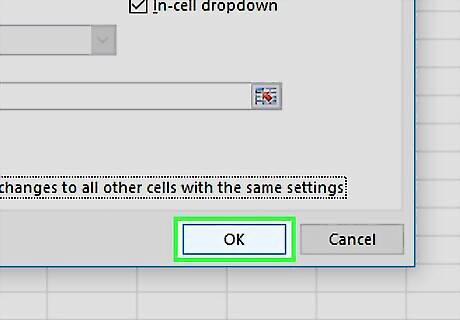
Click OK. Your drop-down menu is now updated.


Comments
0 comment