
views
H1: How to Enable and Run the Disc Image Burner in Windows 8.1
After installing a 3rd party CD/DVD burning program, Windows Disc Image Burner menu selection doesn't appear after right-clicking on an ISO file because this program associates itself with ISO files and makes itself the default program for handling them. This tutorial will show how to enable and run Windows Disc Image Burner in this situation.[1]
X
Research source
- First enable Windows Disc Image Burner in Control Panel.
- Second, right-click the ISO and select "Burn disc image."
- Last, change the file format to ISO using Command Prompt.
Enabling Windows Disc Image Burner

Click the Start button.
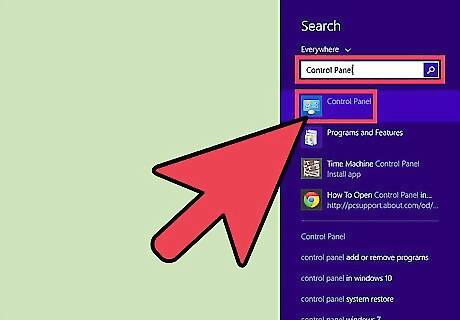
Enter "Control Panel" and click it. Or, click the downward arrow, find Control Panel under Windows System header, and click it.
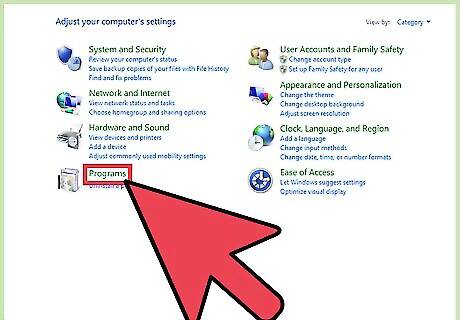
Click the Programs.
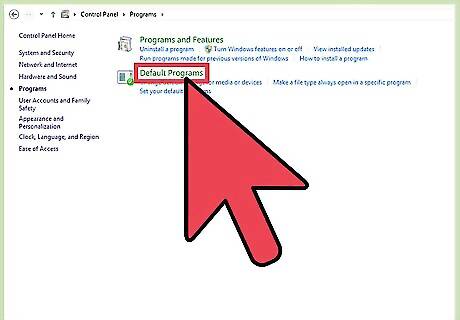
Click the Default Programs.
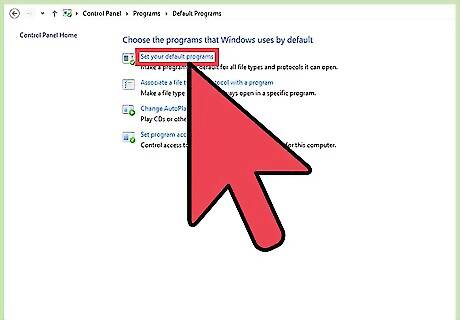
Click the Set Your Default Programs.
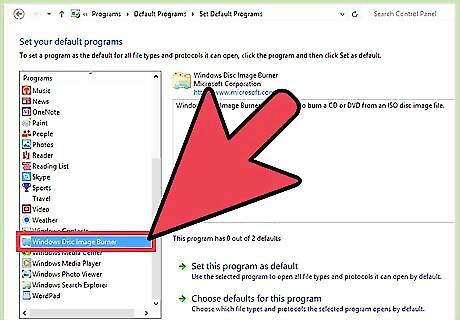
Wait for the list to show up and then select Windows Disc Image Burner in the left-hand column.
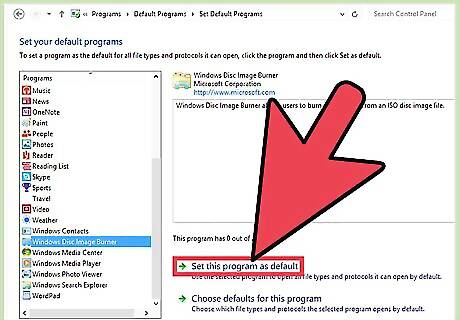
Click Set This Program as Default.
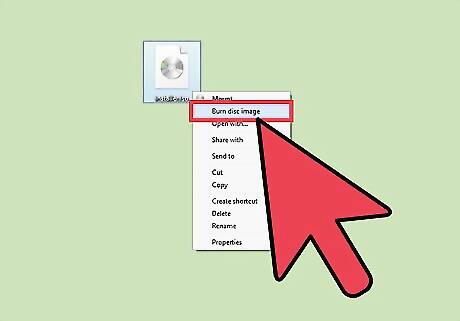
From now on Windows Disc Image Burner menu selection should appear after right-clicking on a .iso file.
Running Windows Disc Image Burner From Graphical Interface

Right-click on the ISO file which you want to burn to a CD/DVD.
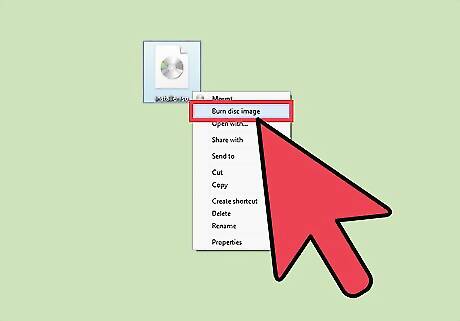
Click Burn Disk Image option. Clicking this option will open Windows Disc Image Burner which you can use very easily to burn ISO file to CD/DVD
Running Windows Disc Image Burner From Command Line

Click the Start button.
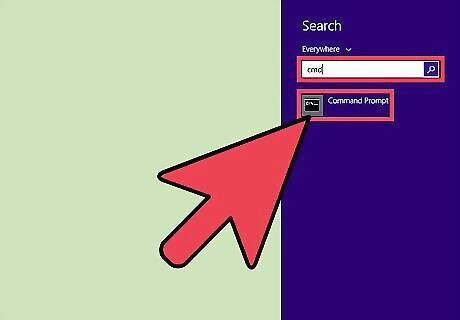
Write cmd and click it.
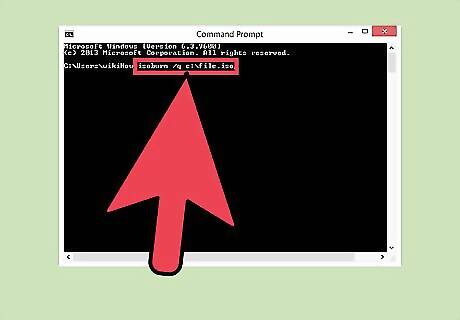
Now you can use the following command to burn .iso images to CD/DVD: isoburn /q drive:\file.iso
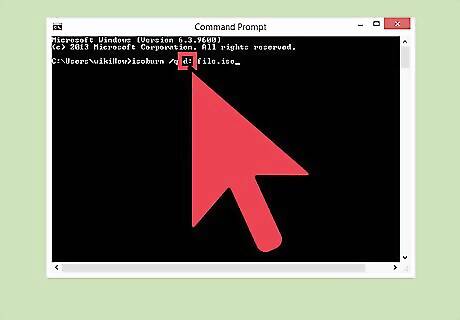
Where "isoburn /q" is the command and replace "drive" with your drive letter or the complete path. For example if windows8.iso file is located in your D drive and you want to burn it, the correct command will be: isoburn /q d:\windows8.iso


Comments
0 comment