views
Making Glitter Wine Glasses
Gather your materials. Making glitter wine glasses is simple, but you will need some specials materials and tools to do it. Before you get started, you will need: glass glue, such as Mod Podge or similar wine glasses cardboard paper plate painter’s tape large paint brush glitter scissors isopropyl alcohol cotton balls ribbon
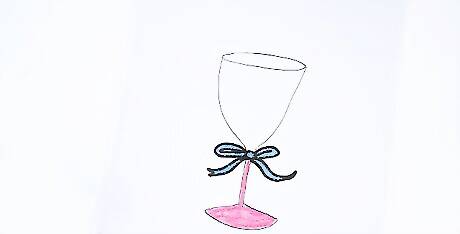
Consider sketching the design first. Drawing your design on a piece of paper will allow you to see what looks nice and what doesn't, and thus prevent you from making mistakes later on. While it is possible to clean off glitter and glue while they are still wet to change the design, it is better to get the design right the first time. Here are some popular design schemes for glitter wine glasses: Apply glitter only to the base of the wine glass, leaving the rest of the glass blank. The glitter can also extend ½ to 1 inches (1.27 to 2.54 centimeters) up the stem of the glass. Apply glitter only to the stems of the wine glass, leaving the rest of the glass blank. Create an initial or number using glitter. Create stripes on the entire glass (or just the stem) using glitter. Apply glitter to the entire glass, except for the top ½ to 1 inches (1.27 to 2.54 centimeters of the rim. Create designs using two different colors of glitter. Create ombré designs by having two colors blend into one another.
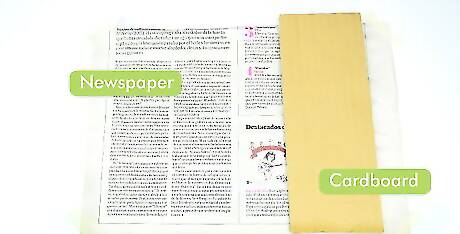
Set up your workstation. Find a flat table and cover it with some newspaper. You will be working with glue and glitter, which can be quite messy. You should also place a small piece of cardboard or cardstock on your workspace to use for glitter collection. This will make it easier to return the excess glitter to your glitter bottle for use in other projects.
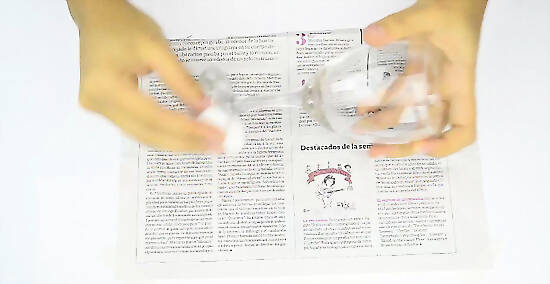
Clean the outside of the wine glasses with alcohol. To ensure that the glitter will stick to the glass, you need to clean the glass really well. Use some cotton balls dipped in isopropyl alcohol to wipe the outer surface of the glass where you plan to apply the glitter. After you have cleaned your glasses, set them aside for a few minutes and let the alcohol dry.
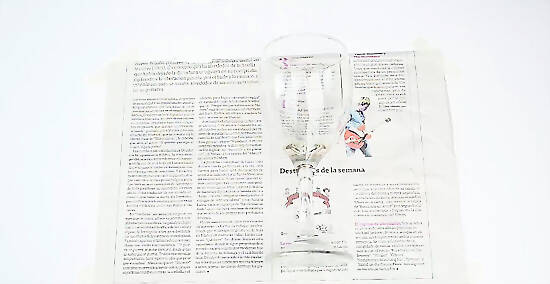
Cut a thin strip of tape and apply it to your wine glasses. Next, take your painter’s tape and cut it lengthwise to create a long thin strip. If you will be applying the glitter just onto the stem, then you can use a short strip. Place the tape around the area of the wine glass where you want your glitter to stop. Make sure that the tape is even and securely attached to the wine glass. Otherwise, you may end up with a crooked glitter line around your wine glass. To apply glitter to the base of the wine glass, tape off the stem of the glass and leave the base exposed. You may also leave ½ to 1 inches (1.27 to 2.54 centimeters) of the stem exposed as well; the glitter will then extend onto part of the stem. To apply glitter to the stems of the wine glass, cover the base of the glass with tape. Then, cover the bottom portion of the bowl part with tape as well. To create an initial or number using glitter, you may use an glue stencil or apply the glue directly to the glass free-hand. To create stripes on the wine glass, simply wrap a long piece of tape around your glass in a spiral, creating a candy-cane effect. There should be spaces between the edges of the tape. To use two or more colors, tape off the areas your do not want covered in glitter and apply the glue to the area of the first color. One you have applied the glitter and let the glue dry, you will apply the glue and glitter for the next color. To create an ombré effect, simply tape off the bottom and top part of your design and work in the area between the pieces of tape.
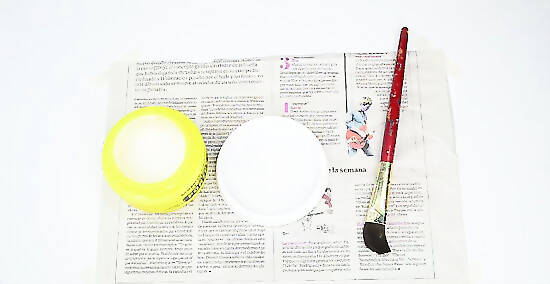
Pour glass glue onto your paper plate. You will need to be able to dip your paint brush in the glue, so pour a generous amount of glue onto a paper plate. Make sure that there is enough to coat each glass with a thick layer of glue to ensure that the glitter will stick.
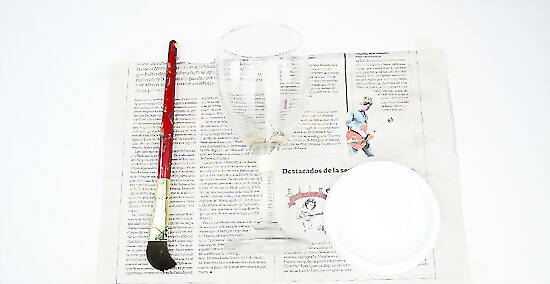
Paint the lower portion of the wine glass with glue. When your tape is secured, take your paint brush and dip it into the glue. Then, begin painting the glue onto the lower half of the wine glass. Make sure that you apply an even, thick layer of glue to the wine glass. You can also use a foam brush if you are worried about leaving streaks on the glass. A foam paintbrush may apply paint more evenly than a bristled paintbrush.
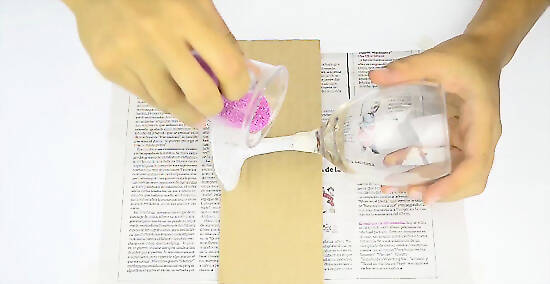
Pour glitter onto the glue. After you have applied the glue to the wine glass, set aside the paint brush. Then, hold onto part of your wine glass that does not have any glue on it. Hold the glass over your piece of cardboard and begin pouring glitter over the glue-coated areas of your wine glass. Keep pouring glitter over the glass until all of the glue-coated areas are covered in an even layer of glitter. When you are finished, you can return the excess glitter to the bottle. Pick up the cardboard and bend it slightly to create a funnel and then pour the glitter into the glitter bottle. If you want to do multiple colors of glitter, then you will need to let the first layer dry and then apply more glue to the glass. Then, pour your second glitter color as you did with the first layer.
Finishing the Glasses
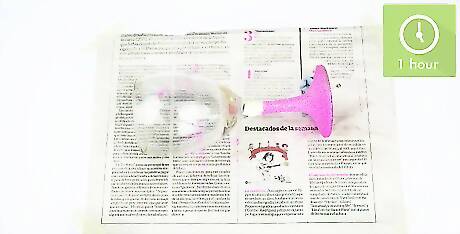
Leave the wine glasses to dry. The wine glasses will need to dry for about an hour, but you may also leave them overnight to ensure that they are fully dry. The glasses will need to be completely dry before you can add the finishing touches. Remember that if you will be applying more layers of glitter, you can do that after the first layer has dried.
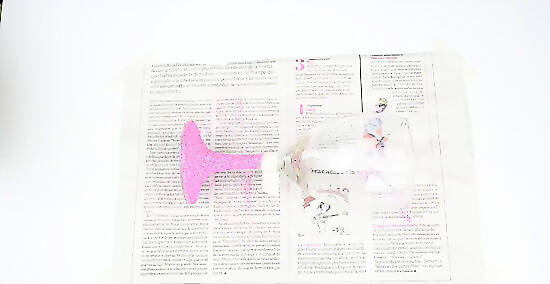
Remove the tape. When the glasses are dry, slowly peel away the painter’s tape. After you remove the tape, there should be a sharp line dividing the glitter-covered glass and the glitter-free glass. Discard the tape after you remove it.
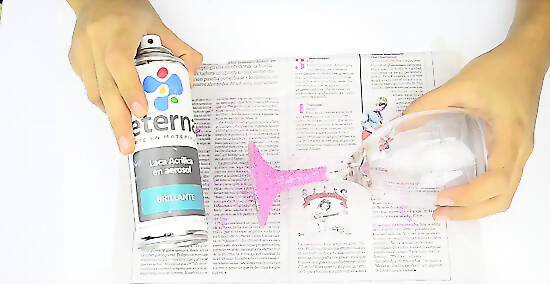
Seal the glitter. Next, you will need to seal the glitter with more glue or with a sealing spray, such as Krylon Crystal Clear. To seal the glass with more glue, use your large paintbrush to paint on another layer of glue over the glitter. Then, let the glass dry for at least an hour. If you plan to use a sealing spray, then you will need to go outside to seal your glass. Place the glass on a piece of newspaper on the ground outside and then spray the Krylon Crystal Clear onto the glittery areas of your glass. Then, allow the glass to dry for at least an hour.
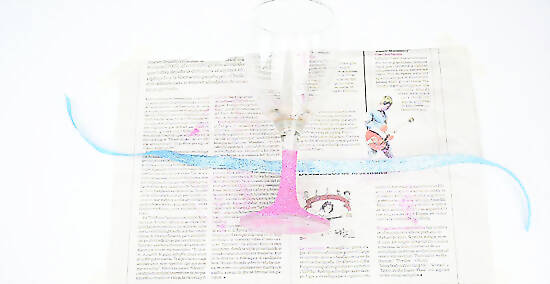
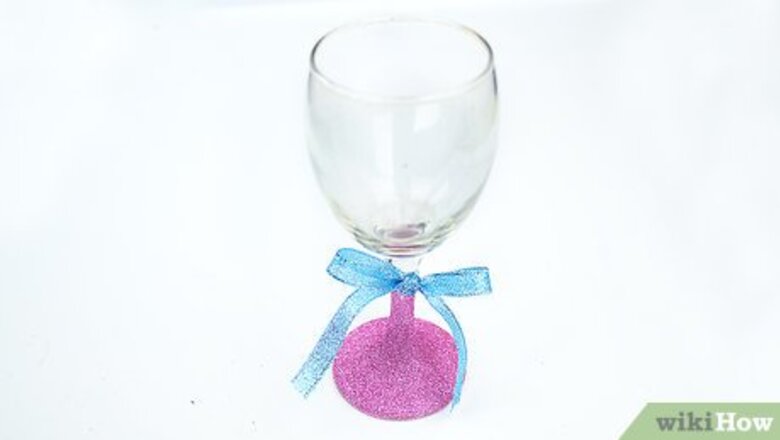
Tie a piece of ribbon around the stem. To add a cute finishing touch to your glass, take a piece of ribbon and tie it around the top of the stem on your glass. Tie the ribbon in a bow and adjust as needed. Now your glass is ready to use or to give as a gift!
Caring for Your Wine Glasses
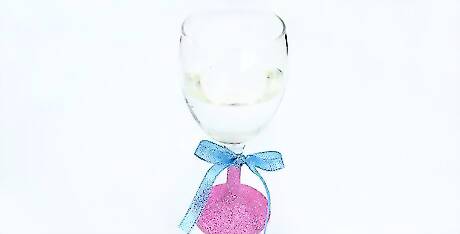
Use your glasses after they are completely dry. The glitter may smudge or come off easily if it is still a little wet. To ensure that the glitter is completely dry, you may want to leave your glasses out to dry overnight. Put them somewhere that is dry and out of the reach of children and pets.
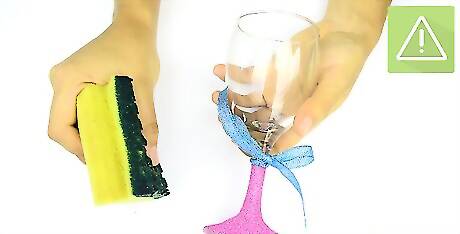
Wash your wine glasses by hand. The glitter surface on your wine glass will be fragile, so you will need to take extra precautions to ensure that the glitter does not chip off when you clean it. Wash your glitter wine glasses by hand and try to avoid the glitter areas as much as possible when you wash them. Focus on cleaning the inside of the goblet and the rim of the wine glass. Do not scrub the wine glasses. Instead, use a soft sponge and try to avoid the glittered areas. Do not put the wine glasses into the dishwasher.
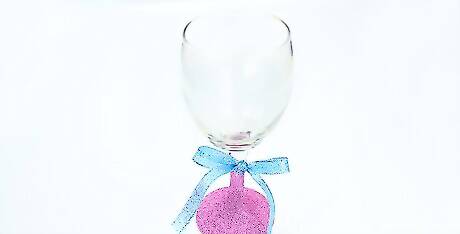
Dry your wine glasses right away. Do not let your glitter wine glasses sit in water. When you wash your wine glasses by hand, be sure to dry them off immediately afterwards with a soft towel. Otherwise, the excess moisture may cause the glitter to chip and flake off.







Comments
0 comment