views
Grooming Your Dog Before the Bath
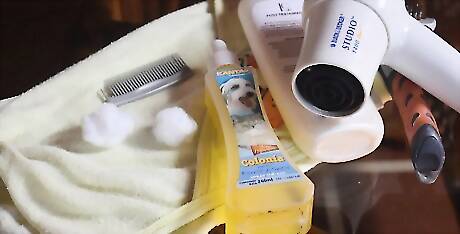
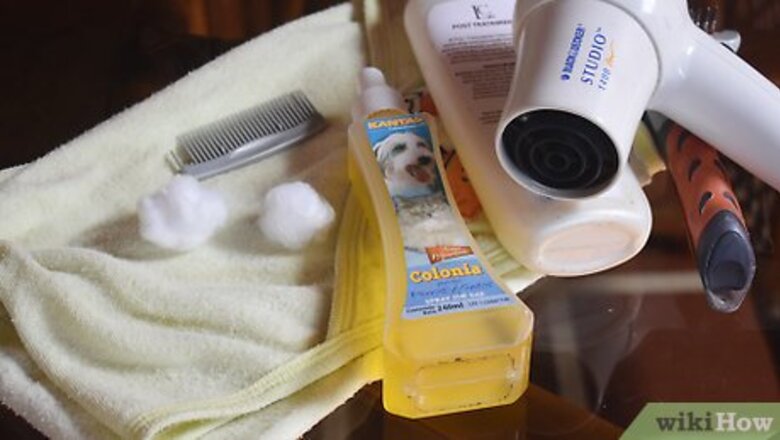
Gather your grooming materials. You don't want to be looking for your tools once you begin grooming your dog. Make sure to have everything you need in one place before you begin the task at hand. Consult the "Things You'll Need" section below to find out what you'll need to groom your dog.
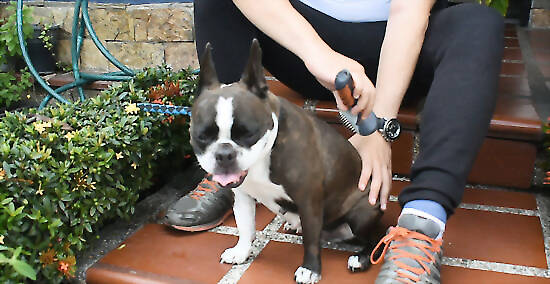
Comb out your dog first. Combing your dog's coat daily or every other day will keep most mats at bay. Simply brushing, as most literature instructs, is not enough for dogs that can mat up: the brush will easily pass over at angles that a comb will get stuck on. A thorough combing should always be the first step of the grooming process because any mats will become tighter and less manageable once they dry. Begin on the head and move down the body. Be careful under the belly, as it is a sensitive area, and don't forget to comb the tail. While you are combing, if you find a tangle, use a brush and try to work out the tangle. Be mindful not to brush burn your dog from brushing for too long in the same spot. You can check by looking under the fur to see if the skin becomes red with irritation. You can brush short-haired dogs with simple tools like curry brushes or gloves. Comb and brush medium- to long-coated dogs with more specialized tools like a steel comb, slicker, a pin brush, or an undercoat rake. Whatever you use, it must remove loose hair and distribute oils from the skin throughout the coat.
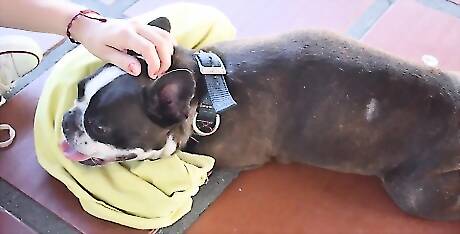
Praise your dog as you're brushing. Reward calm, quiet behavior to encourage more of it. You may want to include a treat to reward the dog for good behavior.
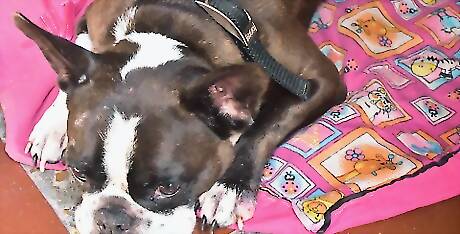
Give the dog breaks as needed. You don't want the dog to get overwhelmed; any negative associations can make grooming harder in the future. Make the experience fun by giving your pet breaks from time to time, giving praise, treats, pets, and even a little bit of play. This will also keep your dog distracted. This is especially important with a puppy, which can be trained from a young age to tolerate this much handling well.
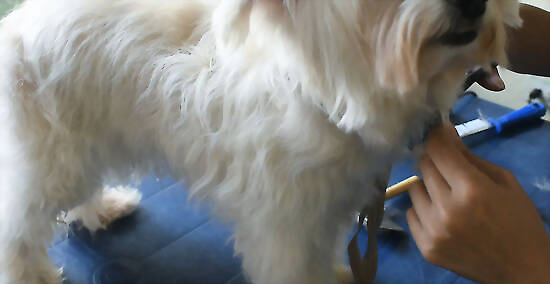
Cut out mats that can't be brushed out. Severe matting can pull the skin every time the dog moves, making daily life painful for your pet. If you can't brush a mat out, you need to either cut or shave it off, depending on how close it is to the skin. Be extremely careful if you use scissors to avoid injuring yourself or your pet. Try to cut parallel to the growth of the hair to avoid a choppy look. If you don't think you can safely remove the mat without hurting your dog, take him to a professional groomer. On occasion, mats can get so tight and close to the skin that bacterial infections occur underneath the mat. If you suspect an infection, take your dog to the veterinarian as soon as possible. The visual symptoms of bacterial infection are redness and moisture, with pus secretion in advanced cases. Your dog might chew or scratch at the area because it itches.
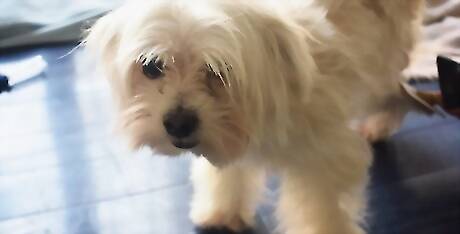
Clear the dog's eyes. White-haired breeds or those with large eyes that water a lot (Pekingese, Pugs, Pomeranians, etc.) may need more maintenance in this area than others. Depending on your particular dog, this step may be a simple matter of wiping or pulling eye debris away from the corners of the eyes. Long-haired or white-haired dogs may need special attention to make sure that all gunk is out of the coat, as they may get tear stains. You can buy products made for removing "tear stains" from a white coat at a pet supply store. A healthy eye should be clear and should not show any signs of irritation or unusual discharge. Don't try to trim hair away from the eyes yourself, as you might injure your pet. Ask your vet or groomer to do it for you.
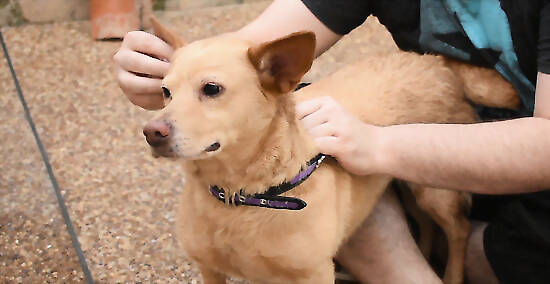
Clean your dog's ears. It's normal for a clean ear to have some wax in it, but there shouldn't be any particular smell to it. To clean your dog's ears, apply some ear cleaning solution (bought at a pet supply store) to a cotton round. Not too much or it will drip into the ear while wiping. Wipe dirt and wax away from the inner ear, but don't rub vigorously, as this might cause sores. Don't push too far into the ear, either. If your dog has drop ears like a basset hound, wipe the inside of the ear flag as dirt collects there as well. The groomers rule of thumb is to clean only what you can see. Bring ear cleaning solution up to body temperature before putting it in the dog's ears. Place it in a body-temperature water bath, just as you would with a baby bottle. When you're done wiping out the ear with a damp cotton ball or cloth, gently dry it out with a dry one. Praise your dog! The ears are a sensitive part of the body, and he may need some comfort.
Contact the vet for ear problems. Your dog needs medical attention if his ears look swollen, red, irritated, dark or blackened. Any discharge or sores, or a bad or yeast-like smell should also prompt a call to the vet. Excessive discharge, inflammation, one ear is much dirtier than the other, and odor are signs of an ear infection that need medication.
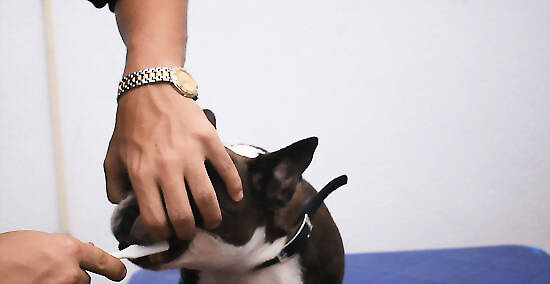
Brush the dog's teeth. Ideally, brushing your dog’s teeth every day with dog toothpaste is the route to healthy teeth and gums. Use dog toothpaste instead of human products, so you don't poison your dog with fluoride. If there is any chance that you may get bitten by your dog, do NOT attempt to brush your pet’s teeth. At any point, if the dog gets overwhelmed, give him a break to calm down. Start by placing a small amount of dog toothpaste on your finger and spreading it across the teeth for a few seconds. Reward the dog for cooperating. Once the dog lets you work your finger in his mouth for 20-30 seconds, you can graduate to gauze or finger toothbrushes from the pet store. Work your way up to a dog toothbrush. No matter what, ease your dog into the process so that it can be a pleasant experience rather than a stressful one.
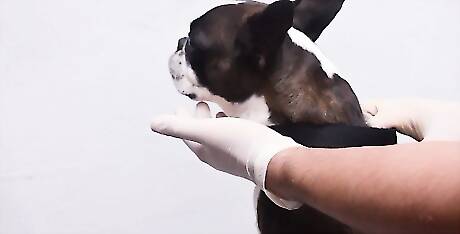
Get a veterinary cleaning if necessary. If your dog already has a considerable buildup of tartar and plaque, a simple tooth-brushing won't be enough. Just like a human would, your dog needs a professional cleaning at the veterinarians. Another option is anesthesia-free teeth cleaning, which is available but typically not offered by veterinarians. Look for red gums or brown material attached to the teeth — these are signs that a home tooth-brushing will be painful for your dog. Don't try to brush his teeth until he's seen a vet.
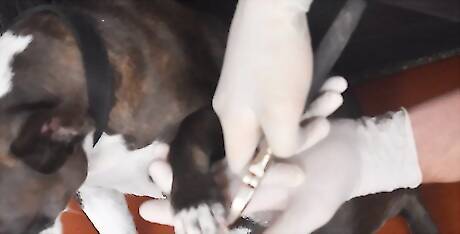
Clip the dog's nails. If left untrimmed, a dog's nails can curl under into the paw pads or twist toes in a way that causes joint damage. To keep your dog's nails short, clip them regularly, depending on how fast his nails grow. If you can hear his nails on the ground when he walks, that means his nails are touching the ground, and are too long. Trim a very small amount of nail (1/16 inch) away with a pair of dog nail clippers. Human clippers are okay for a very young puppy or small dog. Guillotine style clippers are less effective than the scissor type. Also, use the appropriate size clippers for your dog. If your dog has clear nails, you can see the pink part (The quick) where the blood vessel's located. Avoid cutting the pink part, trimming only the clear hard nail. Take extra care with dark-nailed dogs not to clip to the quick (blood vessel). Go slowly, and only take a little bit off at a time. Dremeling is much safer and easier to avoid hitting the quick, as it shaves only a little bit at a time. Use a cordless pet-safe Dremel tool, as the corded ones will not stop turning if they catch hair. Don't dremel for too long as it will burn the nail and prolong the trimming process for the dog which causes more stress. The best recommended process is trim first then dremel to shorten a little bit and round out the nail do it's not sharp. If you cut too far and hit a blood vessel, apply styptic powder, cornstarch, or flour with a bit of pressure and hold for a few seconds to stop any bleeding. For most dogs, this is the worst part for them. Some people do this step last to avoid the dog immediately becoming too stressed to do much grooming afterward. If trimming nails last and quick the nail, you can wash just the paw with a little water or wipe it off with hydrogen peroxide to get the blood off after applying blood clotting substances.
Bathing Your Dog
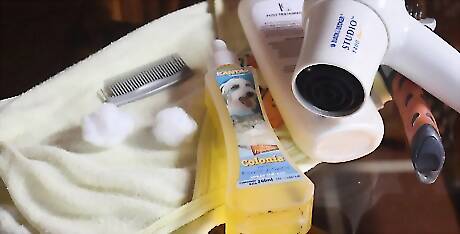
Gather your supplies. You don't want to be running around looking for cleaning products with a wet dog in the tub, so have everything in one place before you start. You should also make sure that you're properly dressed in clothes you don't mind getting messy because you will get wet. At the very least, you will need: Dog shampoo Treats Several towels Place one towel on the edge of the tub to keep water from splashing over the tub. The rest are for drying.
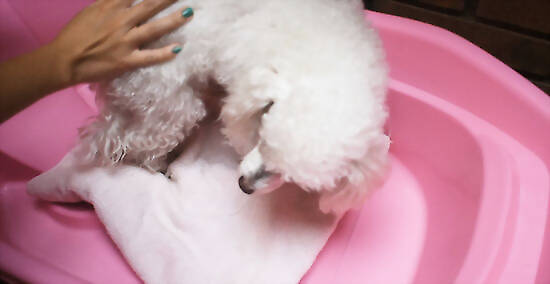
Place a non-slip surface on the bottom of the tub. You know from experience that the tub can get slippery once it gets soapy. To prevent your dog from slipping, place a towel or non-slip bath mat in the tub.
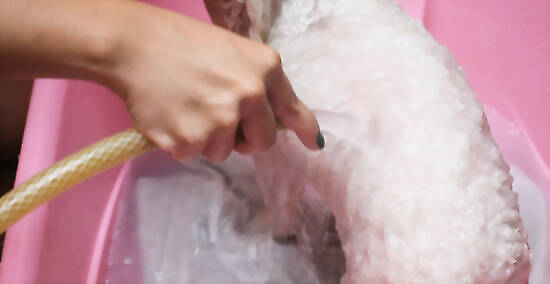
Run shower with lukewarm water. Hot water can harm your dog's skin, especially if your dog is short-haired. Avoid running water right away on the dog, as it may cause unnecessary stress and burns if starts out hot without checking first. You may have to spend some time desensitizing your dog to the sound of running water with the help of his favourite treats. Always go slowly to avoid overwhelming your pet and making things worse for both of you. If you only have a tub and no shower, use a hose outside as filling a tub with water or only have a cup to run over the dog with water will not penetrate the fur or completely rinse off shampoo properly which causes infection as well as dry skin if completely soaked in water. This is true for even short hair dogs like pit bulls, you don't need the high power setting of any hose only enough to not hurt or stress the dog but still gets the job done. Read your shampoo directions carefully as some have specific dilution instructions. If you can't find any such directions, then use as is for diluting too much may affect how clean the dog will be. Some shampoos are for treatment of fleas and ticks ONLY, they're not for prevention so it's advised to not use them for a normal bath.
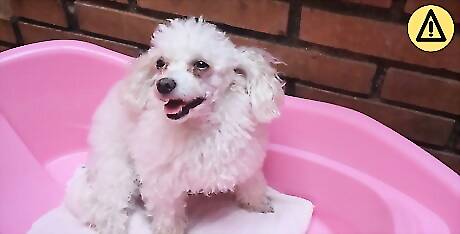
Secure the dog in the bathtub. Some dogs like to make a run for it during bath-time. If this describes your dog, buy a dog bath lead from the pet supply store. It's a leash that attaches to the shower's wall with a suction cup and keeps your dog in place during the bath. Replace the dog's regular collar with one that will not stain the coat or suffer water damage. A slip lead that adjusts to a struggling dog is best but the dog may choke itself no matter the restraint so monitor his breathing carefully and adjust or simply push them back when necessary.
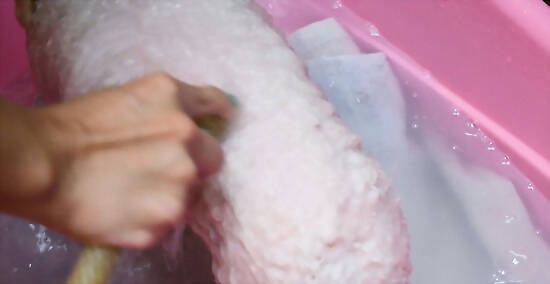
Soak your dog thoroughly. Make sure your dog's coat is completely wet before you start applying shampoo to it. If your dog isn't afraid, you can buy and use a hose and water pressurizer attachment for the faucet. This is especially helpful if you have a large dog or one with a double-coat. AVOID getting water in your dog's ears. Water in the ears can cause an infection. Please be sure to only spray water/rinse water up to the dog's neck. The head can be cleaned separately (see below for instructions).
Shampoo the dog. Begin at the neck and move downward toward the rear and legs, using your fingers to spread the shampoo and work it in down to the skin. Save the head for last, and don't use soap around the ears and eyes(unless you have tearless shampoo meant for dogs). Instead, use a wet towel or washcloth to clean the head. Once the shampoo is applied, running a rake or rubber curry brush through a double-coated dog's coat will help to loosen it and better distribute the shampoo - just be careful not to rake one spot for too long. Shampoos may be easier to apply and rinse off if diluted properly. Try CHI For Dogs shampoo. "Success! Following these tips made bathtime with my pug, Mary, go smoothly. I used CHI For Dogs shampoo, conditioner, and a brush. It worked out so well!" - One Thing I'll Know (wikiHow Community Member) Cash in on savings. "I use this article to groom my own Shih Tzu, as groomers are now so expensive. Doing it myself, I only take her to a groomer once a year to make sure everything looks good. This has been so helpful for me!" - Brenda S. Have a story our readers should hear? Share it with 1 billion+ annual wikiHow users. Tell us your story here.
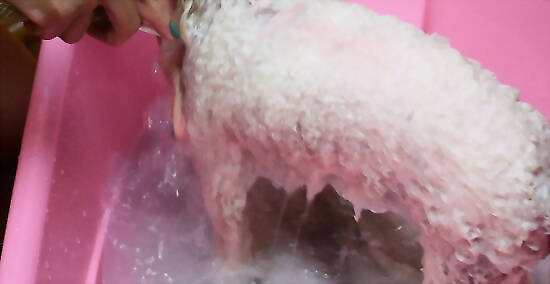
Rinse your dog thoroughly. As long as you see dirt or soap bubbles in the water coming off of an area, keep rinsing. You can use the same method you used to soak the dog's coat before shampooing. If your dog is too afraid of running water or the bath in general and can't be done on your own, there are veterinarians who can give proper sedation, not too much, to allow you to groom in a couple of hours or can groom the dog themselves. Touch the dog all over to feel for any shampoo especially the chest area and in between the legs, they are hard to get. To test it, rub the fur in between your fingers and pull softly, if it feels squeaky then it's clean.
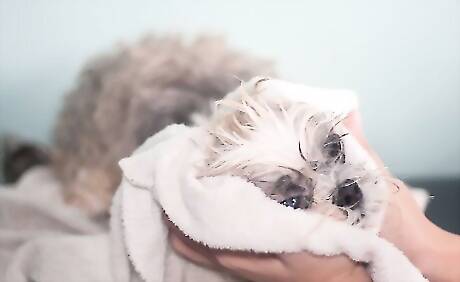
Dry your dog. Use a squeegee or use your hand as a squeegee to force water off of the coat and body. Towel-dry him as best as you can while he's still in the tub, so you don't make a mess. Place the towel over your dog’s back, or hold it next to him and give permission to shake the water off their body. Many dogs will learn the “bath rules” and wait to shake until you have placed the towel over them to contain the water droplets. Another type of towel to use is a chamois, which is a thin fleece-like towel that is designed to be wrung out when wet. It lessens the number of towels needed and does the bulk of the work. Using a chamois, then a towel makes drying less of a hassle. If you have a double-coated or long-haired dog, you may need to blow the coat dry.
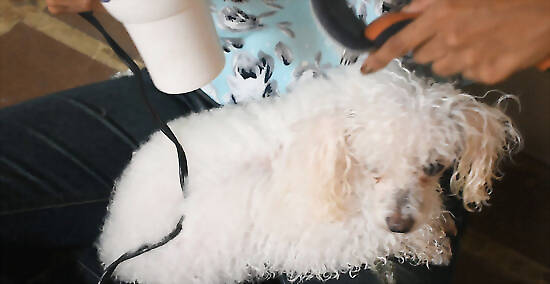
Blow dry the dog if necessary. If towel drying won't cut it, blow-drying can dry the coat without overheating or over-drying your dog. If you have a dog with especially long hair, you may need to dry the coat while brushing it. Towel drying along with blow drying is the fastest method. Make sure that the blow dryer is on the cool setting! It may take longer than usual, but it's worth the time because there will be less of a chance your dog's hair and skin will dry out. If your dog is afraid of the sound or sensation of the blow dryer, don't push him. Towel-dry him as best as possible and let him air dry somewhere he can't make a mess, like a laundry room. Don't allow the dog out completely wet as the water will cause irritation and dryness if not at least towel dried first.
Clipping Your Dog's Fur
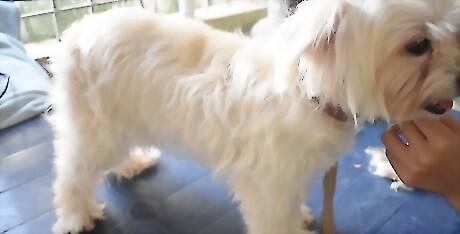
Decide if you need to clip your dog's coat. Many breeds have short hair and don't require regular clipping. However, if you have a shaggier breed of dog, he may require regular clipping as part of his health routine. Breeds that need regular coat trims include cocker spaniel, sheepdog, poodle, collie, Shih Tzu, Pekingese, and chow chow, among others.
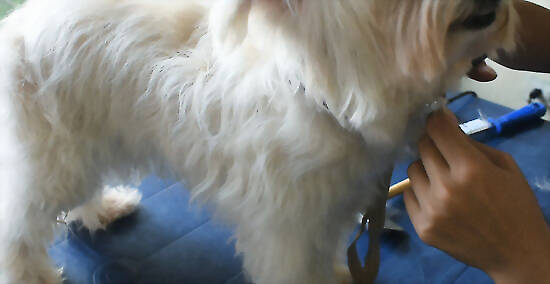
Clip the dog's fur after it's completely dried. If you plan to clip your dog's hair, make sure to read the directions that came with the clippers. Get an information book or video, or consult with a groomer about the proper use of your clippers. Make sure that the clipper blades are sharp and the clippers well lubricated. If the blades are not sharp, they can pull on the hair. Before clipping your dog, you should have an idea of the look you are trying to create. Read, ask questions and watch videos to get an idea of how to achieve the desired result.Then you may start.
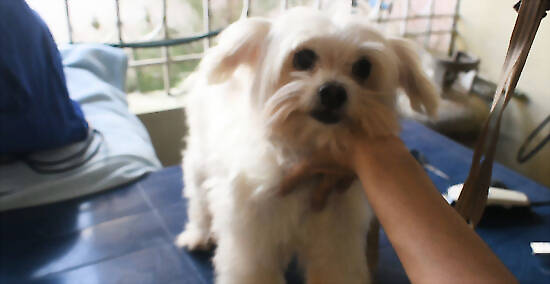
Restrain the dog gently. You don't want him moving around, so tie him up with a leash. During the clipping process, you can place your free hand under the dog's belly to encourage him to stay in place instead of fidgeting. If the dog is nervous, keep praising him in a calm voice or sing. Healthy treats are also good to have.
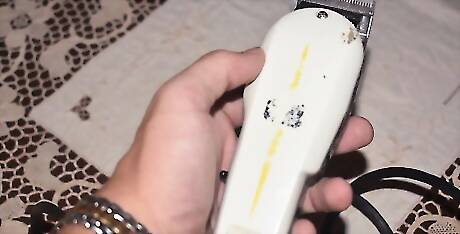
Use dog grooming clippers. It's worth it to spend a little bit of extra money on a good pair of dog grooming clippers. A small investment up front will save you money down the road, since you won't have to pay professionals to groom your pet. Make sure to use dog grooming blades that will give you the coat length you desire. Scissors will likely not give you a nice, even coat, and you may hurt the dog with them if he moves suddenly. Grooming clippers are recommended over scissors.
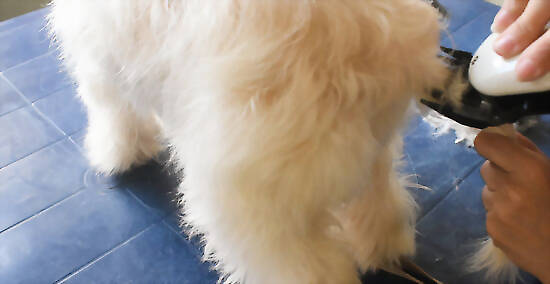
Clip the dog's hair methodically. You can place the blade against the body safely, so long as you don't press the blade strongly into the skin. Brush against the direction of hair growth(back-brush) before running the clippers the other direction; with the direction of hair growth. Using the clippers against the growth of hair will have the same effect as back-brushing, but will leave a shorter length than the clipper blade that you are using. If you want to shave against the growth of hair, a blade size gets two blade sizes smaller when cutting against the grain. For example, when cutting with 4# against the grain check how long a 7# leaves behind when cutting with the grain. Move the clippers surely, but slowly across the dog's body to remove the hair — moving too fast might leave uneven lines. Always move the blade with the direction of the hairs' growth unless you want a shorter length than your blade claims to leave. Begin at the neck, then move down to the shoulders, under the ears, and toward the chin, throat, and chest areas. DO NOT use a size seven or any skip blades around the throat area or any flaps on the body that can fit between the teeth, such as the Achilles' tendons, arm pits, genital area, tip of tail, or anus. Then, clip the dog's back and sides. Finally, clip the hair on the dog's legs. Be careful when cutting the neck with any blade as it's the most dangerous to cut. Never cut straight down, do so at angles to avoid flaps you can't see in the neck getting cut.
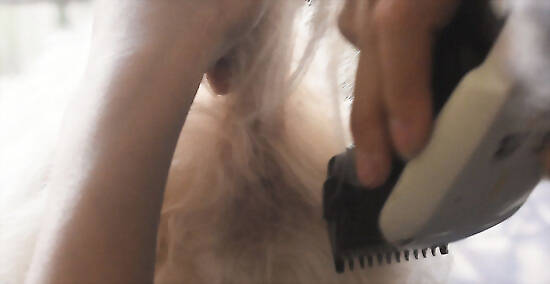
Be careful when removing hair around the anus. The anus can pop out, like a button, unexpectedly and be accidentally cut as a result- anticipate this action. Don't run the clippers over the anus, only outward from around the anus and under the base of the tail. Treat your clippers like a pencil. Be careful when clipping around the legs, tail, and face. These areas can be sensitive. The dog will also dodge around and may end up cutting themselves by jerking so fast. Check the clippers frequently to make sure they don't get hot enough to hurt your dog’s skin. If the clipper blades do get hot, stop and use a product like “Clipper Lube” spray on them.
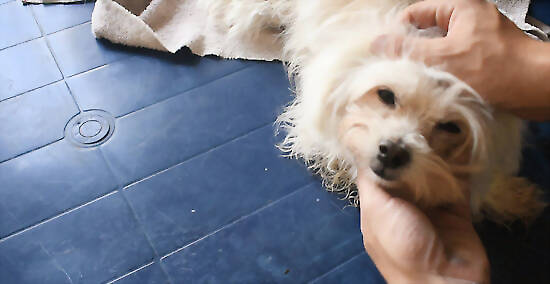
Reward your dog. Standing still can be hard work! If he seems like he's getting overwhelmed by all this handling, give your dog a break every few minutes. Praise him throughout the process, and give treats during the break. Do not play with the dog where there is a chance for him to get dirty or too excited to stand still during the process again.
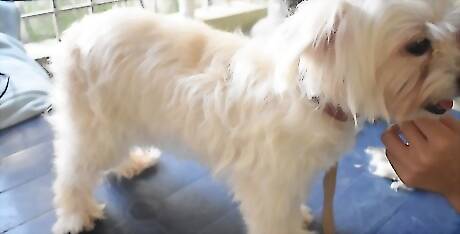
Be patient. You may have to go over your dog's coat a few times before you have a smooth, even cut. Don't rush it! Give your dog as many breaks as necessary, and make sure to move your clippers slowly. Brushing up against the coat then going the spot with clippers again help to get a smooth cut. Do will have to be done many times before you are done.


Comments
0 comment