views
X
Research source
If you are having trouble you can check that the correct options are set by launching the Remote Desktop software, opening the advanced settings, and selecting to “Play on this device”. Similar steps will work whether you're connecting from a phone or a desktop. Don’t forget to check that your local computer/phone is not muted!
Using the Remote Desktop Mobile App
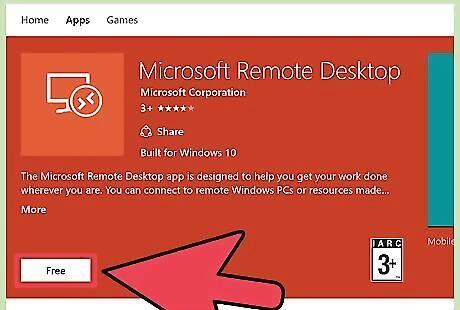
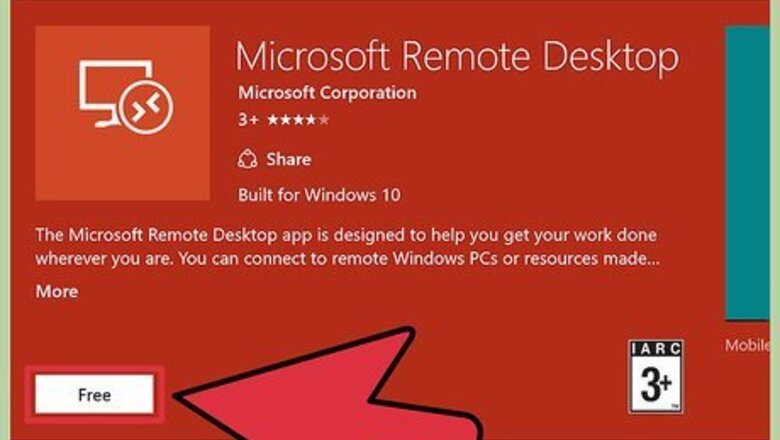
Download and open the Microsoft Remote Desktop app. Press “Free” to download and “Open” once the installation completes. Android and iOS versions of the app can be acquired from their respective app stores. Android has a few third party remote desktop apps like RemoteToGo that will function similarly. However these apps are not officially supported by Windows Remote Desktop Connection.

Tap the “+” button. This button is located at the bottom of the screen and takes you to the “Add Desktop” page.
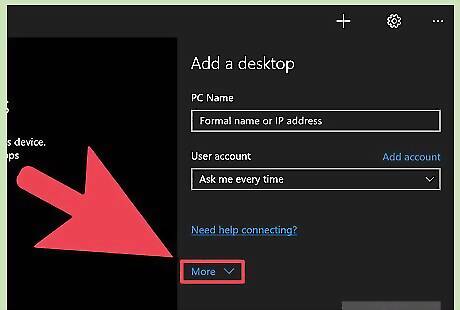
Tap “Advanced”. This button is located at the top of the page and takes you to a list of optional settings.
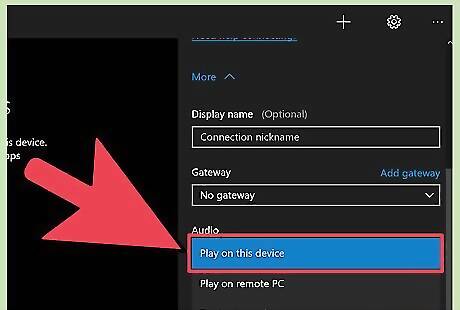
Tap the “Sound” dropdown menu and select “Play on this device”. You can also set the sound to play on the remote device or play no sound at all from this menu.
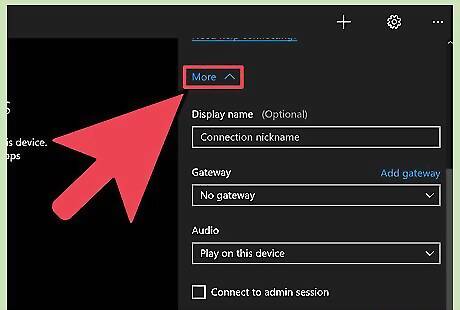
Tap “General”. This takes you back to the page with the connection credentials.
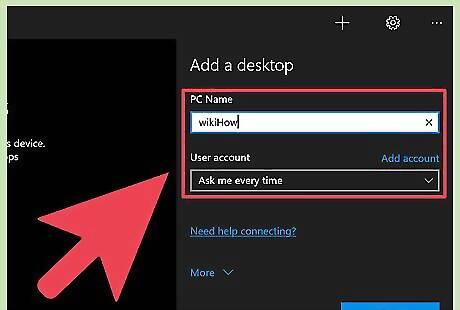
Enter the login credentials for the remote computer. The username is either the name of the computer to which you want to connect or its IP address. The password is its login password. You can view your computer’s name by going to “Control Panel > All Control Panel Items > System” on the computer if you don’t know it. You can find the computer’s IP address by typing “ipconfig” into the command line on your computer. Tap the disk icon to save the remote profile for future use.
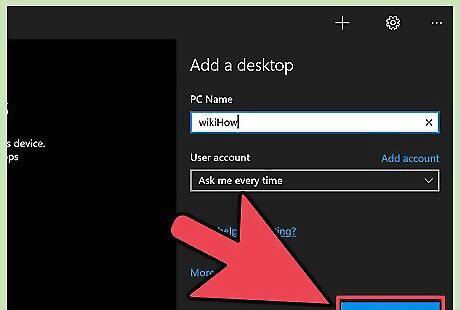
Tap “Connect”. This button is located at the bottom of the screen and will initialize the remote desktop connection.

Test the remote computer’s audio. Once the remote desktop appears on your local display, tap the speaker icon in the lower right taskbar to open the sound controls. Adjust the volume and you will hear a chime confirming the change.
Using Remote Desktop Connection
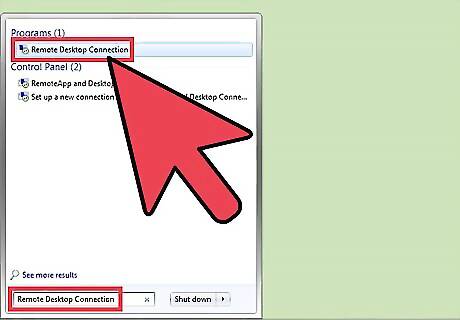
Start the Remote Desktop Client. Press ⊞ Win and enter “Remote Desktop Connection” into the search bar. Click the listing in the search results to launch. Microsoft also supports a Mac client that will function similarly.
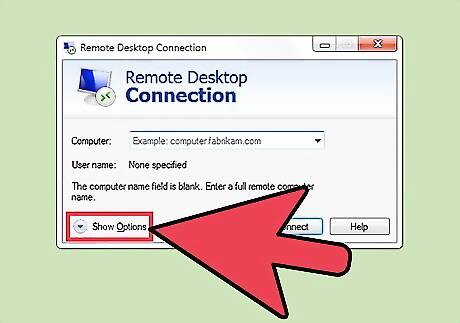
Click the "Options" button. This button is located at the bottom of the window and will expand the window to display a number of tabs.
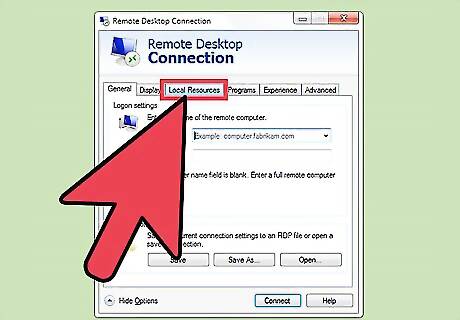
Click "Local Resources". This tab is located near to the right of the default “General” tab.
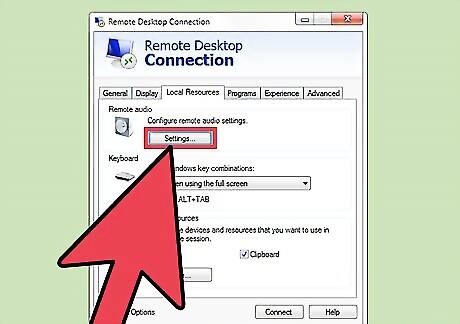
Click “Settings…” under the Remote Audio header. A popup window with audio options will appear.
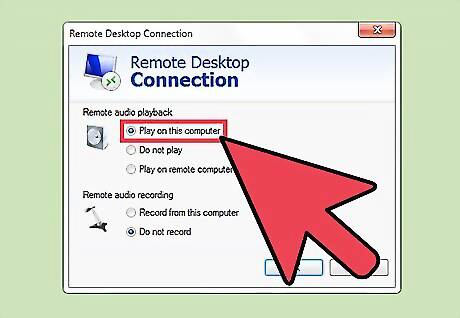
Click “Play on this computer”. You can also choose to play audio from the remote computer or play no audio at all from this menu.
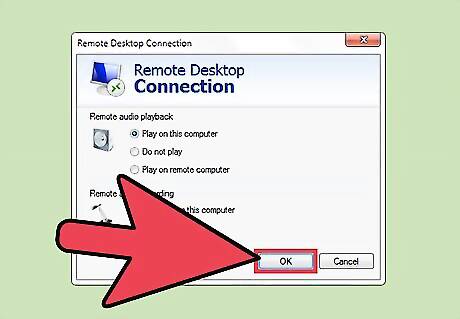
Click “OK” to save your settings. The popup window will close.
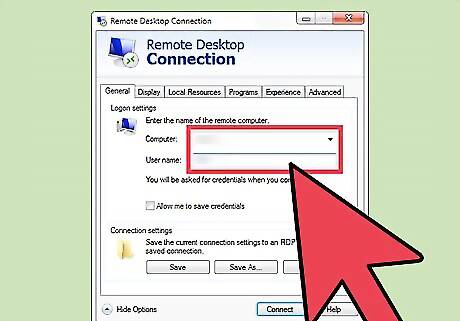
Enter the login credentials for the remote computer. The username is either the name of the computer to which you want to connect or its IP address. The password is its login password. You can view your computer’s name by going to “Control Panel > All Control Panel Items > System” on the target computer if you don’t know it. You can find the computer’s IP address by typing “ipconfig” into the command line on the target computer. You can click “Save” in the bottom left to retain the login information for future use.

Click "Connect". This button is located in the lower right of the window and will initialize the remote desktop connection.
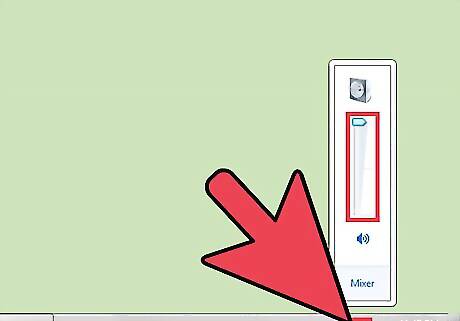
Test the remote computer’s audio. Once the remote desktop appears on your local display, click the speaker icon in the lower right taskbar to open the sound controls. Adjust the volume and you will hear a chime confirming the change.


Comments
0 comment