views
Inserting an Image
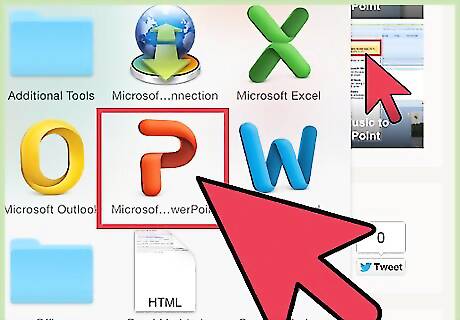
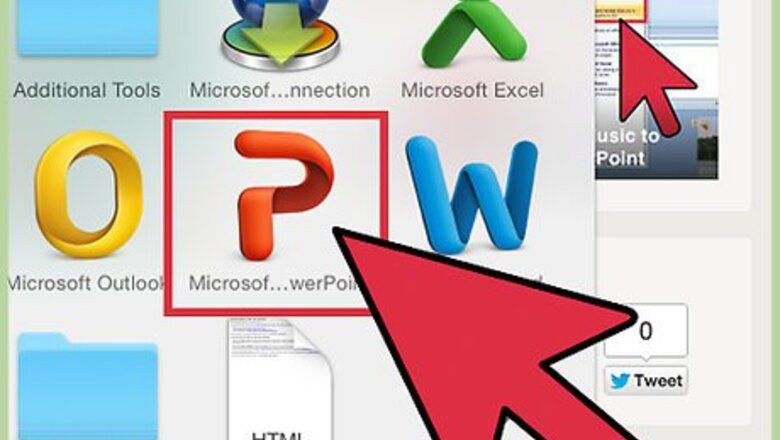
Open up Microsoft PowerPoint. It does not matter which version of PowerPoint you have installed, this will work in all versions. This guide will assume that you already have some sort of presentation created and you are just trying to insert an image. Check out our article about how to create a PowerPoint presentation if you are confused.
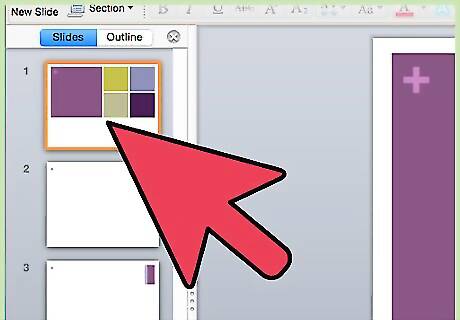
Choose the slide. From the list of the slides on the left side of the screen, choose the slide that you would like to insert an image into.
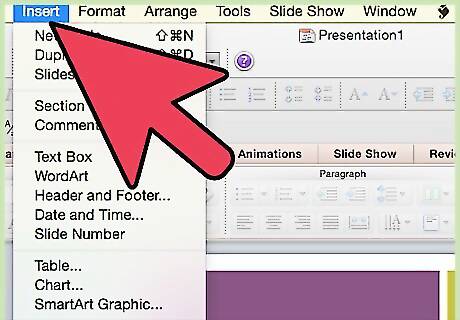
Click the Insert tab. From the options on the top of the PowerPoint window, choose Insert. This tab houses all the options for inserting things like graphs, pictures, and WordArt.
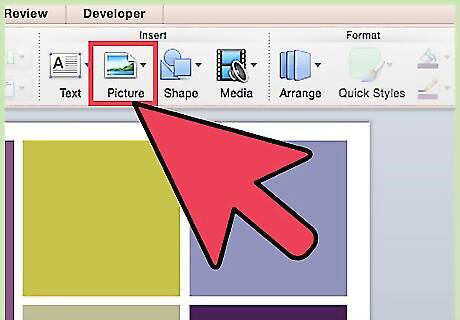
Click Picture. From the Images group, click the Picture button. This will open up a File Explorer window from which you can choose an image.
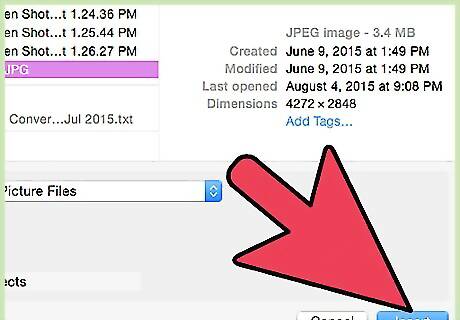
Choose an image. Find the picture that you would like to insert, select it, and click the Insert button from the bottom right of the File Explorer window. Your image will automatically appear in your selected slide. If you need to insert an image from the web, right-click it and choose Save Image As from the dropdown menu. This will save it to a location on your computer. Then, you can choose it from the File Explorer window.
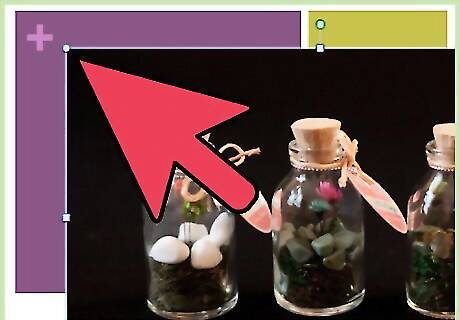
Resize the image. Click and drag on one of the corners to resize the image, either smaller or larger. Note that if you try to expand an image that was originally very small, it will look blurry and low-quality. Hold ⇧ Shift to resize the image proportionally. This way, if you drag on one corner of the image, the rest of the image will resize accordingly. This is the best way to avoid the problem of a stretched or squashed image.
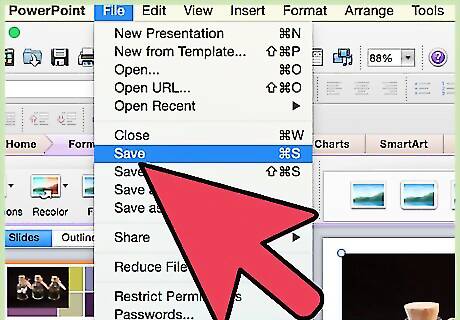
Save your work. It is always important to save your work regularly in case of some sort of system or human failure.
Copying and Pasting
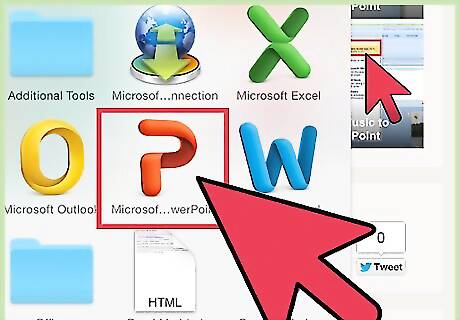
Open up Microsoft PowerPoint. It does not matter which version of PowerPoint you have installed, this will work in all versions.
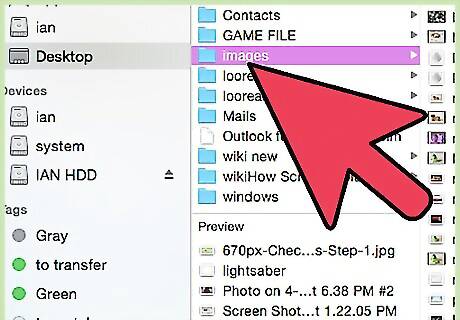
Find your image. Search for the image you want to find using your favorite search engine or an image installed on your computer.
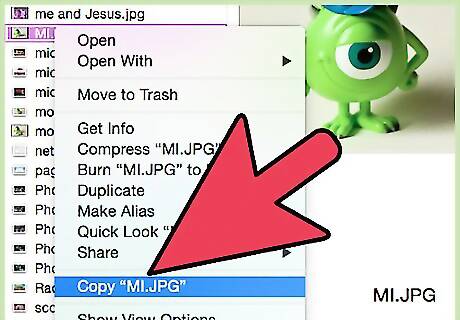
Copy the image. Right-click the image and select Copy from the dropdown menu. This will copy whatever you have selected to your clipboard.
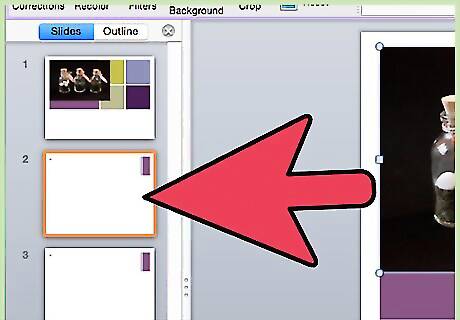
Open the correct slide. Within your PowerPoint presentation, choose the correct slide from the list of slides on the left side of the screen.
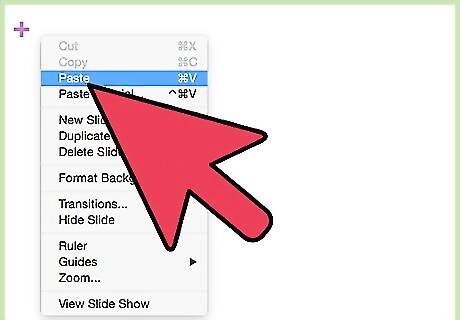
Paste the image. Right-click within the slide and select Paste from the dropdown menu. This will paste the image into the slide and the presentation. Depending on the size of the image copied, the picture may take up a large portion of the slide or be bigger than the slide itself.
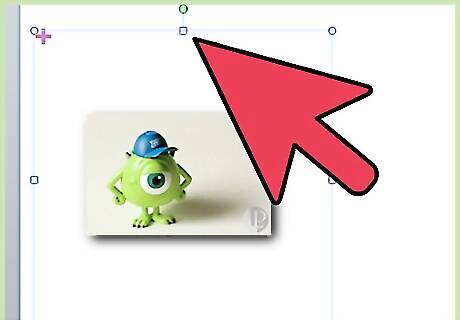
Resize the image. Click and drag on one of the corners to resize the image, either smaller or larger. Note that if you try to expand an image that was originally very small, it will look blurry and low-quality. Hold ⇧ Shift to resize the image proportionally. This way, if you drag on one corner of the image, the rest of the image will resize accordingly. This is the best way to avoid the problem of a stretched or squashed image.
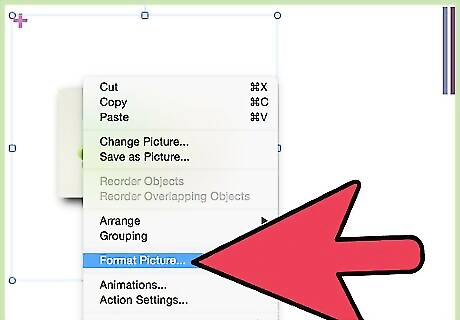
Format the picture. Right-click on the image and select Format Picture from the dropdown menu. From here you will be able to select how the picture interacts with the text in your slide.



Comments
0 comment