

A fingerprint reader ensures that only the verified users have access to your computer, provisioning data security. Now that you would like to get one installed, here is a simple process to do it in just a few steps.

Insert the software installation disc that came along with your fingerprint reader, into the disc drive of your computer. The installation disc has drivers that need to be installed to use the reader.

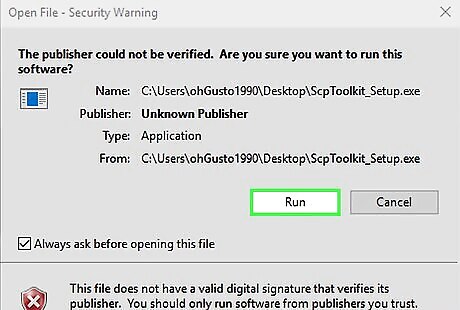
Run the installer by choosing "Open with File Explorer", then by opening the installer.
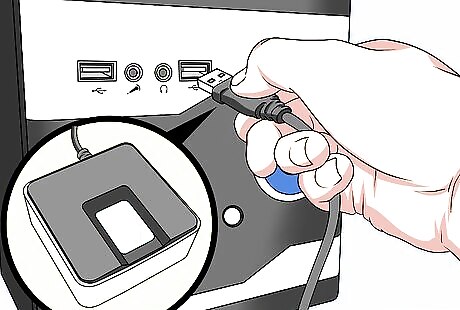
Plug the fingerprint reader into the USB port. This is essential because without it, you cannot use the sensor.
Follow the steps the installation wizard prompts you to. Choose the location for installing the software. Once the installation is complete, click the close or finish button to end the process.
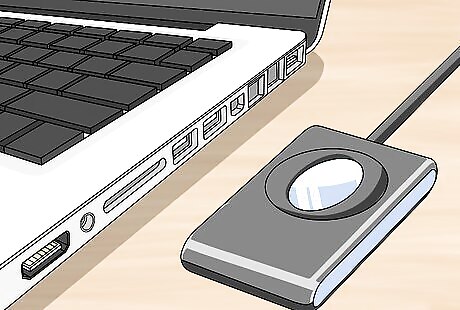
Place the reader on a convenient surface, such as on a desk. It should be easy to find and easy to get to.
Make sure the reader is easily accessible since you will be using it for accessing the computer most of the times.
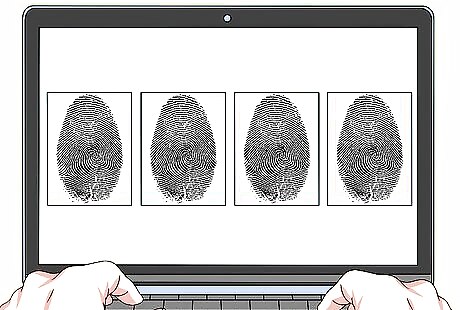
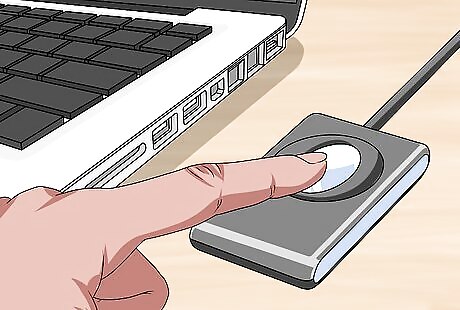
Register each fingerprint. Try using Windows Hello/Touch ID, if that does not work, then run the software that the reader comes with.
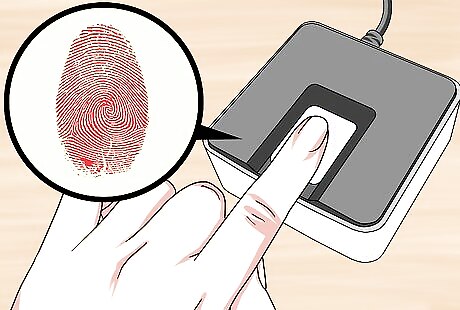
Lock your computer, and sign in by touching the fingerprint sensor.


Comments
0 comment