
Assessing If You Can Attach a Light Fixture
Turn off the power to your existing ceiling fan. Begin any project involving electricity by turning off the source of power. This does not just mean flipping off the switch on the wall, as it could easily accidentally get turned back on mid project. Instead, go to your circuit box and turn off the whole circuit. If you are unsure of which circuit you are working on, play is safe and just turn off the whole panel. A few minutes of no power is worth your safety.
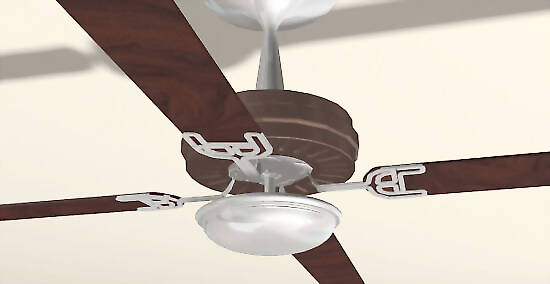
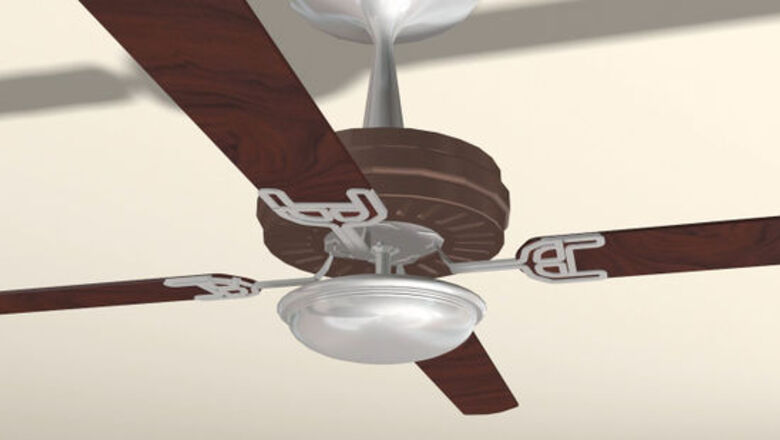
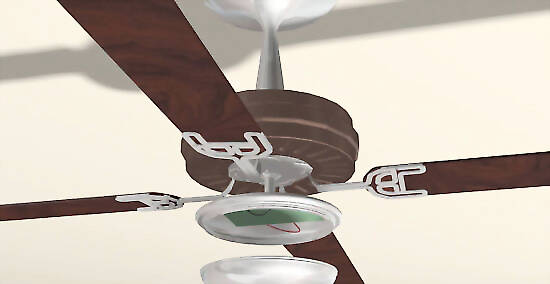
Determine whether the bottom of your ceiling fan has a housing cap. This is the area at the center of a ceiling fan where an optional light assembly will go. Unscrew any screws in this area and pull off any decorative plates or covers that are concealing light attachment points and wires. Some ceiling fans will not accommodate the addition of a light kit but quite a few will. Many times when a ceiling fan is designed, it can be built with an optional lighting assembly. This way a company can use the same parts for both a cheaper product, with no light, and a more expensive one, with lights. Because of this, adding a light to your ceiling fan may be a quick and easy job. If your ceiling fan has no housing assembly at the center of it, then you will not be able to attach a lighting assembly. Be sure there is no housing cover before you give up, as the way they are attached can be hidden with decorative details, such as an embellished cover.
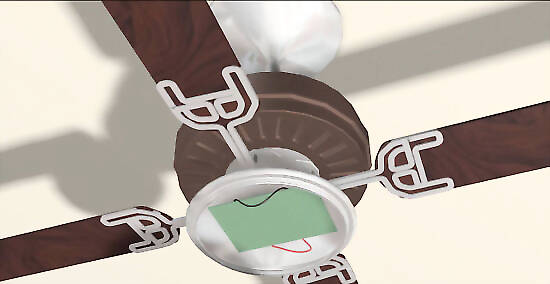
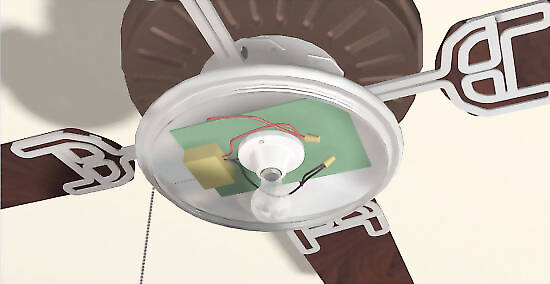
Assess whether there are wires inside the housing for a lighting assembly. Because you will want to be able to control the light and the fan separately, there will need to be existing wiring inside the housing to allow light assembly operation. You should see several wires inside the housing that are capped off by themselves with wire nuts. They could be a variety of colors but most likely will be black (power) and white (neutral). With any luck the wires inside the housing will even be labeled with something like "lighting power" or something like that. This is a very good sign that you will be able to attach a lighting assembly.
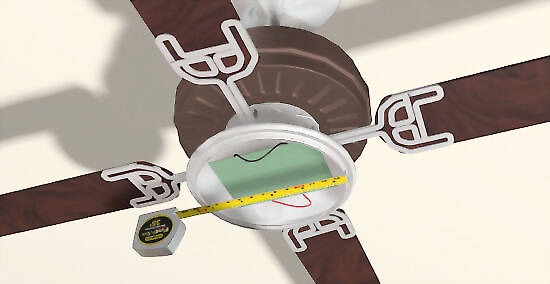
Measure the attachment point on your ceiling fan. Now that you know you have power for a lighting assembly, you will need to know the size lighting assembly you need to find. Measure the diameter of the opening and pay attention to where screw holes should be located on a lighting assembly in order to attach easily to your existing ceiling fan. Also make note of the company and style name or number of your ceiling fan. Parts from the same company are more likely to fit your existing fan.
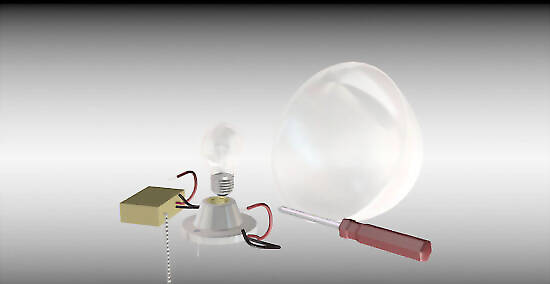
Visit a home improvement store to find the appropriate ceiling fan light kit. If you cannot find the right part, don't hesitate to ask someone working at the store to help you. Some companies sell universal ceiling fan lighting kits that fit a variety of their models. Make sure to check that the style name or number of your fan is listed as an acceptable match for the lighting assembly you buy. If you cannot find the right lighting assembly at a home improvement store try elsewhere. A lot of cities now have companies that salvage construction parts and resell them to the public. You should also look online at the website of the company who manufactured you ceiling fan. They may sell directly to the public or the site may direct you to a company that does. Ceiling fan lighting assemblies come in a variety of styles. For instance, you will need to decide whether you would like to attach a fixture that has one, two, or three light bulb sockets.
Attaching a Light Fixture onto a Ceiling fan
Turn off the circuit breaker that controls the power to your ceiling fan. Between the time you assessed whether you could possibly attach a light assembly and when you actually install it, you have probably turned back on the circuit breaker. Make sure that you turn it off once again!
Unscrew the cap hiding the wires and set it aside. Be sure to keep track of the parts you are removing. You will probably no longer need the cap but you may need any screws that it was attached with.
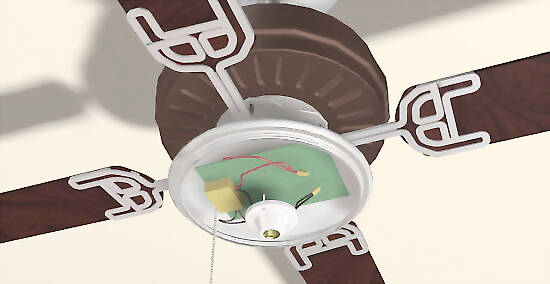
Connect the light's wires to the fan's wires with wire nuts. This should be done by simply lining up the two matching wires so that they are parallel and screwing a wire nut on the end, like you would a lid on a bottle. In most cases you will be attaching wires that are the same color together. For instance if there is a white and a black wire in the ceiling fan and a white and black wire coming out the back of the lighting assembly, simply wire nut like colors together. That being said, it's best to follow any directions that have been supplied with your lighting assembly.

Screw the lighting assembly onto the ceiling fan. This attachment should go smoothly, especially if you have purchased a lighting assembly designed to be attached to your ceiling fan.
Install light bulbs, glass shades, and pull chains, following the directions provided by the manufacturer. Usually shades on ceiling fixtures are held in place with thumbscrews, which, when screwed in, simply keep the shades attached with a light amount of pressure on multiple sides of the shade.
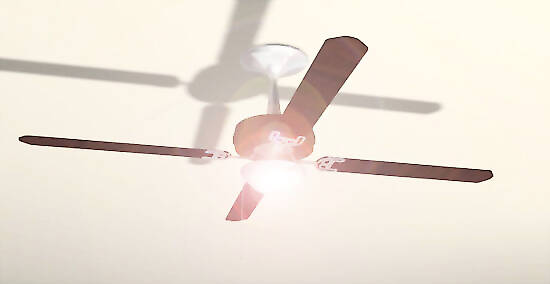
Flip the circuit breaker back on, pull the chain, and check out your newly-improved fan! Now you should be able to feel a cool breeze from the fan while enjoying a brightly lit room.


Comments
0 comment