views
Downloading OwnCloud
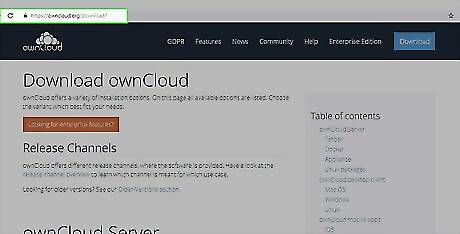
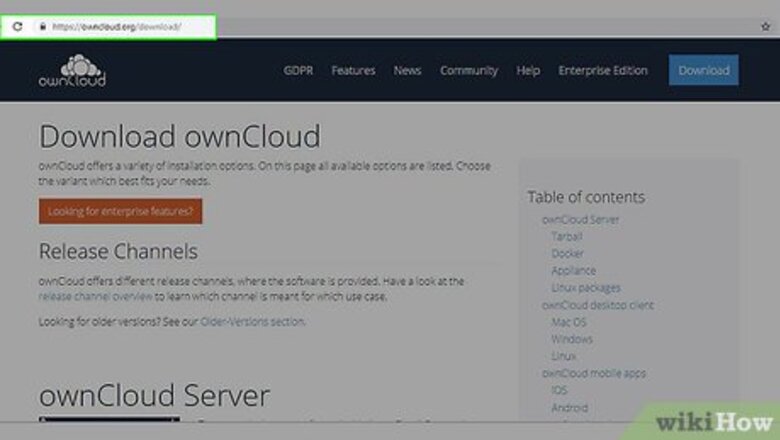
Open your web browser and navigate to the following URL: https://owncloud.org/install/
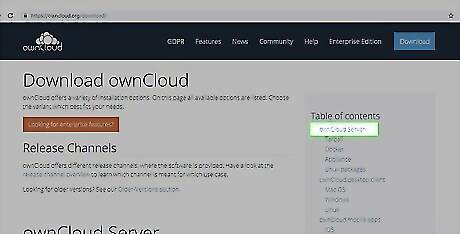
Under section 1, “Get ownCloud Server”, select Download.
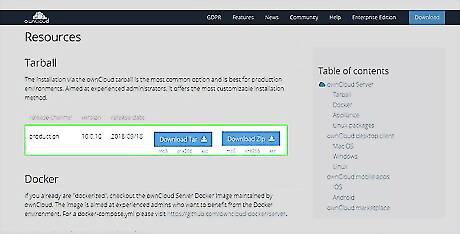
Select the option on the right, “Download ownCloud Server”.
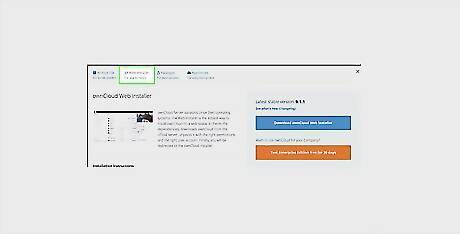
Navigate to the “Web Installer”.
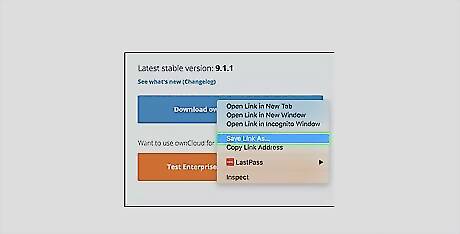
Right click “Download ownCloud Web Installer” and select “Save Link As…”
Uploading the File to Your Hosting Account
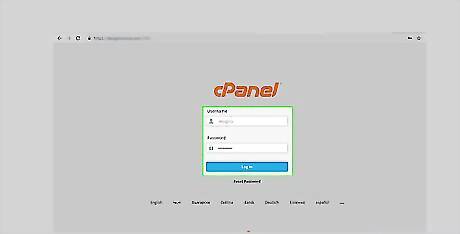
Upload the file to your hosting account. To do this, please login to your cPanel hosting control panel. This will be provided to you when you purchase your web hosting account from your provider of choice.
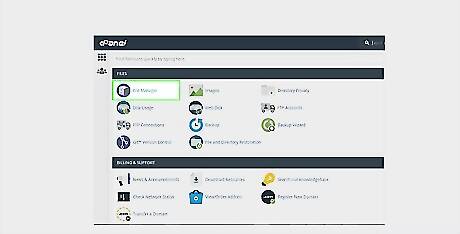
Scroll down and navigate to the FILES tab. From there, select the File Manager button.
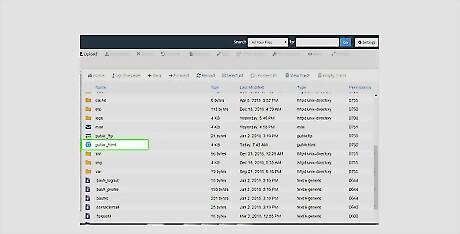
Double click the “public_html” folder to enter it. Here you will upload the file you downloaded previously
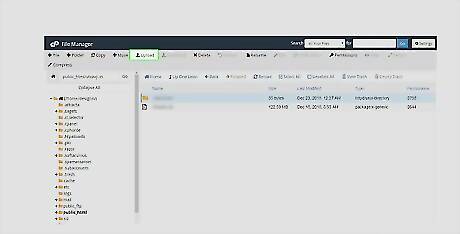
Upload the file we downloaded earlier by pressing the upload button in the navigation bar.
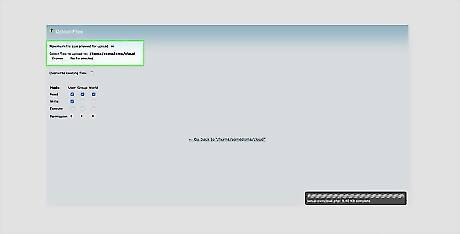
Select setup-owncloud.php to upload it.
Setting Up the Database
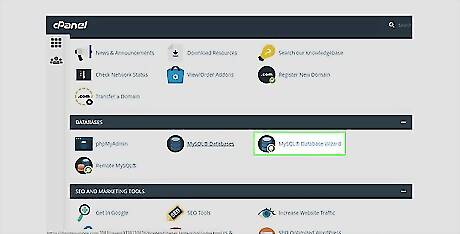
Go back to the cPanel control panel by navigating to the cPanel URL, and then locate the DATABASES tab, and select the MySQL Database Wizard button.
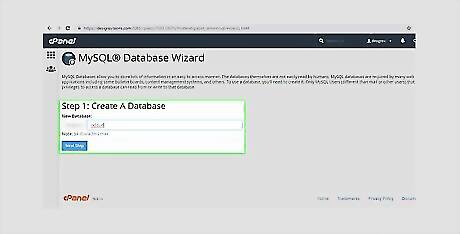
Select a name for your database. For example, you could use “ocloud”. Make sure you copy the full database name, and store it somewhere because you’ll need it later.
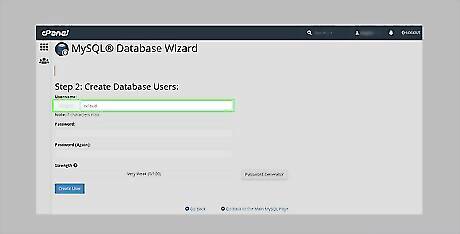
Select a name for your database user. You might name the database user “ocloud” as well. Make sure you copy the full database username, and store it somewhere because you’ll need it later. For example, mine is wikhow_ocloud.
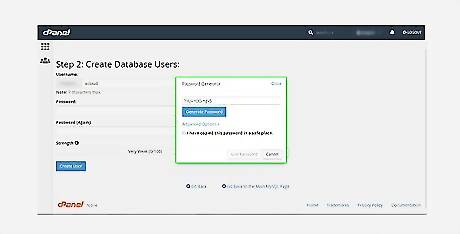
Generate a random password using the Password Generator button.
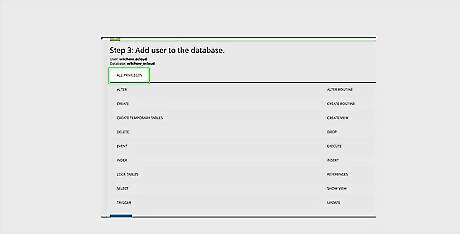
Grant your database all privileges.
Finishing Up
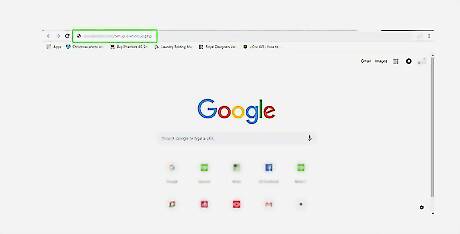
Go to your website at yourdomain.com/setup-owncloud.php.
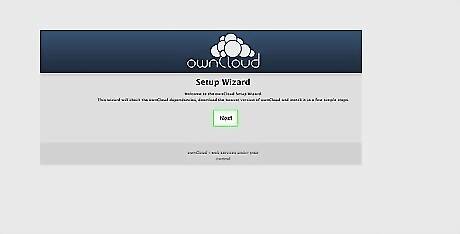
Hit Next.
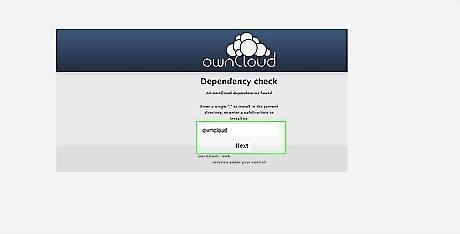
Type a “.” in the next window.
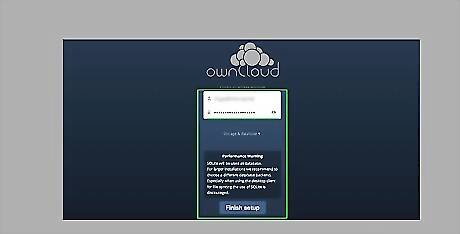
Create an admin account, and select “Finish Setup.”
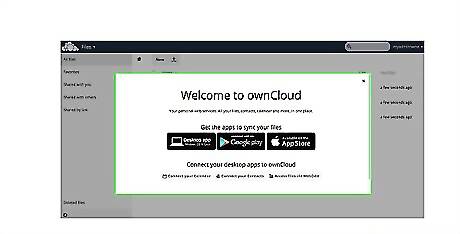
All set!





Comments
0 comment