views
Making Your Bandana
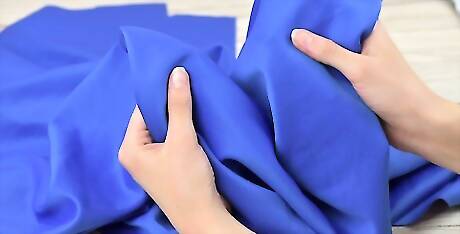
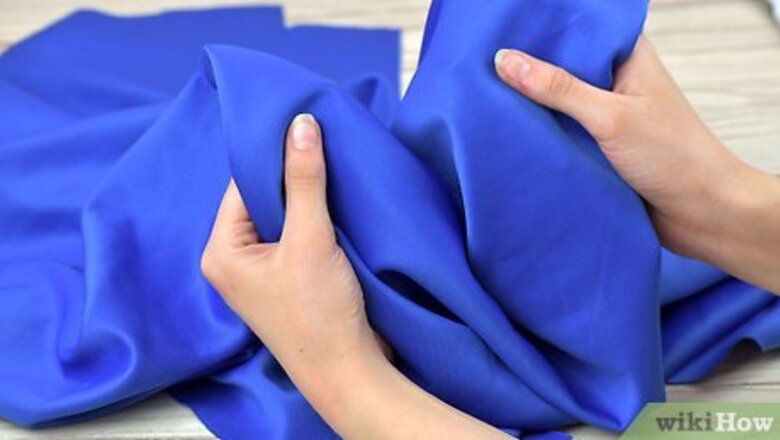
Obtain a large piece of cloth. Your cloth should be 2' by 2' (61 cm by 61 cm) or larger. You can choose whatever kind of fabric you prefer, though cotton muslin is an affordable option that will hold up well to wear and tear. Try to avoid fabrics that might be itchy against your skin. When choosing a pre-patterned material, select one you think would look good as a bandana, like a paisley design, a checked pattern, a skull and crossbones theme, and so on. In some parts of the world, wearing a certain color bandana can be associated with a local gang. For example, blue and red bandannas are tied to gangs in the US city of Los Angeles. It can be dangerous to accidentally identify yourself with a gang, so be wary of this when choosing a bandana color or pattern.
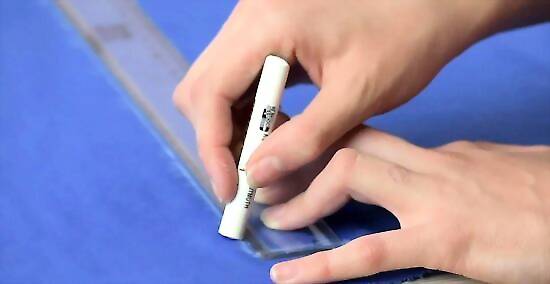
Sketch out a square on the cloth. You may want to use a straight edge, like a ruler or meter stick, but you can also follow straight lines in pre-patterned material. Your square should be about 2' (61 cm) long on each side, though you can make it larger or smaller according to your size. It may be easiest for you to start your square in the corner of your material. This way, less of the cloth ends up as scraps. A felt-tip pen will show up more easily than pencil markings. A clear line will make it easier for you to cut your material in a straight line. A washable fabric marker is also a good choice for sketching out your square. When you wash your finished bandana, any stray marks will wash out. The sketch doesn't have to be perfect, but straight lines will result in your bandana being regular in shape and polished in appearance. It's best to make your bandana larger than too small. It's much easier to trim fabric off than it is to add fabric on.
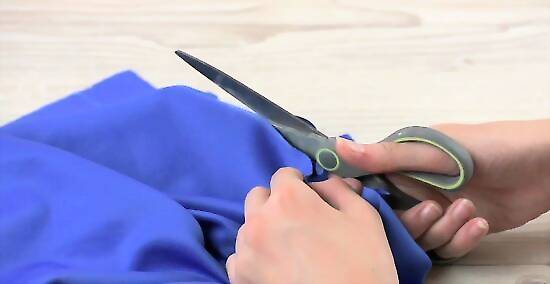
Cut your square free of the material. If you're using a material mostly made up of cotton, it may be easiest to make the first cut with a pair of sharp scissors or fabric scissors. Since cotton rips fairly easily, you may be able to rip it along the rest of it along the line you have drawn. If you are unsure of the blend of fabric used in your material, to prevent waste, you may want to use your scissors to completely cut your square free. Even with pure cotton fabrics, sometimes the tear will not be clean. If you are working with a limited amount of fabric, using scissors may be the safest bet.

Try your bandana on. At this point, you may want to try on your bandana to see how it fits. If it is too large, you can trim it down, but you should keep in mind that you'll likely lose ½" - 2" (1¼ - 5 cm) of fabric to hemming. Hemming your bandana will keep it from fraying at the edges. An unhemmed raw edge can fray easily.
Hemming Your Bandana
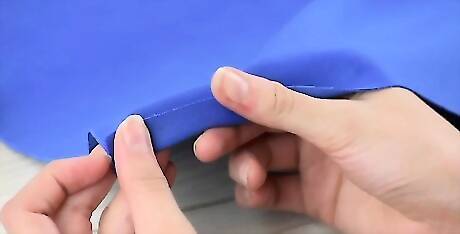
Determine the width of your hem. A larger hem will be easiest to work with, but will create a wide doubled fold along the edge of your fabric. For your bandana, you may want to start with a medium hem, which is usually about 2" (5 cm) in length. This will be folded under the cloth and stitched down to prevent fraying. A hem can be any size you choose. You may find you like the extra thickness of the folded cloth around the edges of a longer hem, or a narrow, short hem.
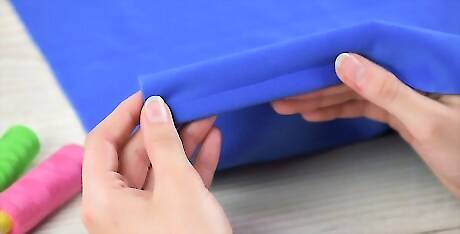
Fold and press your hem. You'll want your cloth to be crisp and straight when stitching to prevent a crooked hem, so you'll need to iron the cloth you fold. For a medium hem, fold ½" (1¼ cm) of cloth beneath your fabric and press it with an iron. Then fold another 1½" (3.8 cm) of cloth in the same fashion and press it again. For larger hems, first fold and press ¾" (1.9 cm) of cloth under your fabric. Follow this with a 1¼" (3.2 cm) under fold of fabric and press again. Small hems can be made by first folding ¼" (.64 cm) of your edge under your fabric and pressing. Then fold under another ¼" (.64 cm) and press again.
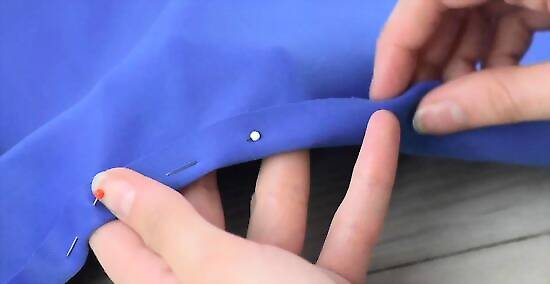
Pin your folded hem in place. Make sure your now double folded edge is straight and neat. You may need to adjust the fabric and repress it to correct crookedness. Once your soon to be hemmed edge is aligned, pin the fabric so it stays in place when you are sewing. You may want to use a straight edge, like a ruler or meter stick, to check the evenness of your folded edge.
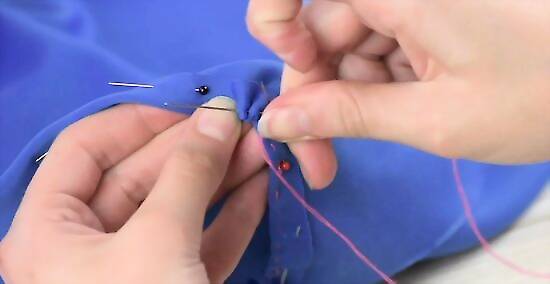
Sew your hem. The easiest way of doing this is with a sewing machine, but if this isn't an option a needle and thread work just as well. Thread your needle and poke it through all the layers of your folded over fabric from the fabric's reverse side so the knot is hidden. Then feed the needle back and forth through the back and front of your fabric along your folded over edge at regular intervals. When you reach the end, tie off your thread with a knot. When you thread your needle, double the thread so that your stitching holds up to wear and tear better. A very professional looking stitch you might want to use is called a slip stitch. This kind of stitch will be invisible once you're finished, though it may take some practice before you get the hang of it. You may also want to check out how to hem to learn the finer points of hemming. If hemming with a needle and thread seems a little daunting, you could try using iron on hem tape. This can be found at most craft and sewing stores, or at general retailers like Walmart and Target.

Show off your homemade bandana. There are many different ways you can wear your new bandana. Experiment to see which one suits your style best. Two popular styles you might consider: Wear your bandana around your neck so that it hangs in a triangular shape at the base of your neck. Fold your bandana into a long, narrow strip. Then wrap the strip around your head and tie it at the back to wear it like a headband.
Decorating Your Bandana
Choose prime decorating locations. Depending on how you choose to wear your bandana, the best location for your decorations will vary. For example, if you plan on wearing your bandana along your neck in a triangular shape, you'll likely want your design with its bottom pointed towards the corner and located in the corner of the fabric. It may help to put on your bandana and take a look at it in a mirror. Then you can mark the fabric with a pencil or washable fabric marker on the spot that best presents your decoration.
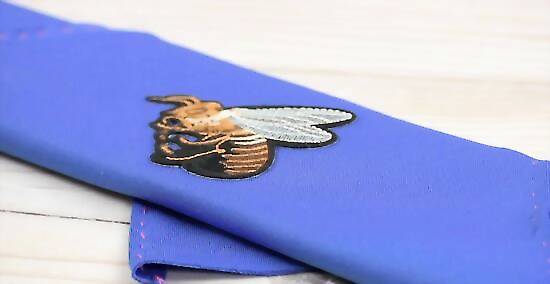
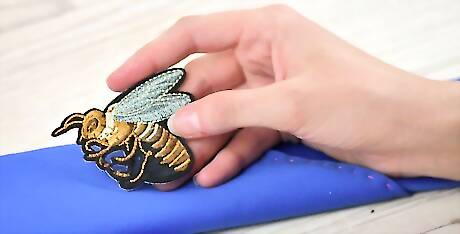
Iron or sew on patches. A patch is a great way of representing your favorite bands, games, sports teams, and more. Some of these are heat activated and can be attached to your bandana with an iron, while others may require stitching to be held in place. Your local fabric store may be a good place to look for patches, but for specific designs, an online retailer might provide the best selection. Some fabrics or blends may not be safe to iron. Be sure to check the fabric information before attempting to iron on a patch.
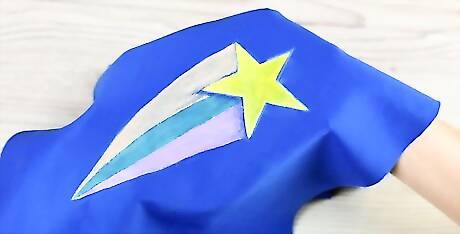
Use wash-safe fabric paint to make designs. By using fabric paint, you can create designs that are unique and significant to you. In some cases, you may need painting supplies, like a brush and water, but some fabric paints come in marker applicators. Many general retailers, art retailers, and craft stores have assorted fabric paints you can choose from. Be sure you choose one that won't come out in the wash! You may want to use a fabric stencil so that your finished painted designs look more professional.
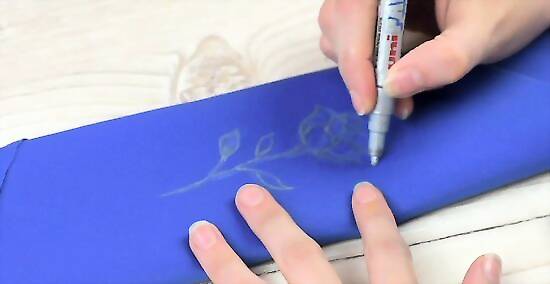
Draw designs with wash-safe fabric markers. Fabric markers may be a little more familiar and easy to use than paint, especially if you don't have much painting experience. For the best finished product, you may want to first draw your design in a washable fabric marker, then follow this with your wash-safe markers. Depending on your fabric, you may also be able to use a pencil to sketch out your designs before using a more permanent medium.
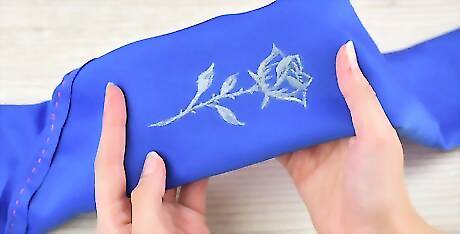
Allow your designs time to dry, if applicable. For best results, you should always follow the directions on the products you use for decorating your bandana. Fabric paints and markers may need some time to dry before washing, or may have special washing instructions.




Comments
0 comment