views
Preparing a Wooden Blank
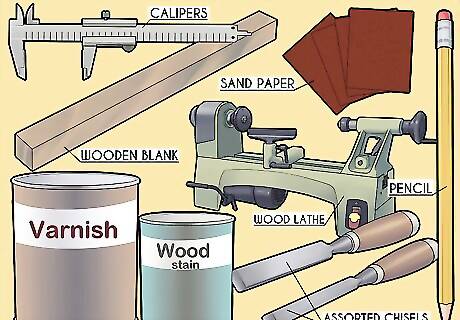
Gather your supplies and tools. Before beginning a woodworking project, make sure you have all of your tools together and supplies at hand. When collecting your tools, make sure that all of your chisels are clean and sharp. Wooden "blank" to create the bat Wood lathe (Can be purchased from a tool or hardware store) Assorted chisels (roughing gouge, skew chisel, parting tool) Pencil Calipers used for measuring Sand Paper (assorted grits from 60-600) Wood stain and varnish
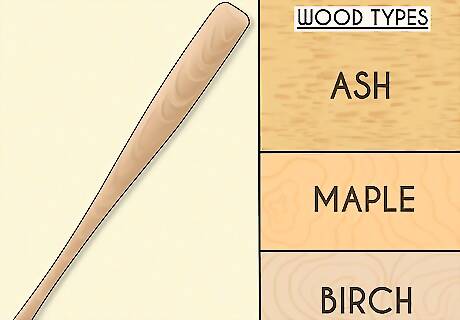
Pick a type of wood to create your bat. Baseball bats are traditionally made from ash wood. Other common choices include maple and birch. Ash is a strong lightweight wood that provides both strength and flexibility. Maple is a more dense, heavier wood that is great for power hitters. Birch provides heavier weight like maple while still allowing for some flexibility like ash.
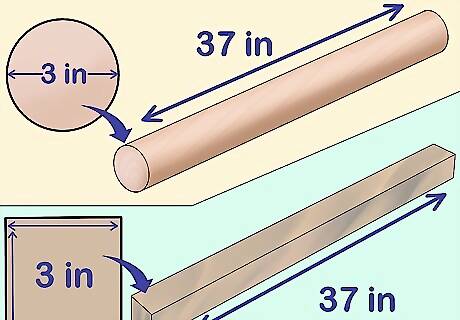
Purchase a round blank of your chosen wood. You can also make your own blank by cutting a piece of wood to be 37 inches long by 3 inches by 3 inches. Find a lumber yard to get custom cuts of wood, or visit a home improvement store to see what they carry. You can also order blanks online ready to be turned into a bat. If starting with a square piece of wood, use a chisel to remove the corners of your blank. Cut a small amount from the four long edges of the blank to create an octagonal shape. Removing the corners will cut down on the amount of wood you need to remove with the lathe and make it easier to craft your bat.
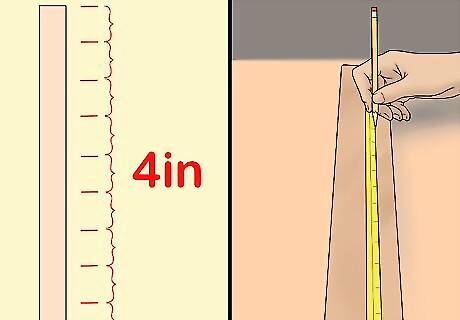
Mark the wood every 4 inches. Make a pencil mark every few inches to help you gauge the amount of wood you need to remove in sections.
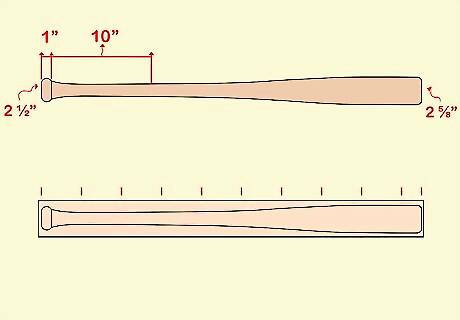
Determine the desired maximum barrel diameter. A typical baseball bat has a diameter between 2 ½” and 2 ⅝”. A smaller diameter bat will be lighter and easier to swing. The handle of the bat should have a diameter of 1” and be about 10 inches long.
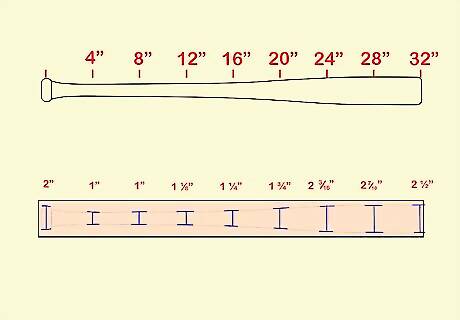
Mark the diameter of each section of the bat. Record the diameter of every 4” section of the bat. The markings will serve as a guide when turning the wood. These measurements represent 4 inch increments from the knob to the tip of the barrel. The knob should measure 2” diameter. 4” diameter is 1” 8” diameter is 1” 12” diameter is 1 ⅛” 16” diameter is 1 ¼” 20” diameter is 1 ¾” 24” diameter is 2 3/16” 28” diameter is 2 7/16” 32” diameter is 2 ½”
Turning the Wood
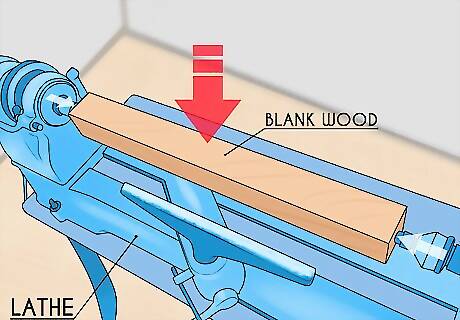
Load the blank into a lathe. Secure the blank in place using a spur center or other similar mount.
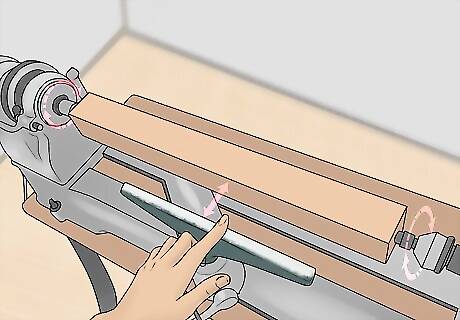
Set the tool rest. The tool rest is an adjustable platform that sits in front of your spinning wood to support your tools as you cut. Position the tool rest so that it is a few inches away from the widest point of your blank. The height should be set so that you are able to place your tool perpendicular to the spinning axis of your lathe.
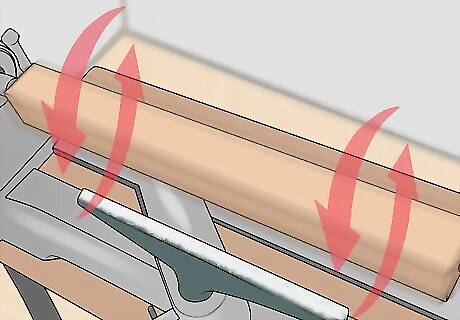
Turn on the lathe. Once the wood begins to spin, you can begin the cutting process. Be sure to use caution when working with tools and a lathe. Always keep your eyes on the wood you are cutting. Do not use force with your tools, let the spinning action of the wood do the work. Wear eye protection.
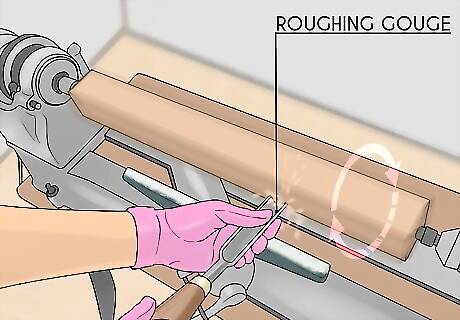
Use a roughing gouge to round out the wood into a cylinder. The roughing gauge is a broad chisel that can remove large amounts of wood to create a round, symmetrical surface. Remove the edges of the wood slowly to turn the square piece of wood into a true cylinder. Make sure the wood becomes completely symmetrical. Place the gouge against the tool rest and move it slowly into the spinning wood. Hold the gouge with both hands and keep your eyes on your project at all times. Slowly slide the gouge up and down the length of the wood to smooth the surface into a cylinder. Remark the wood every four inches and note the diameter of each section on the wood.
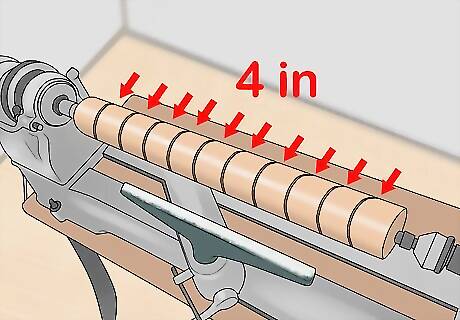
Make diameter cuts every four inches as a guide. Use a parting tool to cut a groove in the wood. Remove a few millimeters at time to make sure you don’t take off too much and pass the depth for each section. Cut each groove to the desired measurement for each 4 inch section. Start at the barrel end of the bat. Make diameter cuts for the first 12 inches of the barrel. Stop frequently and use calipers to check the diameter of your groove.
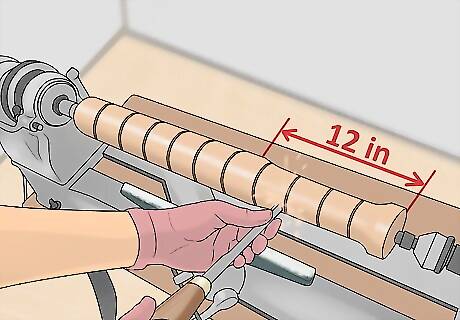
Use a gouge to connect the diameter cuts of the first 12 inches of the barrel. Remove the wood down to the diameter cut along each section of the bat. Slide the gouge along the uppermost section of the bat and remove the wood around the diameter cut. Watch the wood as you are removing it to ensure that you do not go deeper than the diameter cut. Work from the widest point to the narrowest point. Connect each section by removing wood down to the diameter cut along each section.
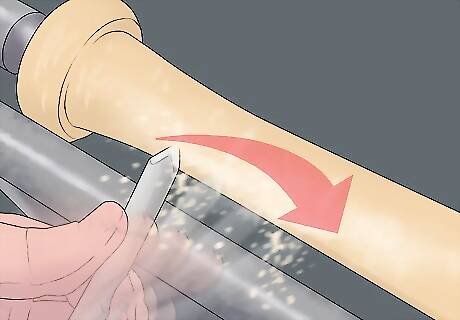
Remove wood along the handle end of the bat. Use the roughing gouge to narrow the wood on the handle end of the bat to 2 inches. Lay the gouge against the tool rest and slide the chisel along the handle of the bat. Slowly slide the chisel up and down the handle to make it narrower. Remove wood along the handle until the diameter of the entire handle section reaches 2 inches. Stop the lathe periodically to use calipers and check your diameter.
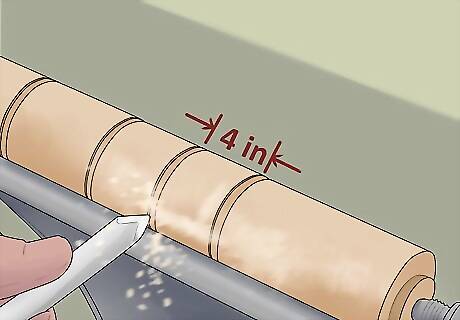
Remark the bat with 4 inch increments. Mark the handle end of the bat again to create a guide for where to make diameter cuts.
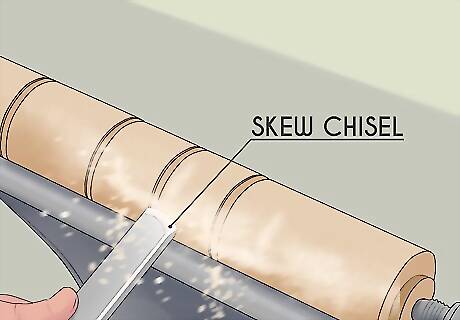
Use a skew chisel to cut diameter cuts every four inches along the handle. The skew chisel comes to a sharp narrow point and will allow you to cut a small groove to the desired diameter. Just like you did when crafting the barrel, cut a groove in the wood every four inches along the handle of the bat. Check the diameter of your grooves using calipers. Cut the grooves to the desired diameter using the measurements listed above.
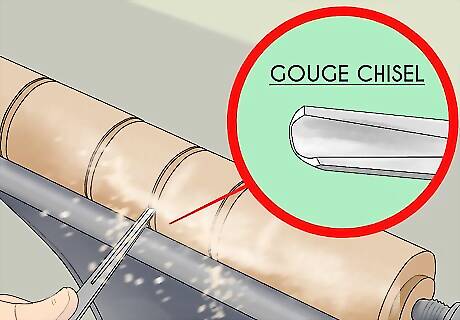
Connect the diameter grooves using the gouge chisel. Start on the barrel end of the bat and move toward the handle. Remove wood along each section to create a smooth surface from one end of the bat to the other.
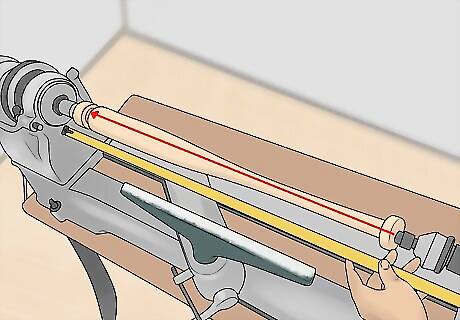
Measure the desired bat length from the end of the barrel. Mark the spot of your desired bat length. 32 inches is a standard length for a bat. The spot that you mark will be where the knob of the bat begins. Use a measuring tape to measure the bat from the wide end of the barrel of the bat. Mark the length of the bat to show where the handle ends and the knob begins.
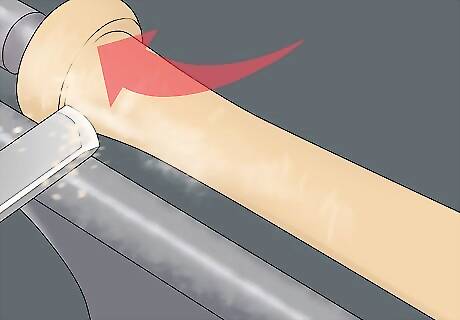
Create the knob of the bat. To create the knob you will need to use a combination of tools and round either end of the knob. The knob is the bottom of the bat that helps ensure a proper grip when swinging. Use the skew chisel to round off the top of the knob. Remove the wood from the top of the knob where it connects to the handle. The knob will be 2 inches at its widest point and go directly to the 1 inch diameter handle. Use the parting tool to remove enough wood to insert the skew chisel to round off the end of the knob. In order to round off the knob remove wood from the bottom of the bat so you can fit the skew chisel around the bottom. Create a rounded knob using the skew chisel to smooth the edges to a U shape. Use the gouge to blend the handle into the rounded knob.
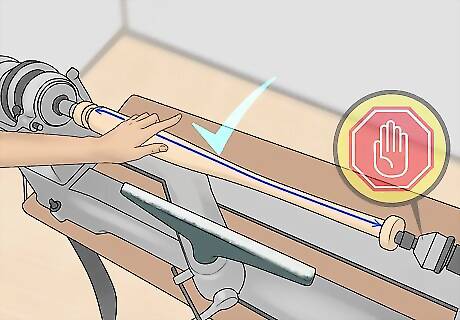
Check the bat for bumps. Turn off the lathe and run your hands along the length of the bat. Feel for any irregularities or bumps on the surface of the bat. Smooth off any bumps using the gouge. Grasp the handle while the bat is still in the lathe to ensure that it is the right thickness. Adjust the thickness of the handle if necessary.
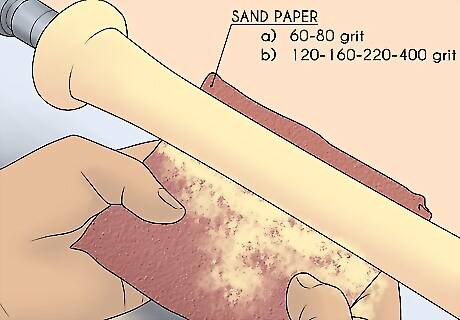
Sand the bat. Ensure that the entire surface of the bat is smooth by using increasing grits of sandpaper. While the bat is still mounted on the lathe, use a 60-80 grit sandpaper to rough sand the entire length of the bat. Use increasing grits of sandpaper, 120, 180, 220, 400 to make the entire length of the bat as smooth as possible.
Finishing the Bat
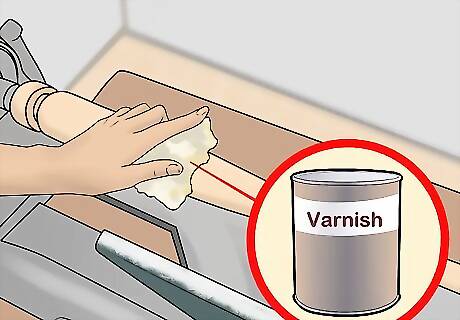
Apply varnish to the bat. Use a cloth dipped in the wood stain of your choice to apply a stain to the bat. Rub the stain on the bat while the lathe is running to ensure even application. Apply two coats of stain to the bat. Allow the bat to dry between coats. You can also apply a lacquer finish to help preserve the stain and surface of the bat.
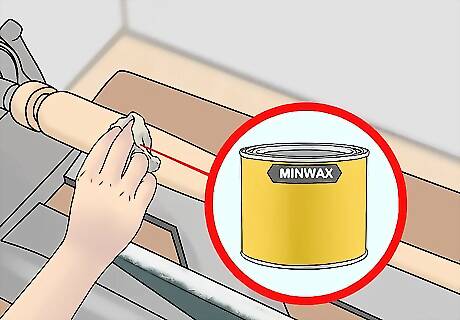
Apply wax to the surface of the bat. Use a wax such as Min-Wax paste to finish the surface of the bat. Buff the wax on the bat while the lathe is running.
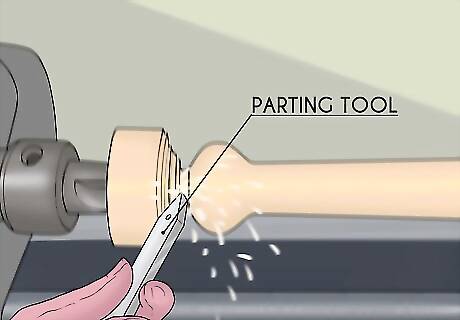
Use a parting tool to make the tenons on either end of the bat smaller. The bit of wood that connects the bat to the remaining wood on the lathe is called a tenon. Make it as small as possible without breaking. Place the parting tool perpendicular to the spinning bat. Insert the tip of the parting tool into the spinning bat at the bottom of the knob and top of the barrel. Reduce the diameter of the tenon to 1/4 of an inch in diameter.
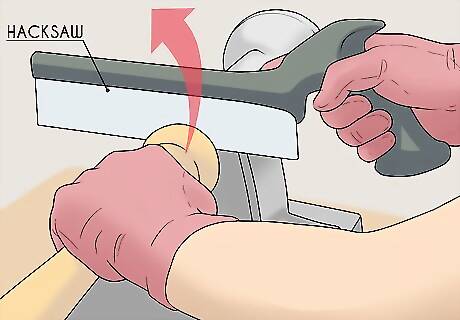
Remove the bat from the lathe. Once the bat is removed from the lathe you can use a hacksaw to remove the tenons from either end of the bat. Hold the baseball bat straight out in front of you with your arms extended. If you have a hard time holding it up, the bat is likely too heavy for you.
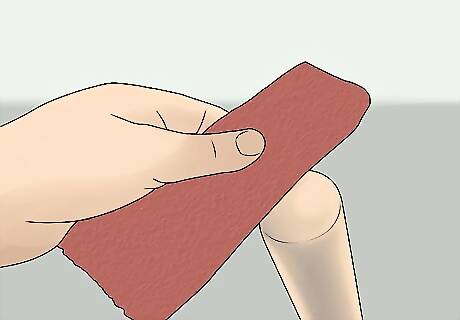
Finish the ends of the bat. Apply the finishing touches to the ends of the bat after removing the tenons. Sand each end of the bat with increasing grits of sandpaper. Apply varnish and wax to the ends of the bat




Comments
0 comment