views
Organizing Your Supplies
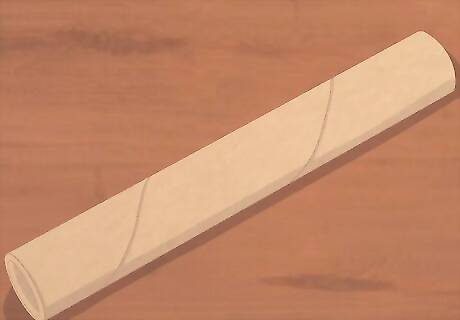
Pick out a cardboard tube. A sturdy, cardboard tube will form the structure of your rain stick. You will want to avoid flimsy tubes—the cardboard must be durable enough to withstand several punctures from nails or toothpicks. You may use a recycled cardboard tube or purchase a new cardboard tube for this project. You may use a recycled paper towel roll, chip canister, or gift wrap tube. You may buy a cardboard shipping tube from the post office, an office supply store, or a shipping center.
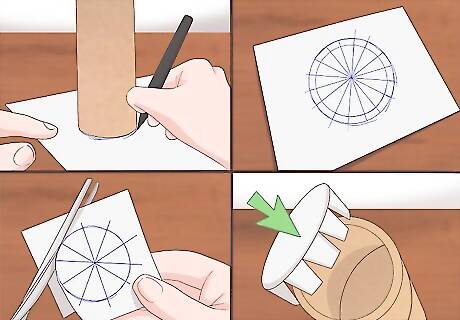
Create caps for the ends of the tube, if needed. While some tubes, such as shipping or chip canisters, may come with end caps, other cardboard rolls will not. To make your own end caps, you will need construction paper, a pencil, and a pair of scissors. Place one end of the tube flat on a piece of construction paper. With a pencil, trace the end of the tube onto the paper. Draw a second circle around the first circle. The two circles should be approximately ½ inch apart. Draw 6 to 12 spokes between the two circles. You will use the spokes to attach the cap to the cardboard tube. Cut along the edge of the second circle. Cut along each spoke line. Repeat.
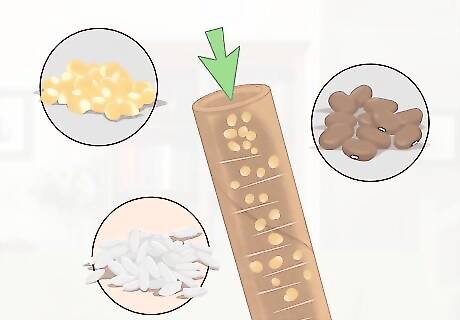
Select your filler. The soothing sounds of a rain stick are created by a filler, such as rice, falling through a maze of static objects, like nails. You can fill your rain stick with one or more materials. Common fillers include: Rice Dried beans Corn Kernels Small pastas Beads
Inserting Nails, Toothpicks, or Aluminum Foil
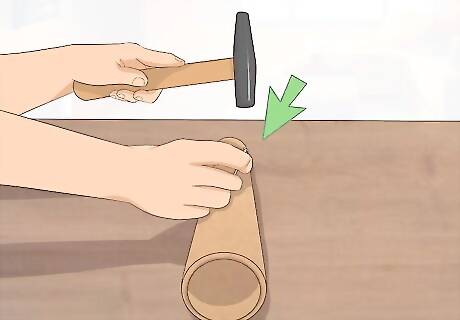
Hammer nails through the tube. Nails are ideal for thicker cardboard tubes, like shipping or chip canisters. Select nails that are shorter than the tube’s diameter. With an adult’s help, hammer the nails through the side of the tube at random intervals—you can hold the nails while an adult taps them into place or vice versa. To secure the nails in place, wrap the tube in a layer of duct tape. You may insert as many nails as you would like. For decoration, use a patterned or colored duct tape. Using different sized nails will create an interesting sound!
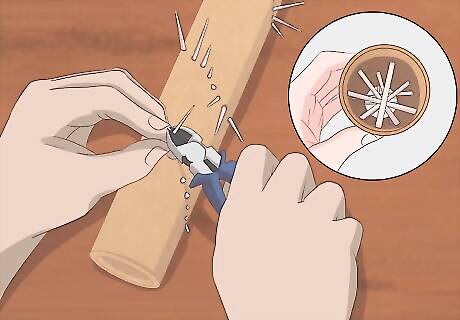
Poke toothpicks through the tube. Toothpicks are a great option for narrower cardboard tubes, like a paper towel roll—the tube’s diameter should be less than the length of a toothpick. You will need an adult’s help to complete this step. If you want to decorate the tube, do so before you insert the toothpicks. Use a sewing needle or push pin to poke holes at random intervals into the side of the tube. You will need to create between 80 and 100 holes. Insert a toothpick through one hole and out another. The tips of the toothpick should remain on the outside of the tube. Repeat 39 to 49 times, altering the angle of each toothpick. Coat both ends of each toothpick with a dab of glue. Once the glue is dry, cut off the pointed ends with a pair of cutting pliers.
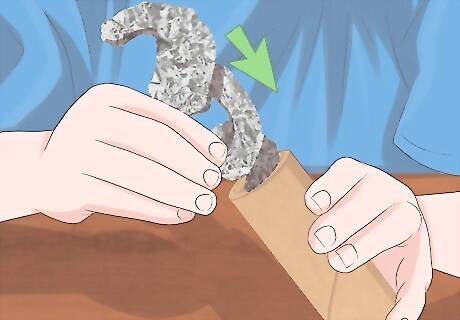
Fill the tube with coiled aluminum foil. Aluminum foil is the ideal material for young children to use. You will need two pieces of aluminum foil. Each piece should be 6 inches wide and approximately ¾ the length of the tube. Roll each piece into a long, snake-like strip and then coil it into a spring. After you cap one end of the tube, you will insert the aluminum foil springs.
Filling and Sealing the Rainstick
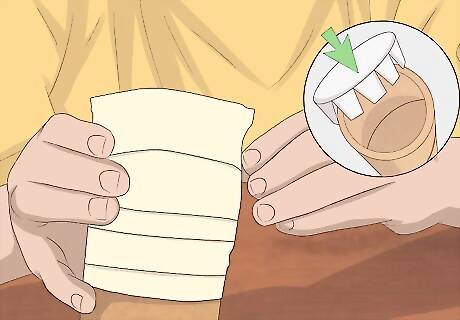
Cap one end of the tube. If you made your own end caps, set one end of the tube in the center of the paper cap. Fold each of the spokes up towards the tube and adhere it with glue. Allow the glue to dry. If your tube came with caps, insert one into the tube. You may reinforce the cap with duct tape or rubber bands.
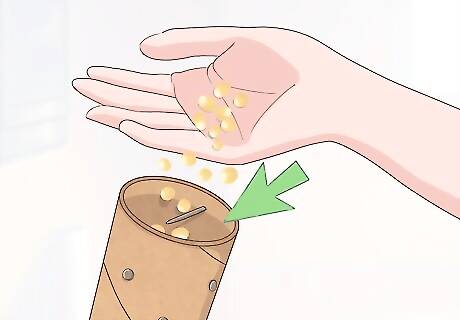
Pour the filler into the tube. Carefully pour the filler into the tube. If the tube’s opening is narrow, you may want to use a funnel. If you chose to use aluminum foil, insert it into the tube before you pour in the filler.
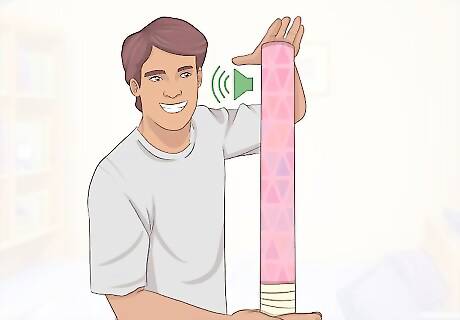
Test the rainstick and add more filler if needed. Cover the open end with your hand or put in the remaining cap. Tip the rain stick over and listen. If you are happy with the sound, proceed to the next step. If you aren’t quite satisfied, adjust the amount of filler you have in the tube by: Adding more filler Removing some of the filler Trying a different material
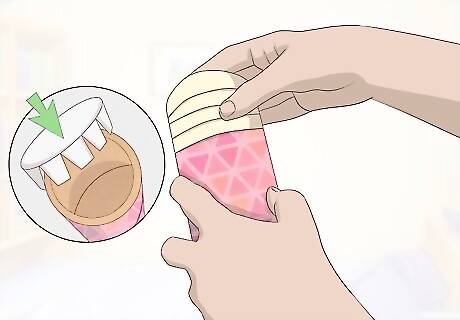
Cap the other end of the tube. Place the cap on top of the tube’s opening. Fold down each spoke onto the outside of the tube and glue. Once the glue is dry, enjoy your new instrument! When the glue is dry, it will no longer feel tacky to the touch. See the packaging for specific curing instructions. You may reinforce both caps with duct tape or rubber bands.





Comments
0 comment