views
Download the photos you will be using.
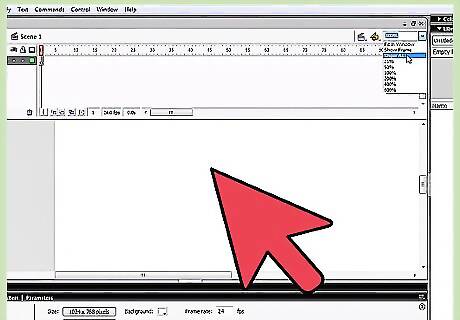
Create a new flash document.
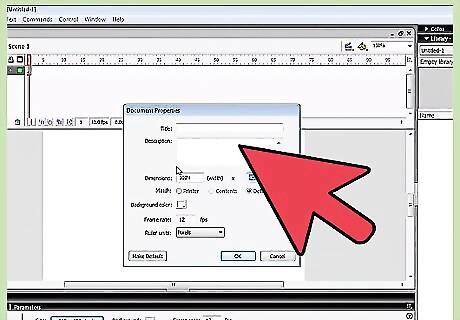
Press Ctrl+J key on the keyboard (Document Properties) and set the width of your document to 440 pixels and the height to 237 pixels (as the dimensions of photos).
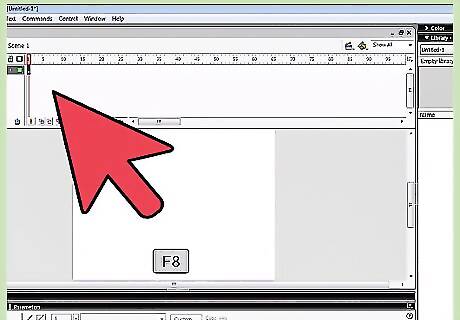
Select any color as a background color.
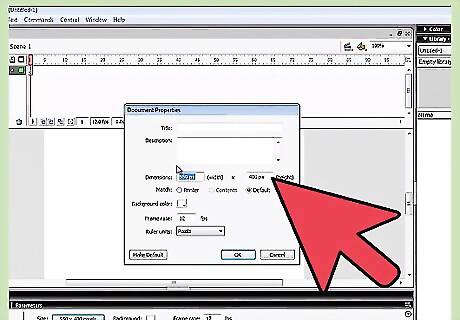
Set your Flash movie's frame rate to 32 and click OK.
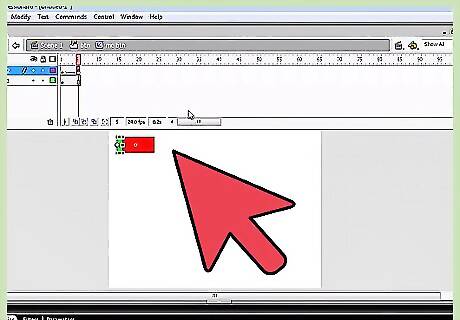
Choose file File > Import > Import to Stage (Ctrl+R) and import the first photo into a flash stage.
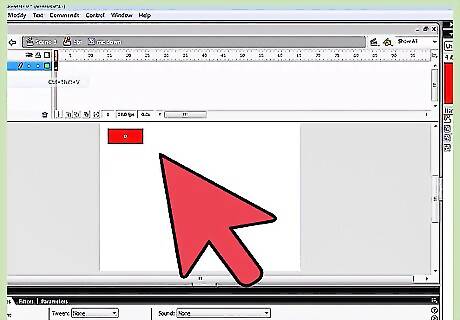
Go to the Align Panel (Shortcut key: Ctrl+K) and do the following (make sure that the photo is still selected): Make sure that the Align/Distribute to Stage button is turned on, Click on the Align horizontal center button and Click the Align vertical center button.
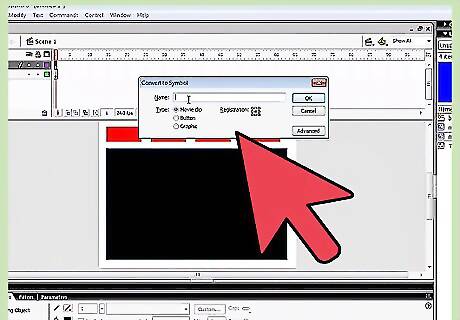
Press F8 key (Convert to Symbol) while the photo is still selected to convert this photo into a Movie Clip Symbol.
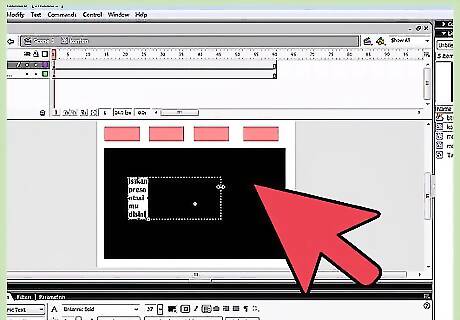
Take the Selection Tool (v) and double click on layer 1 to rename its name into skyline1.
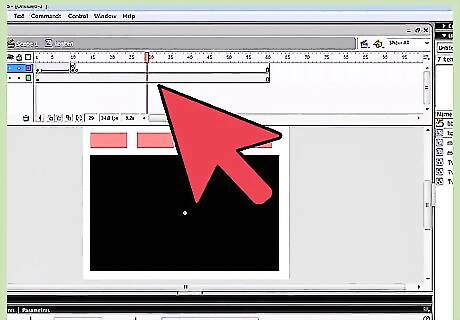
Click on frame 20, 50, and 60 and press F6 key on the keyboard.
Return to the first frame. Take the Selection Tool (V) and click once on the photo to select it.
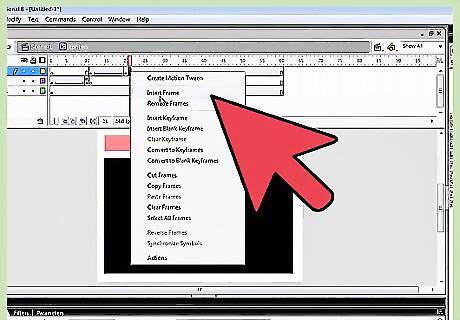
Go to the Properties Panel (Shortcut key: Ctrl+F3) below the stage. On the right, you will see the Color menu. Select Advanced in it, click on Settings button and do the following: Go to frame 60, take the Free Transform Tool (Q), and enlarge the photo a lot. Take the Selection Tool (V) and click again on the photo to select it. Then, go to the Properties Panel (Shortcut key: Ctrl+F3) below the stage. On the right, you will see the Color menu. Select Advanced in it, click on Settings button and do the following:
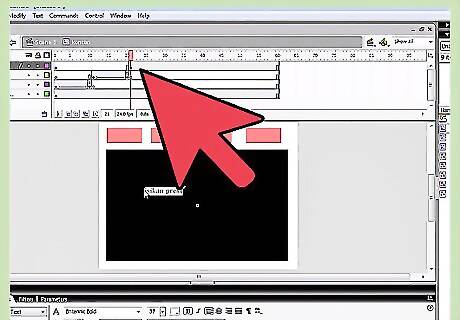
Right-click anywhere on the gray area between frame 1 and 20 and frame 50 and 60 on the timeline. Choose Create Motion Tween from the menu that appears.
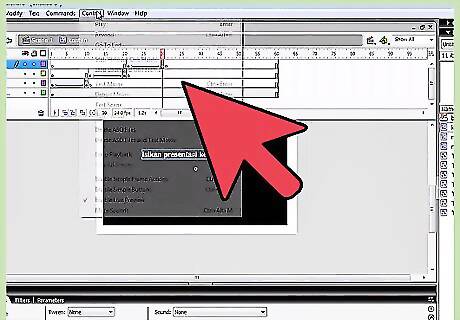
Create a new layer above the layer Skyline1 and name it Skyline2.
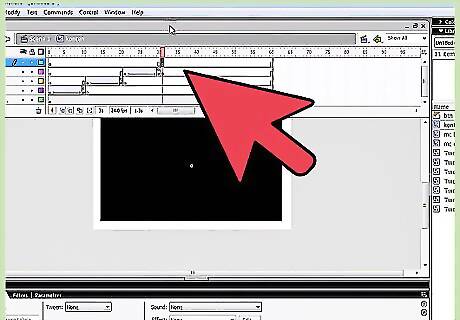
Select layer Skyline2, click on frame 55 and Import the second photo into a flash stage (Ctrl+R). While the photo is still selected, repeat.
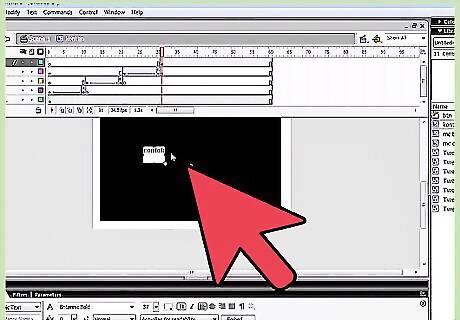
Click on frame 65,100, and 110 and press F6. While you're still on frame 110, repeat step 9. Go back on frame 55 and repeat again step 9.
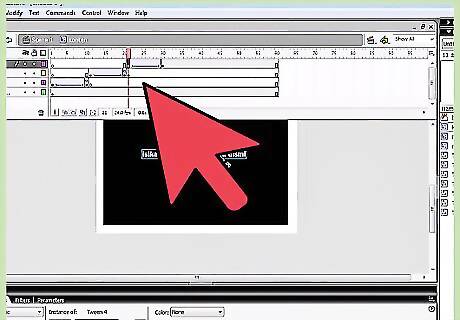
Right-click anywhere on the gray area between frame 55 and 65 and frame 100 and 110 on the timeline and choose Create Motion Tween from the menu that appears.
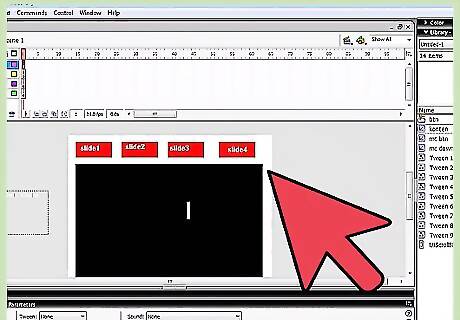
Test your movie.


Comments
0 comment