
Using your Fingers
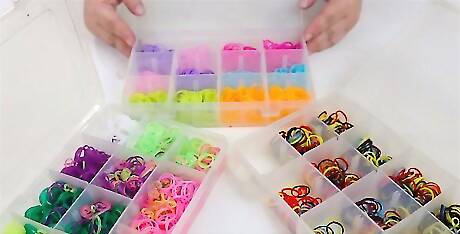
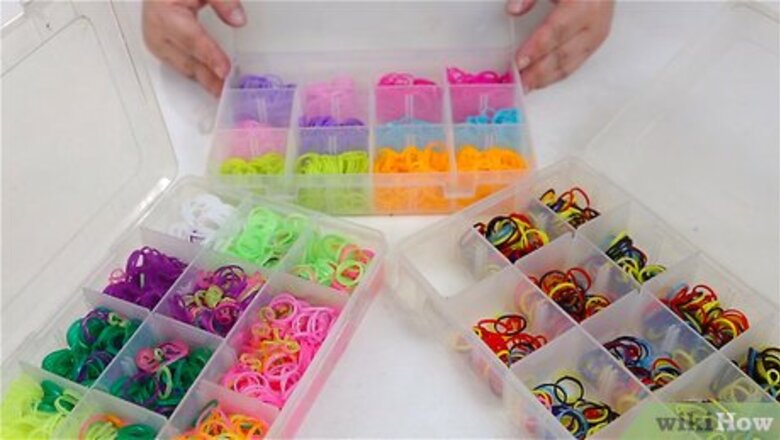
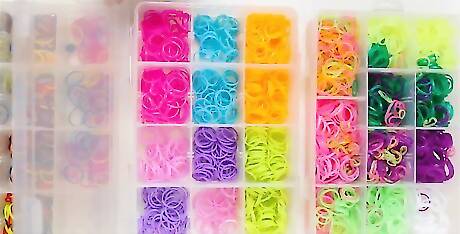
Choose your colors. You can use random colors, or you can try to pick colors that complement one another. Consider what you want your bracelet to represent. For example, you can choose your favorite colors, the colors of your favorite sports team, or seasonal colors (e.g. orange, black, and purple for Halloween). Consider buying a rainbow loom kit if you plan to make a lot of bracelets. These kits feature bands in a variety of colors. You can buy a kit online or in an arts-and-crafts store for as little as $10. Try writing down the order of the colors so that you don't forget. For example, if you have chosen to use red, blue, and green bands, assign a number to each color: red (1), blue (2), green (3). If your design is more complex, it is even more important that you plan out the specific color order.
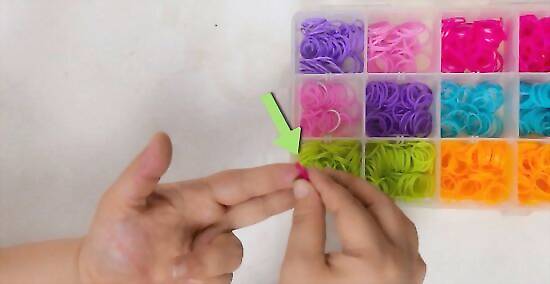
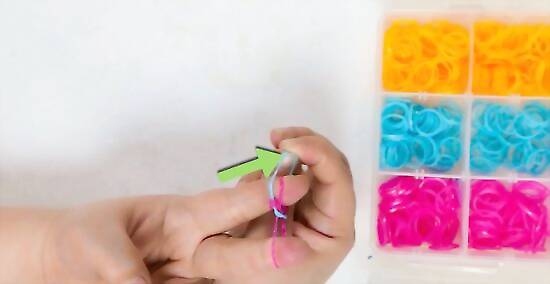
Loop the first band between your middle and index fingers. Make a loop on each finger—the band should look like a figure-eight or an infinity sign. You can also use a metal fork. Instead of using two fingers, wrap the rubber bands around two tines of the fork.

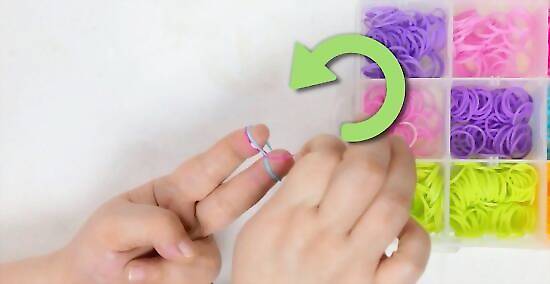
Loop another band above the first band. Do not twist this band into a figure-eight. Instead, make a single loop over your middle and index fingers.
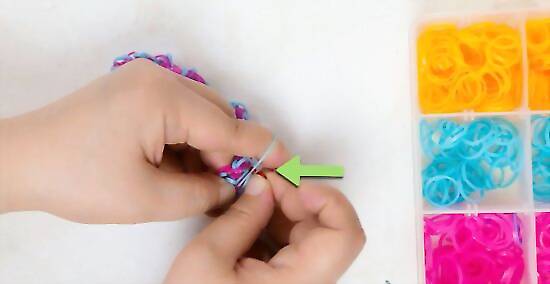
Pull the right side of the band under the top one.Do the same with the other side.
Repeat these steps until you reach your desired length. You just need to loop a new band onto your index and middle finger—above the previous band—then pull the previous band over the new band, your index fingertip, and your middle fingertip. Be sure to refer to your color order so that you don't make any mistakes. If you are making a bracelet for yourself, consider measuring your wrist—and then the bracelet—to make sure that your new accessory will fit. Hold a string tight around your wrist (as tight as you want the bracelet to fit) and then measure the length of the string. Your bracelet is done when it's as long as the string. If you are making a bracelet for someone else, think about how their wrist size compares to yours. If they have bigger wrists, make the bracelet slightly longer than you would for yourself. If they have smaller wrists, make the bracelet slightly shorter.
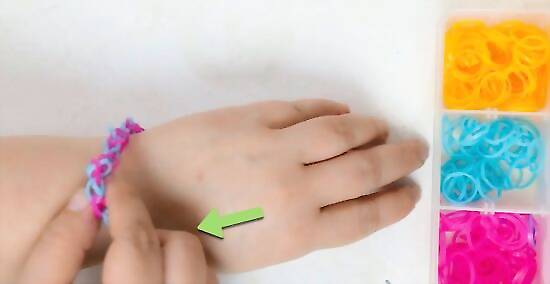
Finish the bracelet. Make sure that there is a band still looped on your middle and index finger. Attach the C-clip or S-clip to the end to hold the band together.
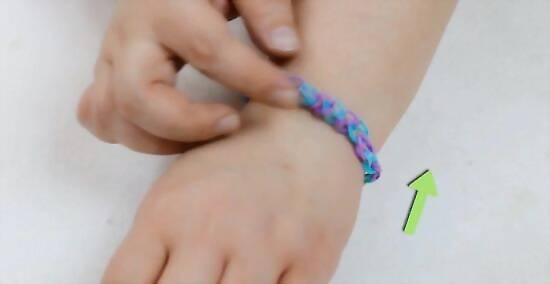
Enjoy. You can wear this bracelet, give it to a friend, or use it as a decoration. Try making a few bracelets that complement each other. As you gain experience, you can experiment with more advanced designs.
Using a Loom
Choose your colors. You can use random colors, or you can try to pick colors that complement one another. Consider what you want your bracelet to represent. For example, you can choose your favorite colors, the colors of your favorite sports team, or seasonal colors (e.g. orange, black, and purple for Halloween). Try writing down the order of the colors so that you don't forget. For example, if you have chosen to use red, blue, and green bands, assign a number to each color: red (1), blue (2), green (3). If your design is more complex, it is even more important that you plan out the specific color order.
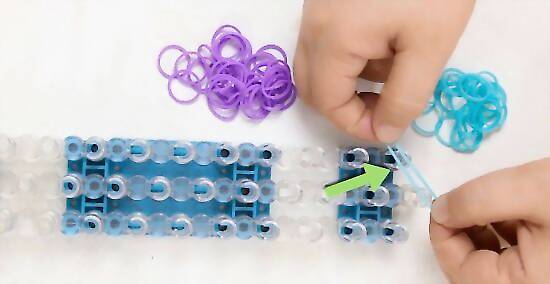
Loop your first color over the the top peg. The open, concave end of the curve should face toward you like a "frown." Stretch the rubber band over the peg beneath. Then, hook the next color over the second peg to the one before until you have your desired length. It may take some trial and error before you get the length of your bracelet right. If your loom is not long enough for your preferred length, you can move down the loom in an S-pattern. Alternately, once you have loomed a section, you can join it to another chain.
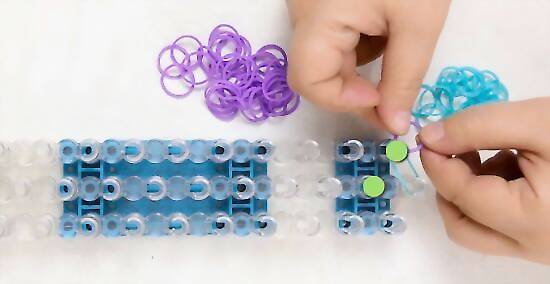
Once you have the length you want, place another band over the last peg. You can also loop this band over the peg three times for a smaller hoop, to which you will later attach an S-clip or C-clip.
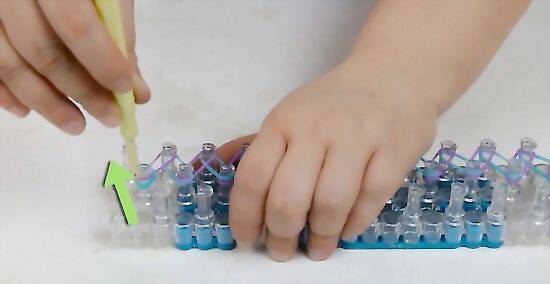
Use your hooking device to unhook the last band—the lowest on the peg. Slip the hook inside the "frown" through the loose or triple band. Hook that band, then bring it back up through the "frown" over the peg. Make sure this band is not caught on the peg, and is only still attached to the loose or triple band. Hook the band to the peg above the peg from which you moved it. If you made your chain in the S-shape, simply follow the pegs back the way you came.

Slip your hook through the "frown" of the peg to which you just hooked the last band. Hook the band at the bottom of the peg (the one stretched over two pegs), and bring it up through that "frown" (between the peg and the bands), thus unhooking it from its peg and re-hooking it to the peg above.
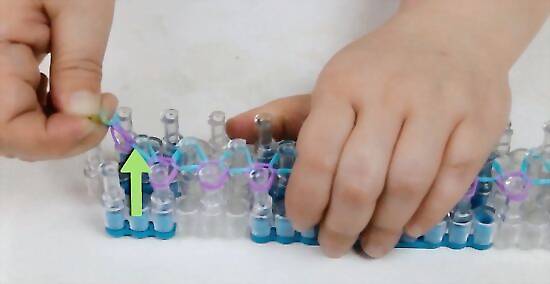
Continue up the chain until you reach the first peg. Slowly pull your bracelet from the loom. If your bracelet falls apart when you remove it, you did something wrong.
If you've reached your desired length, attach your S-clip or C-clip to that last loop. Make sure to grab all the band on the top peg. Starting at the bottom of your chain, unhook the bands from the pegs going back up your chain until it is free from the loom. To finish the bracelet, attach the S-clip or C-clip to the free end of the chain in the loop that is right at the bottom. If you want to add more length to your chain, start at the top peg again and link bands into your desired length. Instead of adding another loose or triple band when you reach the bottom peg, simply hook the original chain (where the S-clip or C-clip hangs) to the last peg.
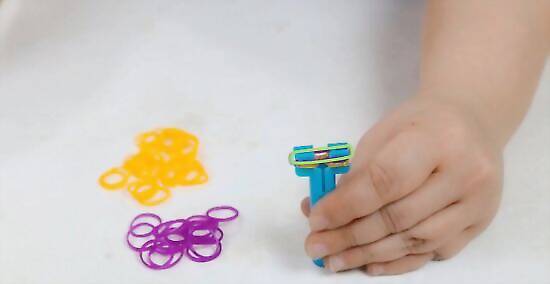
Using a Mini-Loom
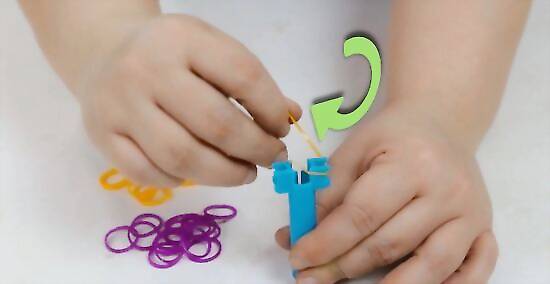
Tie a cap band. Make a figure-eight with a rubber band, then slip it onto a finger. Stretch the band over the two notches of the mini-loom.
Put your hook in one of the sides of the cap band. Put another rubber band in the crook of the hook, then pull it through and out the other side back on the hook.
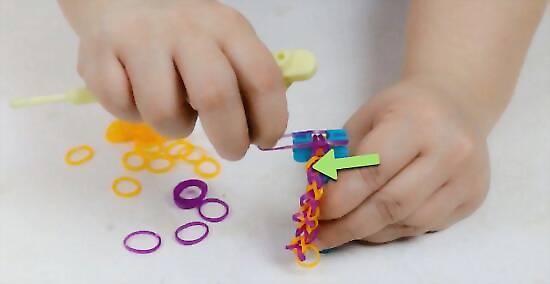
Keep adding rubber bands. Loop a rubber band in the crook and pull the two-band sides that are already on your hook. Repeat until you reach your desired length.
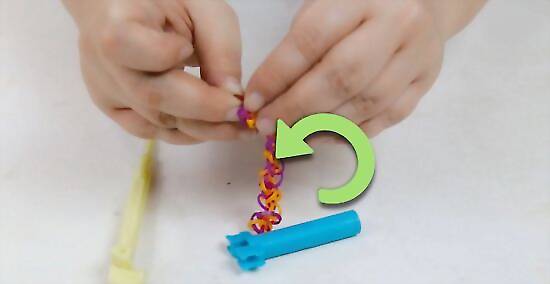
Finish the band. You can C-clip the ends of the bracelet together, or you can tie a slip knot.


Comments
0 comment