views
Decorating with Icing
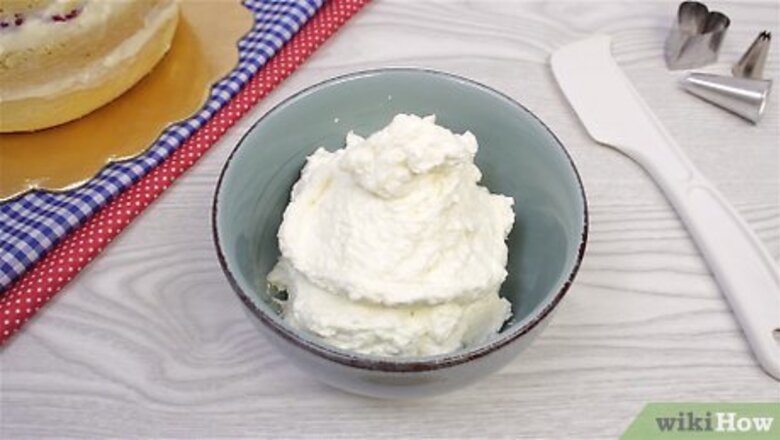
Make the icing. Buttercream frosting is an excellent choice for standard cake decorations, including writing and flowers. Royal icing will dry hard to make a longer-lasting decoration, but must be applied right after you make it. You can try a different recipe if you have a favorite, but some icings are too runny to use as decoration. Buttercream or royal icing can easily be stiffened by mixing in sugar, or made runnier by adding a drop or two of water. Slightly soft mixtures are best for the first, smooth layer, and stiffer mixtures are best for the decorations on top.
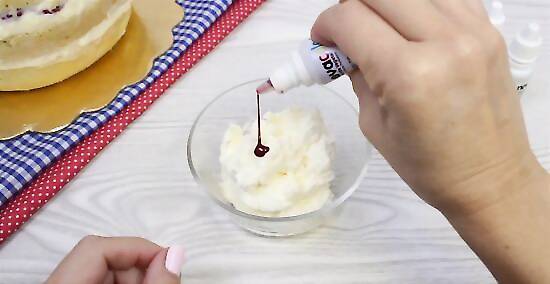
Add color. Mix in food coloring to the frosting a drop at a time until you get the color you want. Keep in mind that colors will deepen over a couple hours time when added to buttercream, but fade when added to royal icing, or when any icing is exposed to bright light. Divide the icing into batches and use several colors for more options. Alternatively, sugar icing or royal icing can be added to the cake plain, then have food color painted on them in fine designs using a small paintbrush, barely dampened in food coloring.
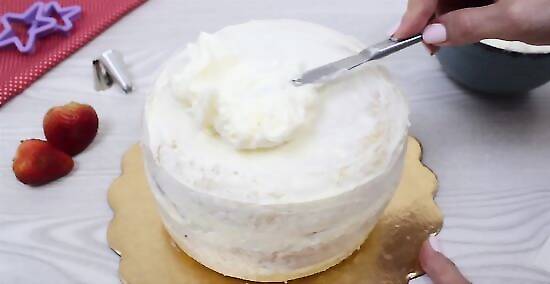
Add the smooth layer of icing. Start with a thin "crumb coat" to lock the crumbs under the icing, then spread a large amount of icing onto the cake's top and sides, so you can spread it using a flat spatula without scraping the cake. Try to get it as smooth as you can, then use one of these two methods to perfect it: For white icing, use a pastry scraper or other wide, flat edge to scrape off the excess icing to a flat surface. Between each scrape, wipe off the scraper's edge on the icing bowl, then with a paper towel. Colored icing can look spotted after being scraped, so it's best to use a bit less icing so there's less to remove after spreading. To smooth it out, wait until it is dry to the touch, then place a paper towel over the cake, rub it gently back and forth for thirty seconds, then repeat along the side. Note that most paper towels are textured, which will add a pleasing pattern.
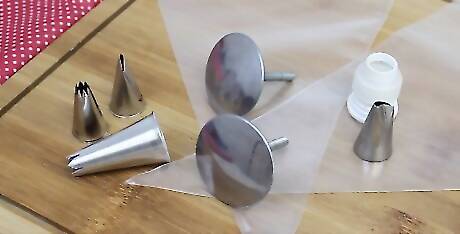
Gather piping supplies. The classic swirls and flowers on bakery cakes are made by piping icing through a pastry bag – which you can make at home – with a metal tip at the end. There are many different types and sizes of decorating tips, but three of them will get you started on most common decorating techniques: Use a simple round tip for dots and writing. A star tip can make rosettes with a short squeeze, or classic swirls if you move as you squeeze the bag. A "closed star" tip will give the swirl more pronounced ridges. A petal tip is used for making ruffles, ribbons, scallops, or flowers.
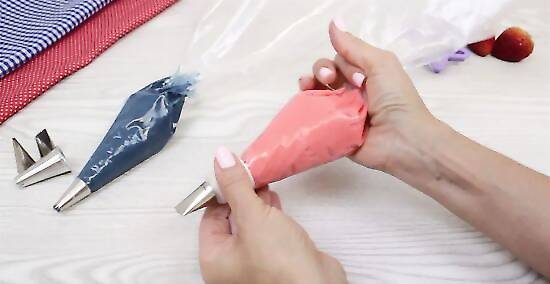
Pipe on decorations. Once the tip is attached to the pastry bag, spoon in some icing and push it down to the bottom of the bag. Twist the top closed, then manipulate the bag to separate the icing into two lumps, with one fist-sized handful down at the bottom. Use one hand to squeeze this handful through the tip, and the other hand to guide the pastry bag's movement, holding either the tip or your other hand. Keep these tips in mind, and consider practicing on a plate first: For most purposes, hold the pastry bag tip at a 90º angle to the surface you're decorating, and about 1/2 inch (2.5 cm) above it. Try to squeeze the bag as evenly as possible, and move the bag at a constant rate, or the decoration will have uneven width. When you are finished with a swirl, line, or other decoration, stop squeezing, then lift the pastry bag straight upward to prevent smearing.
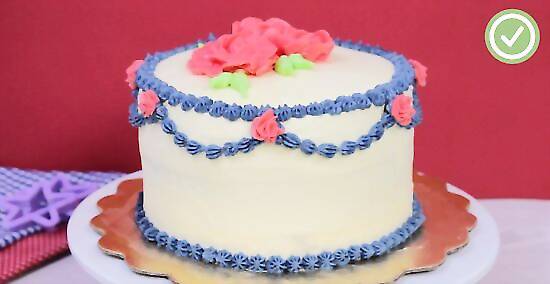
Pipe flower designs. Icing flowers are more complicated to create than most other designs, but turn out great once you have some practice. You'll need a petal piping tip on your pastry bag for this step: Hold the tip at a 45º angle just above the surface, with the thin end of the petal tip pointing upward. Squeeze briefly while moving the tip in a tiny circle, to form a cylinder. Squeeze again, this time moving the tip quickly in a teardrop or U shape, starting and ending against the edge of the cylinder. Move the tip up as you reach the bend of the U and down again when you return to the cylinder. This makes a single petal. Repeat around the cylinder, then add additional layers of petals until your flower is complete.
Decorating with Fondant
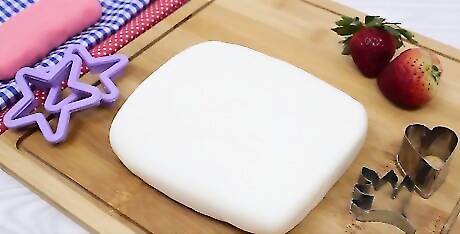
Make or buy fondant. Fondant is a smooth, easily molded covering used to cover the whole cake or to make cake toppers. You can make it yourself or purchase ready-made fondant to save yourself the trouble. Some brands of fondant tear more easily than others. Fondarific, Duff, and FondX are good beginner options. Fondant dries quickly, so keep any portions you are not currently using wrapped in plastic or in the original container.
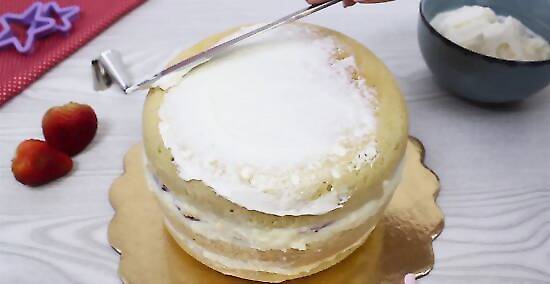
Start with a smooth layer of buttercream. Make this as smooth as possible to prevent wrinkling or tearing the fondant, which will go over the buttercream. See the icing section for tips. Ganache can be used instead. It may be more difficult to smooth, but will provide a more stable base.
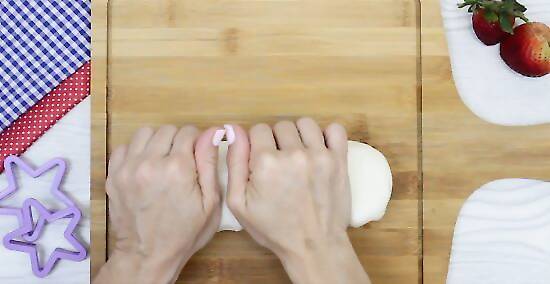
Knead the fondant. Sprinkle cornstarch or spread shortening on a clean surface to prevent the fondant from sticking, then knead it for a couple minutes or until pliable. Knead by pushing with your flat palms and heel of the hand, to avoid trapping air bubbles in the fondant. Skip this step if you purchased ready-to-use rolled fondant.
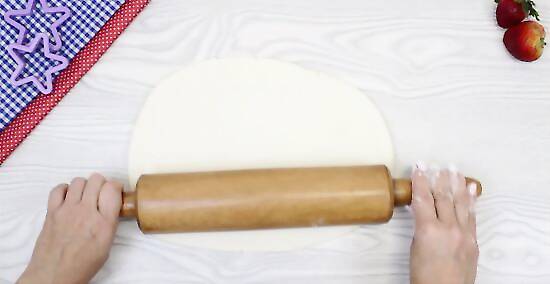
Roll out the fondant. Use a rolling pin to roll the fondant out to a ¼ in (6 mm) thickness. Occasionally rotate the fondant by sliding your hand underneath it to the center, to make sure it hasn't stuck to the table. If you plan on covering a circular cake with fondant, you'll need a circle as wide as your cake's diameter plus twice the cake's height.
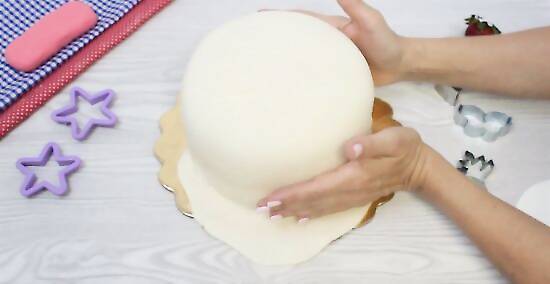
Cover the cake (optional). Once the fondant is rolled out, roll it around the rolling pin, then unroll it again over the cake to drape it over. Use a flat tool – or your hands if necessary – to smooth the top surface and remove air bubbles. Next, smooth out a full circle around the top of the cake's sides, to make sure the fondant is firmly attached. Smooth the rest of the sides, gradually moving around the cake, until it is fully covered. Cut off the remaining fondant with a utility knife or pizza cutter. If you are covering a cake with an unusual shape, put the fondant in the same mold you used for the cake, let it harden slightly, then place it over the cake. Large cakes may need to be covered piece by piece, then repaired as described below.
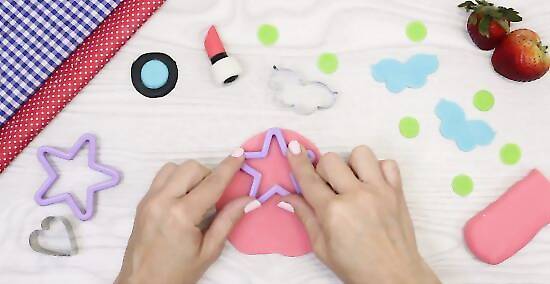
Make fondant decorations. You can easily make two-dimensional fondant decorations by cutting shapes out with a utility knife or scissors. Use fondant in multiple colors to make faces, animals, or any shape you like. It can also be sliced into strips and arranged to form ribbons or a spiral flower. Three-dimensional shapes can be sculpted just like clay, although fondant is best suited for small cake toppers, since it dries quickly.
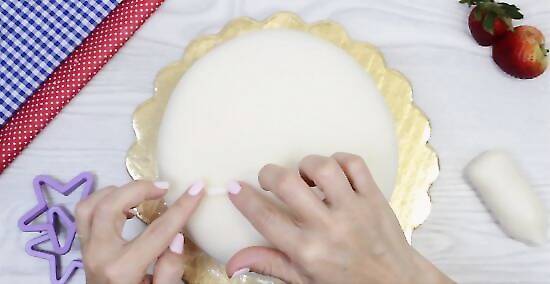
Repair fondant. Fondant can tear, crack, or bulge fairly easily, especially when used to cover an entire cake. Here are a few ways to repair these imperfections: Put a small amount of new fondant into a bowl and mix in water ¼ tsp (1 mL) at a time until you get a toothpaste consistency. Spread this with a flat spatula over cracks or dents to make them smooth, then wait for them to dry. If the fondant cracks before you've started decorating, knead in some shortening or glycerin. Hairline cracks can sometimes be smoothed out with your fingertips, or disguised with a brush of shortening. A bulge is usually an air bubble. Try pricking it with a pin, then smoothing out the fondant.
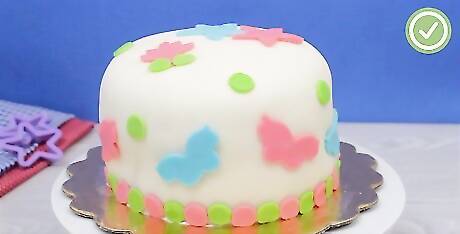
Finished.


Comments
0 comment