views
Making a Shield for Beginners
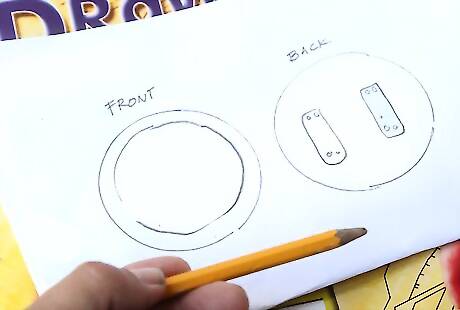
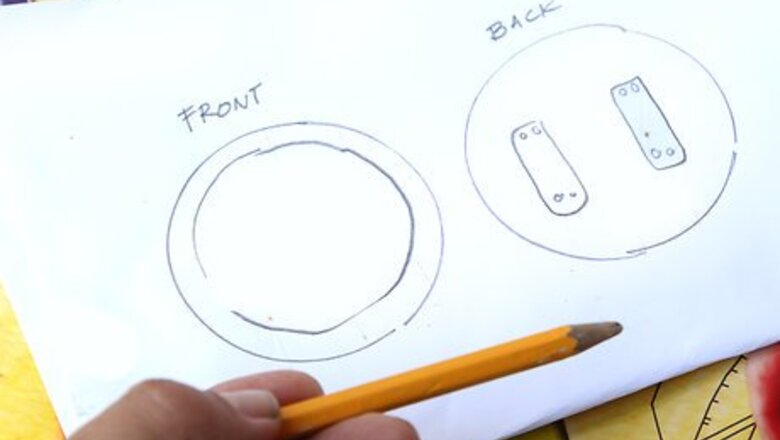
Sketch out a rectangular design for your shield. Sketch your design true to size using pencil and a large sheet of design paper or poster board. While more advanced shields may be various shapes, a beginner's shield made in a rectangle is a good way to become familiar with the tools and techniques needed while avoiding more complex work. If you have an electric saw and the know-how to use it, a simple oval or circle pattern works well too. You can also create plans for a design or logo for the front of the shield. You can just paint the entire shield a solid color, but a pattern or design adds character. The size of an authentic shield varies depending on its intended use and the size of the person who will use it. A basic shield should at least be the width of the user's shoulders and the length of the user's torso.
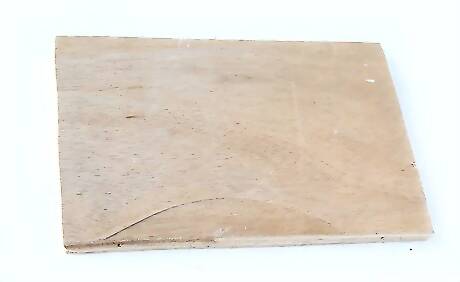
Select and purchase your materials. Using simple materials will help keep the beginner's shield streamlined and easy to put together. A lightweight wood is best, such as plywood or fine particle board. You will want an unfinished wood that is easy to cut and at least half an inch thick and about two feet wide and four feet tall, a standard size available at most lumber yards. While more advanced (and historically accurate) shields generally have leather handles on the inside, beginner fighters can use a handle purchased at a hardware store. It is easier to make and attach, and simple to hold. Look for a smooth handle that will not hurt your hand if you grasp it tightly, such as a bail pull from the knob and handle section of the hardware store. You will need screws or short nails to attach it to the shield.
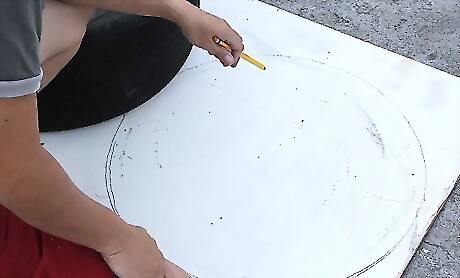
Trace the design on the shield. Using your plans as a guide, trace the design in pencil on the wood, on what will be the back of your shield. You can use a ruler or other straight edge if you've decided to go with a rectangular shaped shield. Use a large compass to make a circle for a rounded shield. If you are not completely happy with your design, trace it again. Don't cut until you're sure!
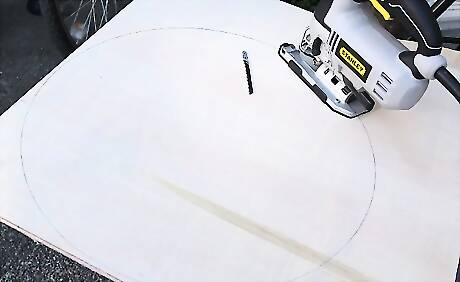
Cut the design out. You will need a saw, and although you can use a hand saw, it will be a lot of work. A bandsaw is ideal. Go slowly for accuracy and safety.
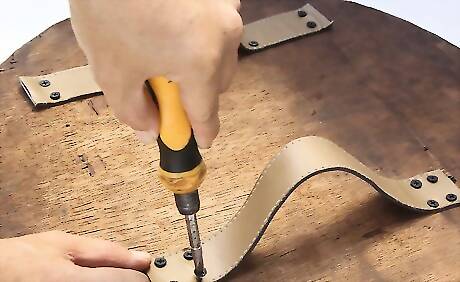
Attach handle. How you attach the handle depends on how securely you need it to stay in place. If you are not going to use the shield roughly, you can secure the handle using small nails or screws. Otherwise, if the shield will see a lot of action in battle, secure it using bolts.
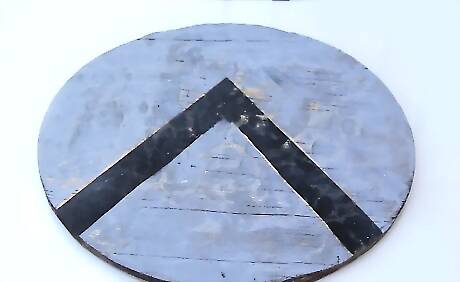
Decorate the front of the shield. You can use a solid color paint, or create a replica design from a historic time period. You can also create your own coat of arms to feature on the front if you are artistic. Sand any rough spots or edges before painting, then apply a thin layer of primer, which will help the paint to adhere. After it is dry, apply another layer of primer and let dry. Apply a thin layer of paint in your color of choice. You can use either oil- or water-based paint, but it is important that you use the same kind for both primer and paint or the paint will peel off. After the first layer of paint dries thoroughly, add another layer if you prefer, then let it dry beforehand painting on details. Remember to use oil- or water-based paint for the detailing, too, according to what you used for your primer and base color. Add a layer of polyurethane coating once everything else has dried, and let it sit for 48 hours to cure. The polyurethane will seal the paint in so that it does not chip.
Making a More Advanced Shield
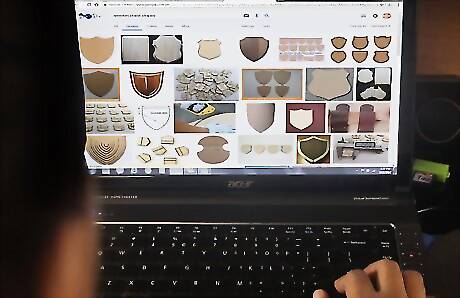
Design a more complex shape like a circle or ellipse. Using posterboard and a pencil, sketch the shape you want your final product to be, and make notations about the length and height. The base of a shield is often a circle or an ellipse, but with your skill level, you can expand your design to more complex patterns. Do an internet search for "shield shapes" to get some ideas. Historically, the size and shape of the shield depended on its intended use. For example, a swordsman would use a small shield such as a buckler, which is lightweight yet not cumbersome. An infantryman would need a tall shield to duck behind or cover the legs during an assault. For historic authenticity, research the particular type of shield you want to make and find out its ideal dimensions and shape. Many historic shields were convex, curving around the user's body to protect the user in battle by deflecting swords and arrows. However, you would need advanced technological equipment in order to bend your wood.You can purchase a wood press online or in some large hardware stores if you are interested in bending the wood for a convex shape.
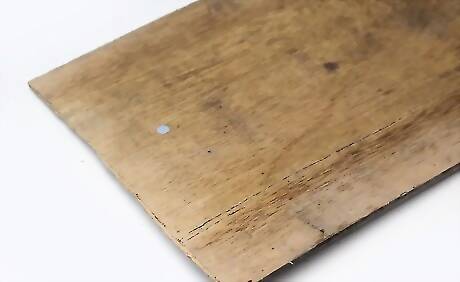
Choose solid and sturdy materials for your shield. If you are going to use the shield for re-enactment or simply want a more authentic piece of armor, you will need a solid piece of wood such as oak. You can use other types of wood if it is more authentic to the type of shield you are trying to create (for example, English, Scottish, Viking, etc.). Historically, medieval European shields were made from several layers, with a core made of oak. You will need a 2' by 4' piece of solid unfinished oak, and optionally, as many pieces of plywood in the same size plywood to make additional layers. Keep in mind, solid oak is heavy, and additional layers will make a very heavy shield! Most authentic shields have heavy leather straps as handles. You will need two thick leather pieces about six inches wide and a foot long. These are available at crafting supply stores.
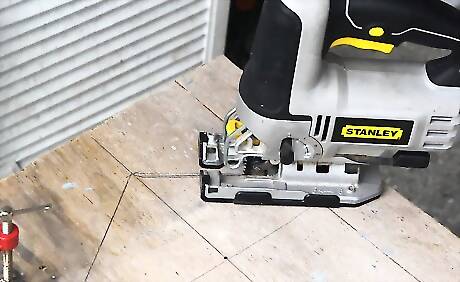
Build your shield. If you read the instructions for a beginner's shield, you will notice that these steps are similar. Trace the design on the wood in pencil, by cutting out your poster board design and using it as a guide. Cut the wood out using a bandsaw or handsaw (a bandsaw will make it much easier, but use what you have). If you are using additional layers of plywood, cut them out to the same pattern. If you are using plywood, attach it using a thick layer of wood glue to the front (and back, if you're using two layers) of the oak layer. Let it dry thoroughly before continuing.
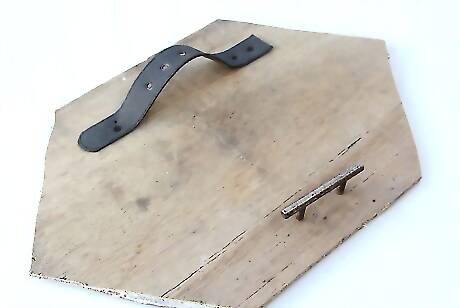
Attach the straps. Add two leather straps to put your arm through across the back of the shield, which will allow you to hold the shield with one arm and a weapon with the other. Hold the shield up to your body to determine the natural placement of the straps. Holding the shield up with your non-dominant hand, place your dominant hand across the back of the shield where it naturally falls when you hold the shield in place and your arm at a ninety-degree angle. Mark the outline of your forearm on the back of the shield with pencil. This will show you where to secure the straps, about six inches apart directly above and below where your arm will go. Secure the leather straps using metal bolts.
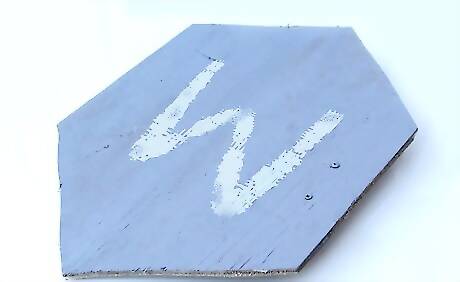
Decorate the front of the shield. You can use a solid color paint, or create a replica design from a historic time period. You can also create your own coat of arms to feature on the front if you are artistic. Sand any rough spots or edges before painting, then apply a thin layer of primer, which will help the paint to adhere. After it is dry, apply another layer of primer and let dry. Apply a thin layer of paint in your color of choice. You can use either oil- or water-based paint, but it is important that you use the same kind for both primer and paint or the paint will peel off. After the first layer of paint dries thoroughly, add another layer if you prefer, then let it dry before hand painting on details. Remember to use oil- or water-based paint for the detailing, too, according to what you used for your primer and base color. Add a layer of polyurethane coating once everything else has dried, and let it sit for 48 hours to cure. The polyurethane will seal the paint in so that it does not chip.
Repairing Your Shield
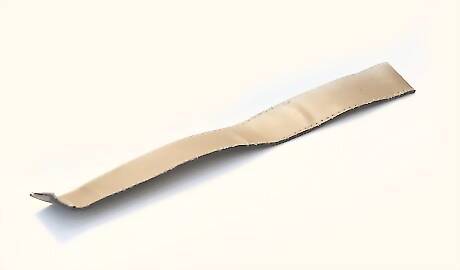
Reinforce splits in the wood. If you notice that your handle has splits or cracks in the wood after battle, repairing before your next re-enactment. You can add wooden stays or leather straps bolted in place to repair the damage if the area is small enough. Cut wooden slats or thick leather strips a couple of inches wide by a couple of inches long (or however long you need to secure it on both sides of the crack). Bolt these in place on either end.
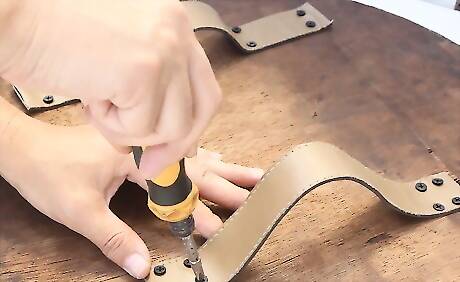
Repair broken handles. It is important to have a secure handle so that you don't lose hold of your shield during battle. If your handle breaks, you can either grab the shield with both hands (which means putting down your weapon), or put down the shield (which means exposing you to oncoming attacks). Be sure that the handle is on securely before going in to battle. Replace a damaged, split, or frayed leather strap or handle at first sign of wear. Don't wait for it to fall off completely before repairing.
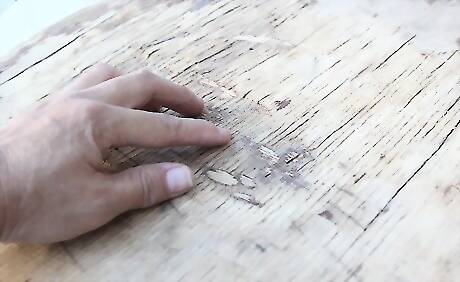
Leave dents alone. Dents and dings in your shield add character and make your shield seem more realistic. If you hate having dents in your shield, you can use sandpaper to try to buff them out. You will need to repaint that area.
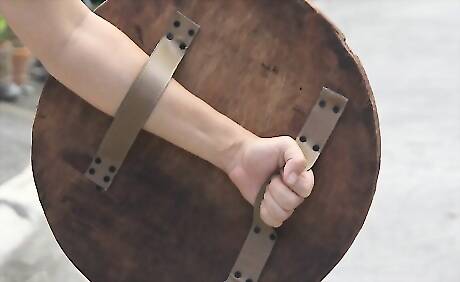
Build a new shield. If your shield is split in half during re-enactments or battle, you will need to build a new one. This time, try making a more advanced shield; you've already practiced once!


Comments
0 comment