
views
Cleaning Out Your Desk
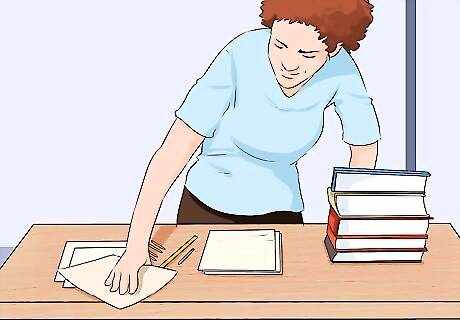
Take everything out of your desk. Lay things out on top of the desk so that you can see most of it. You may have to pile things up a little bit, but that’s okay for now. Once it’s all laid out, you can see what you had in your desk and begin to sort through it. If you don’t have quite enough room on top of your desk, you can set some of the things on your chair, on the floor, or on a nearby table. If you can’t take everything out at once, you can remove things from the desk a few things at a time as you sort through it all, discard some things, and re-organize what’s left.
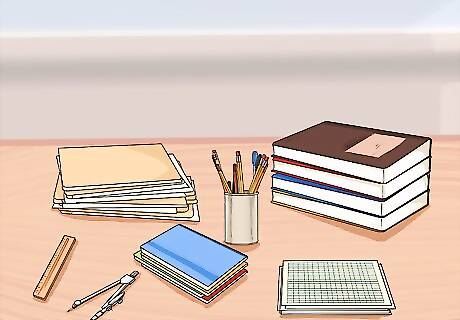
Sort everything into piles. These piles could be textbooks, notebooks and folders, supplies like pens, ruler, and compass, graded papers, assignments you are still working on, and assorted items like paper clips, toys, or stickers. Sorting it out like this will help you see what sections you can organize your desk into. It will also help you see what doesn’t belong. As you sort, throw away anything that is obviously garbage such as candy wrappers, paper scraps, or broken writing utensils. Having a trash can or a plastic bag nearby will help you get rid of things more quickly. Check over supplies like pens, pencils, markers, crayons, paper clips, rubber bands, and erasers, and throw away anything that is broken, dried out, or no longer useful. Toss out or give away any duplicate items you don't need. For example, if you have 3 pairs of scissors in your desk, you can get rid of 2 of them since you really only need one.
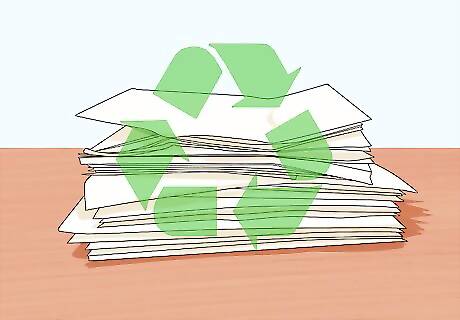
Recycle, pack up, or file old papers. Your desk is most likely filled with graded papers and handouts. Take a look through all of it to see what you have. Recycle anything you definitely don’t need. Put papers into your backpack that your parents will want to see or that you don’t need at school. Put papers that need to be kept into a folder or pile. It is also good at this point to look through papers you might have in folders, notebooks, and textbooks and do the same sorting on those.
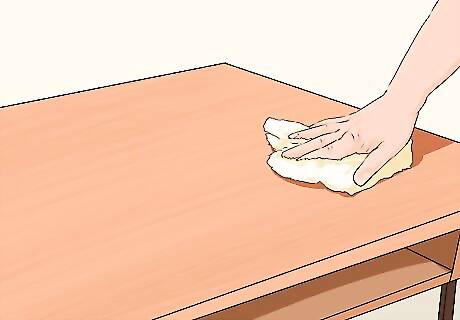
Wipe down your desk. While everything is out of your desk, take a wet paper towel with soap, or cleaning wipes, or disinfectant spray and give the whole desk a once over. Wipe around the inside of the desk, as well as the surface. You can even wipe under it and around the legs if you want to be thorough. You may need to ask your teacher for cleaning supplies and for permission to use them on your own. You’ll also have to set the stuff on your desk off to the side while you clean it. If you aren’t allowed to use cleaners, you can still wipe everything down with a wet paper towel. This will be better than nothing. You may have to let the desk dry before putting anything back in it.
Filling the Desk
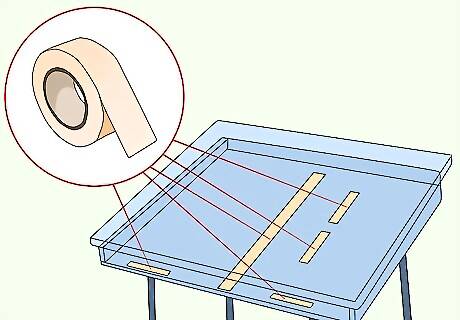
Use masking tape to make sections in the storage part of the desk. One way to keep things in place is to create 2-3 sections inside the desk by dividing it with tape. You’ll want a large section for textbooks, maybe one for notebooks and folders, and 1-2 for the rest of the items you’ll need. Ask your teacher before putting tape on your desk. If the top of the desk lifts, this should be easy to do, but for slide-in desks it may take a little more maneuvering. For slide-in desks, you’ll want to put things at the back that you don’t need very often. The amount of space you have in your desk will determine how many sections you can create. You may just divide it in half to keep textbooks separate from everything else, or you may want 5 or more specific sections if you make smaller sections. If you can’t use tape, or you don’t want to, just think of where you’d put sections inside the desk so you can organize in that way as you fill the desk.
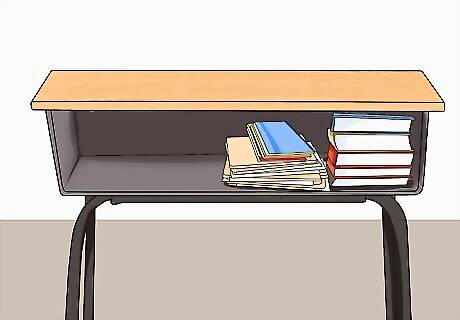
Put large items in first. Your books, folders, and notebooks will take up the most space, so put these in first in the section you’ve designated for them. Also put items toward the back that you will need less frequently. If you usually take notebooks or folders out of your desk multiple times every day, you may want to leave these out for now and set them on top of the other things in one section of your desk. For now, you should stack your books with the largest (widest and thickest) one on the bottom and smaller ones toward the top of the stack. Now is a good time to label your folders if you haven’t yet. You can label them by subject or with something like “Work to do,” “Completed work,” and “Extra papers.”
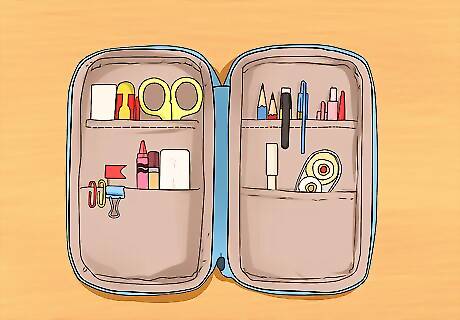
Use organizer boxes for other supplies. One of the best ways to organize all of the small items in your desk is with small boxes. You could use old jewelry boxes, tissue boxes (cut smaller), or even small food boxes. Place a couple of these in your desk so you can separate smaller items. Other options would include getting a pencil case for all your writing utensils or small plastic containers for paper clips, rubber bands, staples, and erasers. You could keep the lids on to avoid spills or leave the lids off for easier access. If you have room in your desk, you could purchase a desk organizer which has sections for all of these things. Place containers of things you need less often toward the back and containers for things you frequently use toward the front.
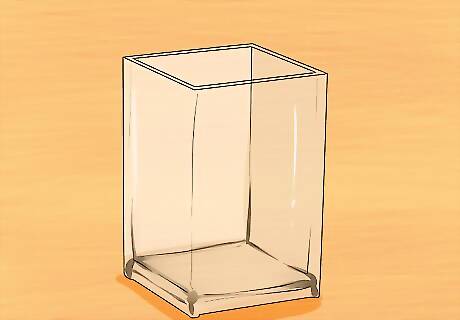
Have one container for assorted junk that will accumulate. Besides the containers for supplies you need, it’s also helpful to have one just for random things you gather. This might be stickers from a teacher, a rubber ball from a friend, candy, or rocks you gather at recess. Keeping this stuff separate is a great way to maintain the ordered desk you have just created. You should go through this container every so often to empty it of things you don’t want to keep. Other things will only stay in your junk jar for a while and then will be used.
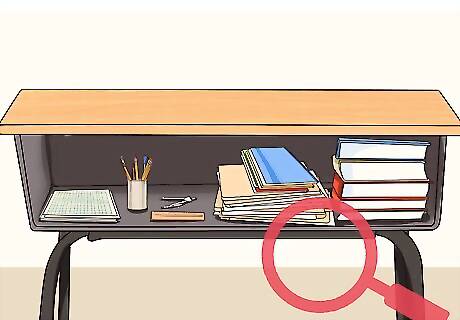
Inspect your desk on a regular basis to maintain order. Since you will take things out of your desk and put them back daily, it’s bound to get disorganized again before long. If you work hard to always put stuff in it’s proper spot and you check it weekly, your desk can stay organized for a long time.





Comments
0 comment