
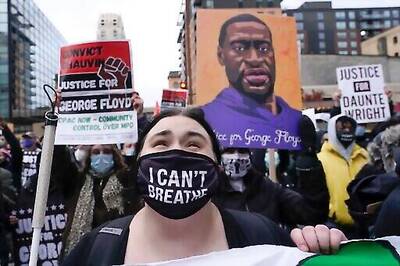
Open your image in Photoshop. If needed, make some changes that will make it more 'painterly'. That means possibly add some contrast, vibrance, and saturation. It really depends upon what you want, but if you find your end result lacking, you might want to try bumping up your colors and contrast.
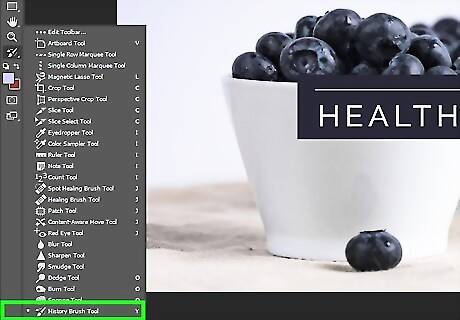
Select the Art History Brush. It will be Y and if the History Brush shows up, press ⇧ Shift Y.
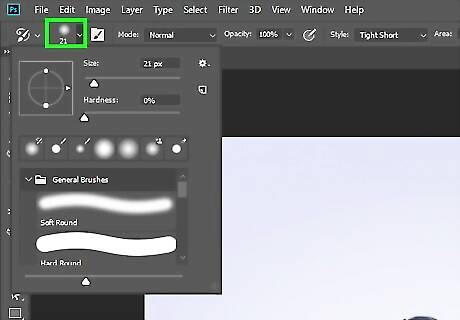
Change your brush if you would like. However, a soft, round brush will do the job. It really depends upon how you want it to look when you're done. For this image, a spatter brush will be used.
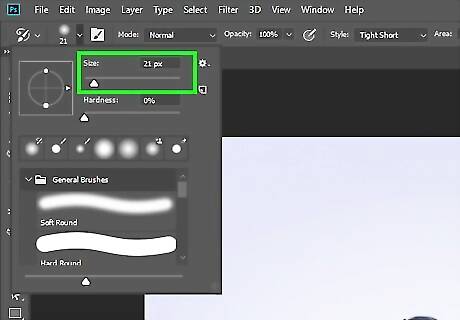
Make your brush fairly large. You want to completely distort your image at the first pass. This will change depending on the size of your image.
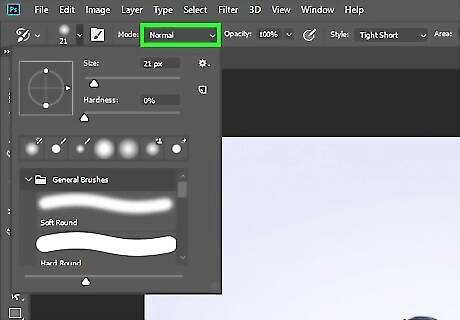
To start with, keep your mode at Normal.
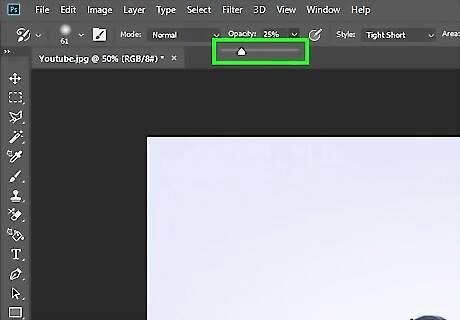
Drop your opacity to about 25%.
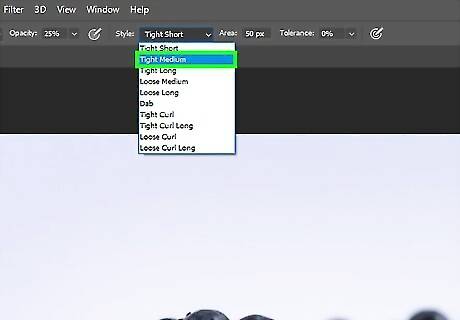
Select a Style to use. To begin with, you will want something a little loose. The 'Tight' options are good, to begin with. For this image, Tight Medium will be used.
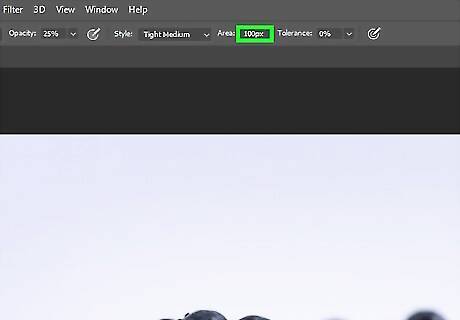
Select a fairly large Area for the next option. Numbers of 100px or more are what you are looking for. Perhaps, even higher.
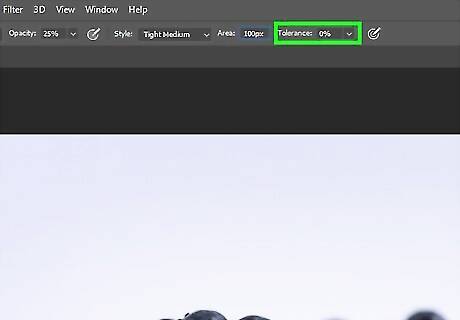
Keep your tolerance to 0%. This allows the maximum coverage of your 'paintbrush'.

Scribble all over your image. You want to fully distort the image so that it is hard to discern what it actually is.

Reduce the size of your brush and repeat the process. If you would like, perhaps just focus on the subject of the photograph. You can also wait for the next step to do that.
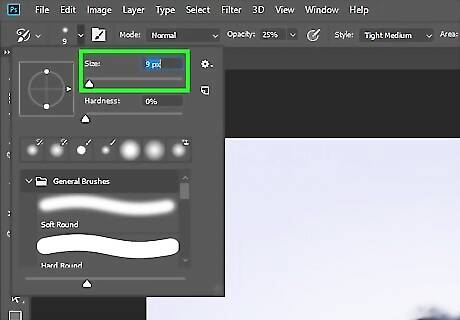
Keep doing that, focusing more and more on the parts that you want to stand out. You don't want it 'painted' with photographic clarity so make sure that it doesn't become that way. Just enhance the parts that you want to bring out.

Continue down until you are down to about 1-to-3 pixel brush. If you can't get your image to have the clarity that you want, try changing your brush. The spatter brush used in this example will do just that. Spatter.


Comments
0 comment