views
Preparing and Sketching
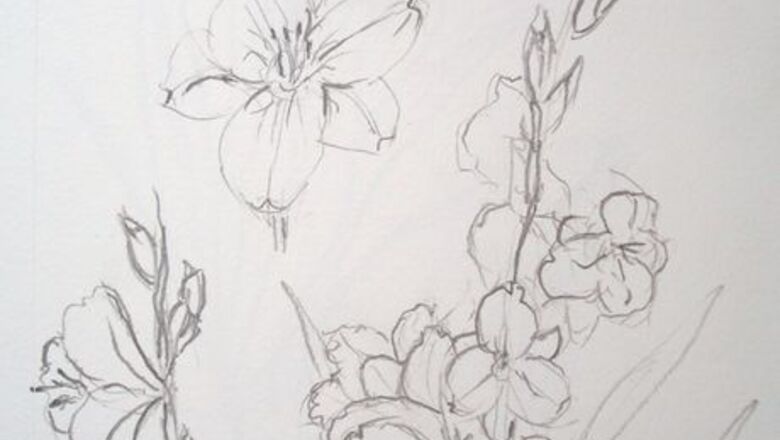
Practice drawing the gladioli flower in pencil. It has two sets of three petals, one behind the other, and is trumpet-shaped. The center has three stamens. The blooms appear in a row going up the stem. Buds are plentiful and can be seen in various stages of opening. The leaves are tall, green, spiky and plentiful. At the base of the plant, under the earth, blub-like “corms” form to propagate new plants.
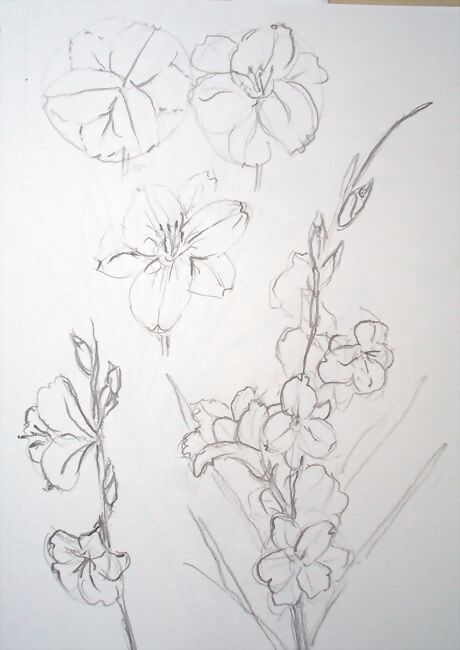
Analyze the plant and try out different compositions. Will you turn your paper vertically and try to fit the entire tall plant onto the page? Perhaps you will come in close and focus on just a section, highlighting the blossoms. There is no right or wrong way to paint the flower. However, the colors of blossoms will remain consistent on anyone stalk of glads.
Open a pad of heavy watercolor paper. Turn back the cover of the pad and use the cardboard back to support your work as you paint. Arrange your watercolors, brushes, pencil, eraser and water container within easy reach. Immediately, activate your colors using a small amount of clean water.
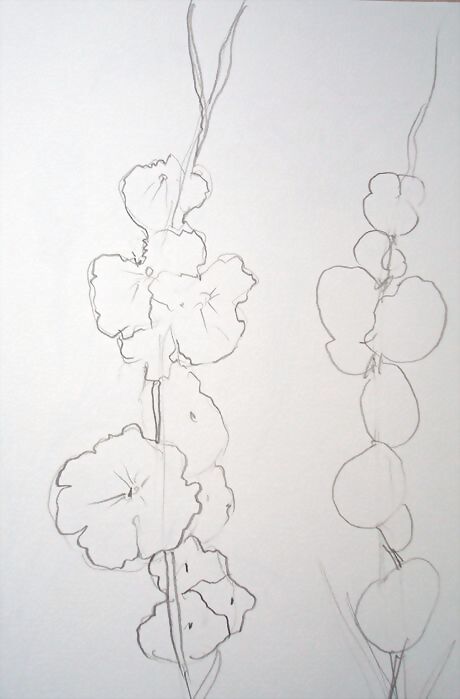
Sketch the flowers on the watercolor paper in pencil. Use lightly drawn ovals to plot out the placement of the colorful flower clusters. Lightly drawn leaves of various heights can help fill surrounding areas. To guarantee light lines, gently "ghost" the picture with an artist eraser, because you cannot erase lines once you apply paint. Be sure to include many ovals attached to the stem to represent the buds. Plan to show the buds in various stages of opening.
Painting
Experiment with various ways to depict the flowers. Wet the flower shape first, allow it to set for a few minutes or until the water begins to soak into the paper, then add paint. You might have to work in such a way as not to have two wet flowers touching to avoid losing your clean edge and have the flowers run into one another. To do this, simply work on parts of the painting that aren't touching, and when they dry, then work on the space in between. Watercolors are known to re activate and become wet again even after drying, so take care! Try making “water blossoms” or “back runs” by filling a brush with water and touching it to a partially dried petal or entire flower. The water will rush to the wet area and the result will be a ruffled shape. This is a fun way to create natural-looking flowers with ruffled edges. Paint the flower on dry paper. This will give you the most control and keep the shapes very crisp and neat. Make sure your brush has enough paint if you do this, to avoid the texture of the paper interfering with the color. Paint the negative shape around a flower with a neutral color to bring out the flower by tinting the area behind it.
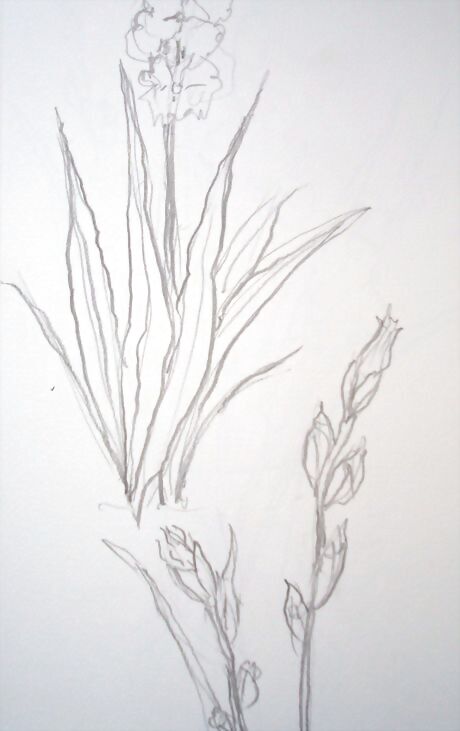
Try directly painting the leaves. Stand up to get a full range of motion in your arm, load a brush generously with green and starting at the bottom of the page, draw with your brush to create a long, spiky leaf. Twist and turn your brush as you draw to indicate the movement of the leaf. At the top of the leaf, lift your brush attempting to get a clean, sharp finish to the leaf.
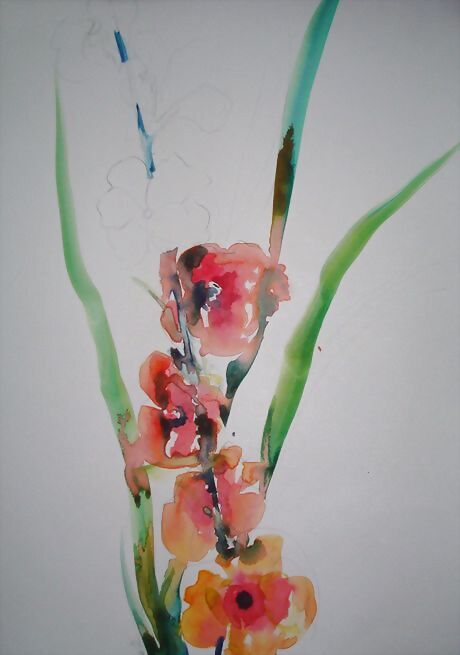
Taper and paint your buds. They can be shown in various stages of opening. When you are finished, let the piece dry thoroughly, stand it up and back up a few paces to view it. If anything needs more work do it immediately.
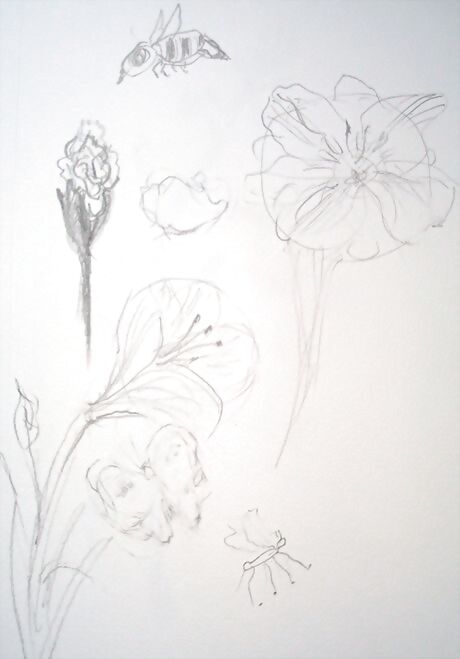
Look for places that seem unfinished or incomplete. Ask yourself these questions: Are your colors bright enough? If not, do another coat or partial coat, a few touches of the original color. Did you allow the white of the paper to show through in places? Doing so creates a sense of light playing over the subject. You can bring back the light by scrubbing out with a piece of white household sponge such as a Magic Eraser. You can also use a scrub brush, a bristle brush with the hairs clipped to form a scrub brush. Use lots of water and dab with tissues for either of these “lifting out” techniques. Add garden creatures such as butterflies, birds, bugs, grasshoppers, ladybugs, even larger animals such as rabbits, squirrels or a curious cat. Does the background satisfy you? If not, consider adding a wash of any other color. Blues will always resemble the sky and warm yellow the sun. You can paint shapes of various colors to make a variegated background. A dark wash in the background is always dramatic and is a good foil for the colorful blossoms.Gladstrellis.jpg
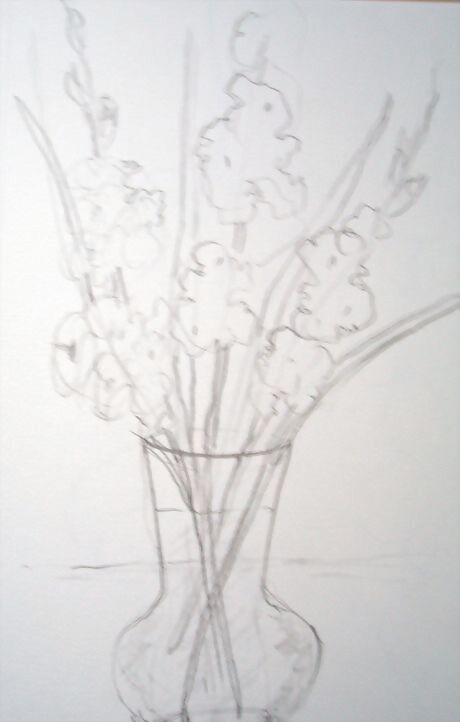
Put the flowers in a vase. If it is clear glass, have the stems showing and going in different directions, crossing, and overlapping.
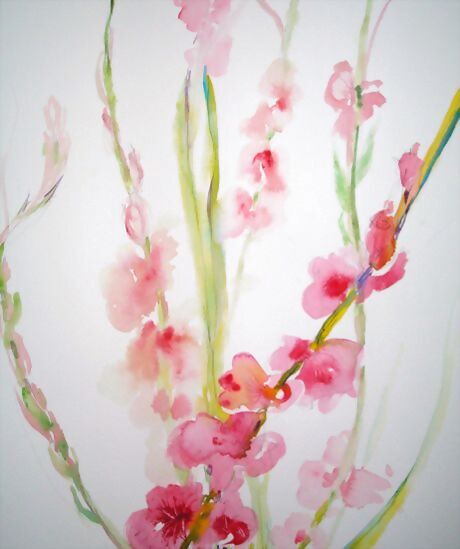
Hang the finished piece to enjoy. No worries about the flower wilting and, best of all, a painting of a flower is always in season.



Comments
0 comment