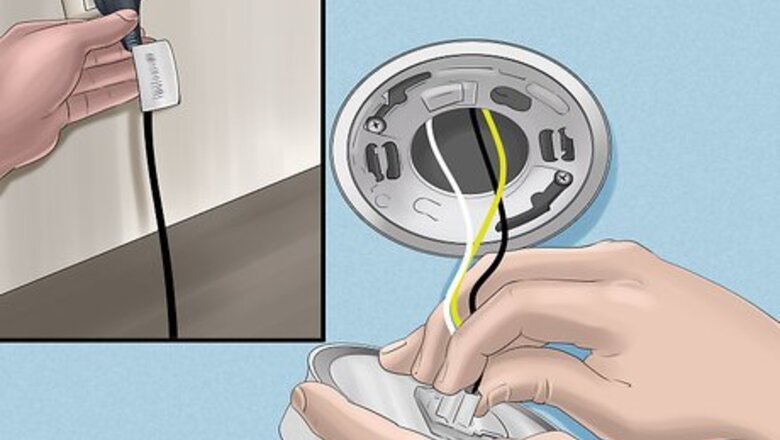
views
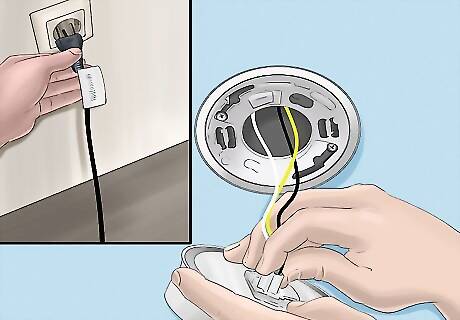
Unplug the fire from the mains.
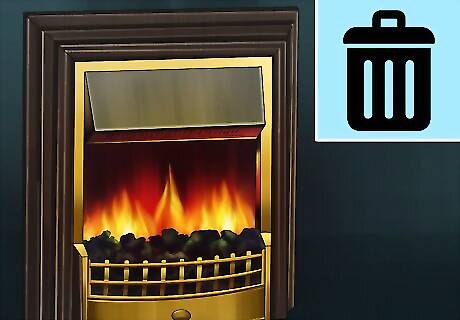
Remove the coals or pebbles from the front grate.
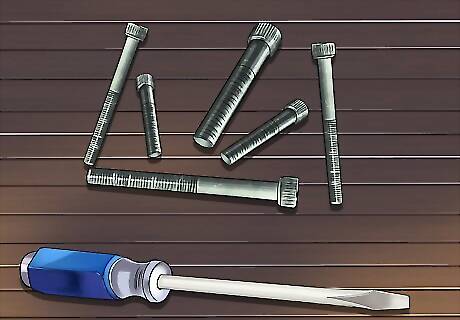
Using a cross-head screwdriver, remove the 2 screws at the front of the grate. Then remove the grate.
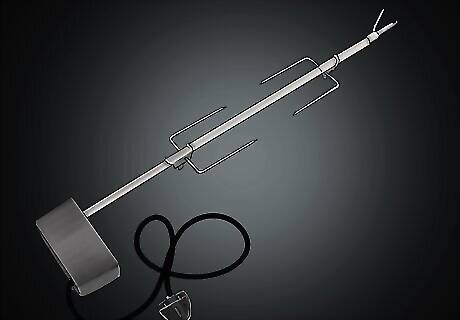
Remove the rotisserie. Gently pull away the rubber connector from the motor, and then slide it out to the right.
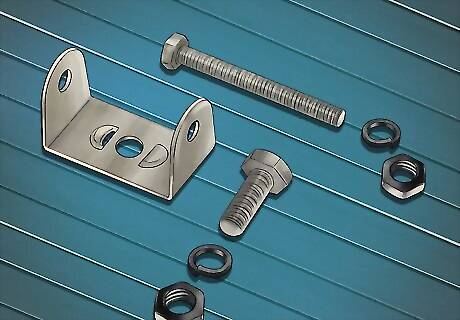
Look for the 2 LEDs mounted on a metal bracket. The bracket is held by 4 screws accessible from the back of the fire. Remove these screws using a cross-head screwdriver, and gently pull the bracket out. Gently remove the LED module from the bracket.
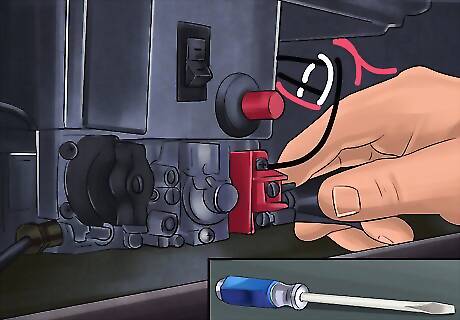
Using a cross-head screwdriver, remove the covers at each end of the module, revealing the electrical connections. Before disconnecting the wires, make a note of which colour of wire goes to which connector. The low voltage connectors are marked with a "+" and "-". This is very important, as the LEDs could be damaged if connected the wrong way round. Now disconnect the wires.
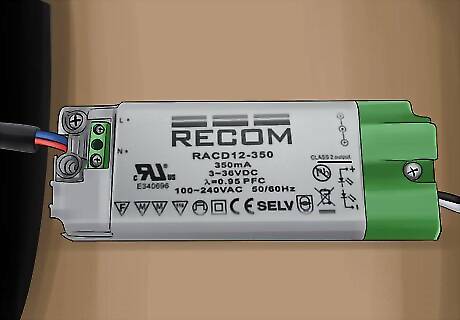
Get your replacement module. If possible, buy a replacement module, type SLT12-350IF, but a retailer for these may be difficult to find. Otherwise, a suitable replacement is RACD12-350, made by Recom. This can be bought from RS Components, part number 7377067, and has the same electrical and physical specifications.
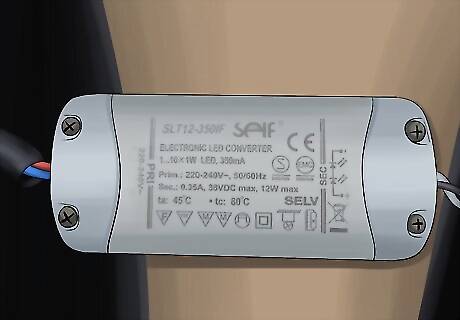
Reconnect all the wires, taking care with the polarity.
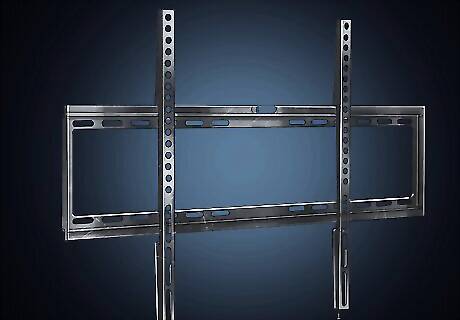
Re-fit the bracket to the rear wall of the fire, using the 4 screws.
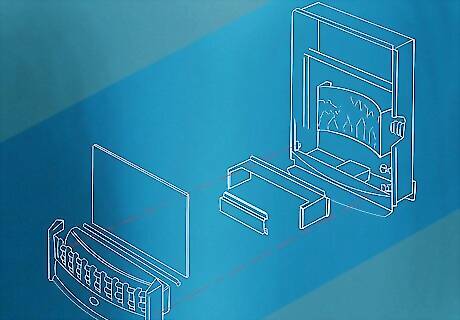
Re-fit the rotisserie.
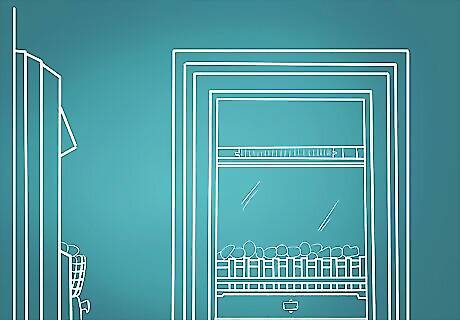
Re-fit the grate using the 2 screws. Replace the coals or pebbles.




Comments
0 comment