views
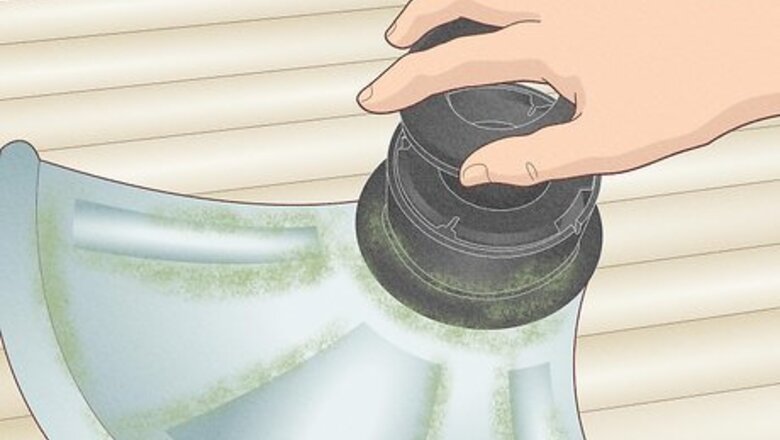
- Remove the cap covering up the spool of wire by pressing the tabs on the side, prying it off, or unscrewing it counterclockwise.
- Pull the spool out and unravel the old wire, but note how the wire was attached to the spool.
- Cut off 20–25 feet (6.1–7.6 m) of replacement string and attach it to the spool the same way the old string was attached.
- Reinstall the spool and put the cap back on to finish restringing your weed whacker.
Remove the cap on the trimmer.
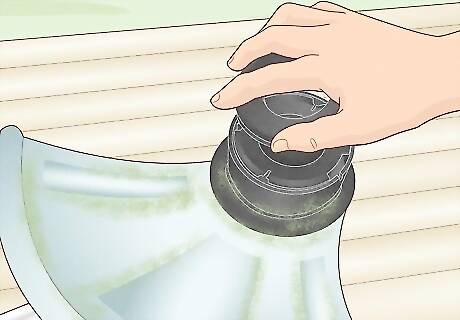
The cap is covering the spool you need to access to change the wire. Flip the trimmer upside down. The cap is the container housing the spool of wire inside of the lawn trimmer. Take the battery out (or unplug the trimmer if it has a cord). Then, either unscrew or pop the cap off. On a lot of caps, you press on the 2 tabs locking the cap in place to remove it. On some trimmers, there is a little divot where you just pry the cap off with your finger. If this is an older whipper snipper or it has been a while since the thread has been changed, the cap will probably stick a bit—you may need to use a bit of pressure. On some newer trimmers, you don’t even take the cap off. You just pull out the old line and feed a new one into it (Ryobi in particular seems fond of this design). There are some minor variations between brands, but the vast majority of lawn trimmer strings are changed the way we’ll outline here. Always refer to your instruction manual for unique instructions.
Take out the spool.
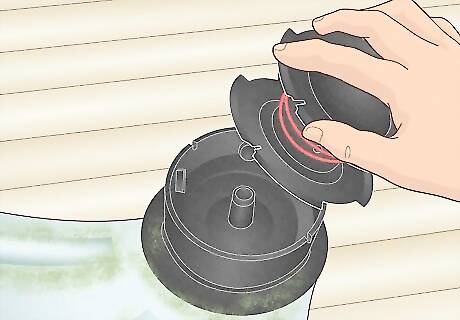
Reach inside of the cap’s housing and gently pull the plastic disc out. The spool is the only thing inside of the lawn trimmer’s cap, so lightly jostle it loose if it won’t come free on its own. Remove the entire spool with the wire attached and set the trimmer aside. You may need to cut the wire where it sticks out of the housing if it’s stuck. Use nippers, tin snips, or shears if you need to. Take a mental note of which side of the spool is facing out when you remove it. You can only install it one way normally, but it may make things easier if you remember the orientation now.
Remove the previous string.
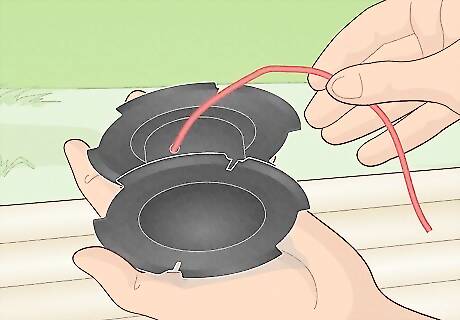
Undo the old wire from the spool and inspect the connection to the spool. Pay close attention to how the final 5–6 inches (13–15 cm) of the thread are connected to the spool. You’re going to attach your new string in the exact same way. Usually, there is a loop or opening in the spool that the end of the string goes through to pin the string in place. If the string isn’t inserted into a loop or opening, there may be a tiny clip that pins that wire against the center of the spool. If there are 2 or 3 different lengths of string, you may need to insert 2 or 3 lengths of string into the openings.
Insert the new wire into the spool.
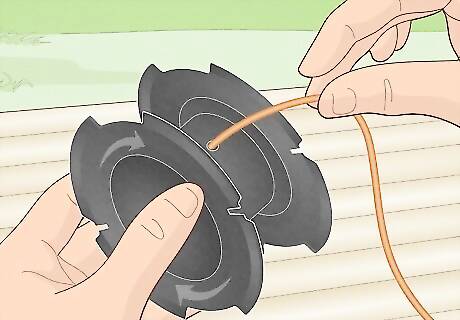
Attach the new string the same way the old string was installed. Unpack your replacement wire and clip off roughly 20–25 feet (6.1–7.6 m) using shears, nippers, or tin snips. Take any end of the string and thread it through the spool the same way your old string was attached. The round wire tends to hold up better than the flat plastic stuff, but whipper snippers aren’t universally compatible with any kind of string. Refer to your manual to determine what kind of wire you can use. Some newer trimmer models sell pre-wound spools you can simply swap out instead of replacing the string (Black and Decker models are the most popular brand that does this). If you have a 2-string trimmer but there’s only one opening for it on the spool, pull the string through the opening until you’ve reached the middle so you have 2 equal haves hanging off the spool.
Wind the new string up tightly.
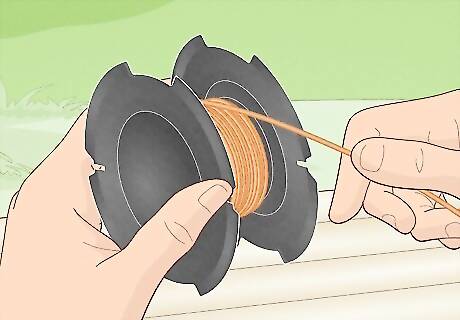
Evenly wrap your fresh line around the spool in even rows. You don’t need to be super precise here, but aim to keep the wire evenly distributed. There’s usually an arrow that tells you which direction the string goes, but when in doubt, roll it clockwise. Keep it taut and firm all the way around and build the spool up to just below the rim. Do not add so much string that it extends past the rim of the spool. If you have a 2- or 3-line trimmer, roll the wire evenly around each of the individual sections (a 2-line trimmer will have 2 slots, and a 3-line trimmer will have 3 slots).
Clip the excess wire off.
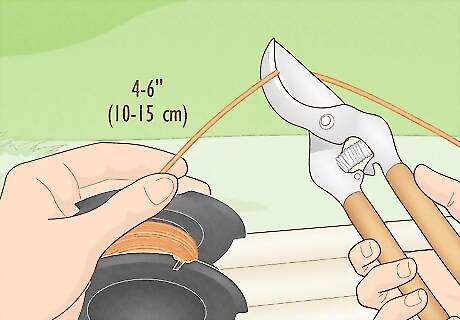
Leave 4–6 inches (10–15 cm) of wire at the end so the trimmer works. You need a little bit of extra wire to hang out and rip the foliage when your trimmer runs. Use your tin snips, nippers, or shears to cut the wire. Hold the rolled up spool tight by hand and grab your trimmer to reinstall the cap and spool together. On some trimmers, you can lock the spool in place by pressing on tabs or squeezing the spool together until you hear a click.
Attach the spool to the trimmer.
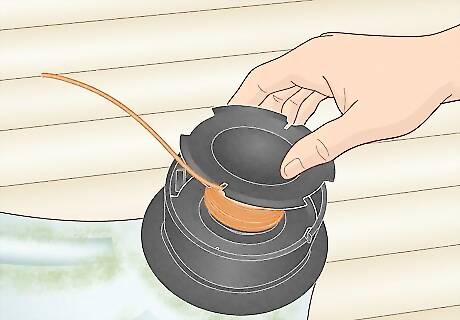
Place the spool into your trimmer and feed the wire through the opening. Flip the end of the trimmer over and carefully slide the spool into place. Set the opening in the middle of the spool over the axle in the lawn trimmer and thread the wire through the opening on the trimmer where the string sticks out and rotates. Remember to orient the spool the same way it was oriented when you removed it! There will typically be a logo or note on the side that’s supposed to face away from the trimmer.
Lock the cap in place.
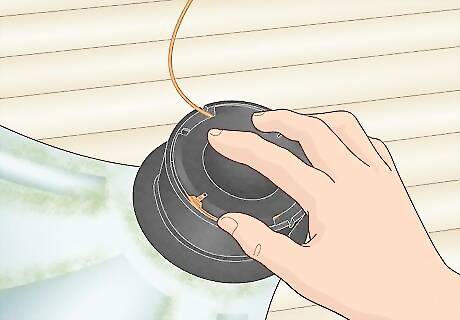
Put the cap back on the spool the same way you took it off. Take the cap that you removed from the trimmer and set it in place. Push it down gently until you hear a click, screw the cap on, or align the tabs and lock them together. However you removed the cap, reverse the steps to put the cap back on. Once the cap is locked, you’re good to go! Your whipper snapper cord will cut and trim like new.




Comments
0 comment