views
Scanning a Photo to the Facebook Website
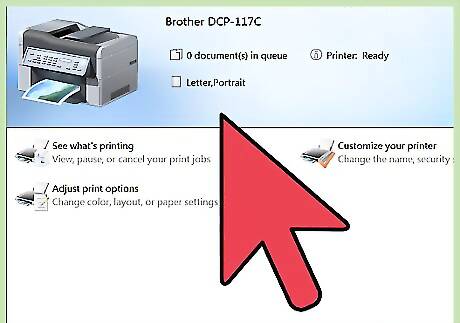
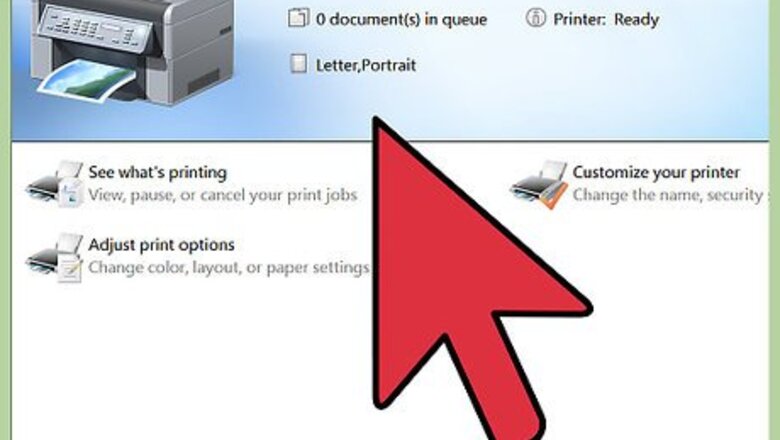
Scan photos. Use a scanner or an all-in-one printer to scan your photos to digital copies. There are many commercially available hardware to do this. The photos should be stored in your local computer. If you’re not familiar with scanning photos, here’s the basics of what you should do: Turn on the scanner—plug it in and press the Power button. Make sure your computer and the scanner or all-in-one printer is connected so the computer can receive the scanned photo files. Lift the overhead cover of the scanner to reveal the clear glass, and place the photo, or photos, you want to scan on the glass. Make sure the side being scanned is facing down the glass. Close the cover and press the Scan button. The file should be saved in your Scanned Documents folder, or whatever folder you selected during the setup of the printer or scanner. If you’re having trouble with scanning, refer to the scanner’s or the printer’s user manual for more information.

Go to Facebook. Open a new browser tab, and visit the Facebook website.
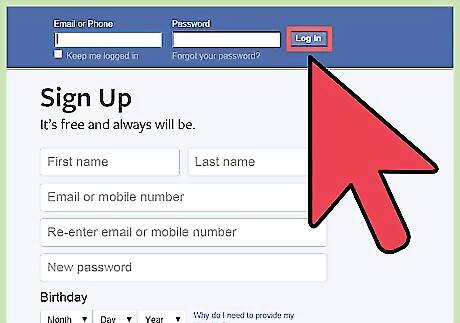
Log in. Use the email address and password you registered with Facebook to log in. The login fields are found on the upper right corner of the page. Click the “Log in” button to proceed.
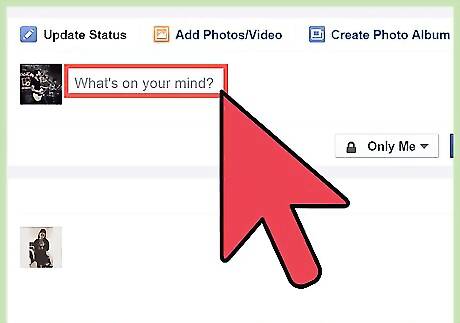
Make a post. On almost all pages on Facebook, you can make a new post. There’s a post box located at the top of the News Feed, on your Timeline, and on your friends’ pages. Locate this post box and click in its text field to start making a post.
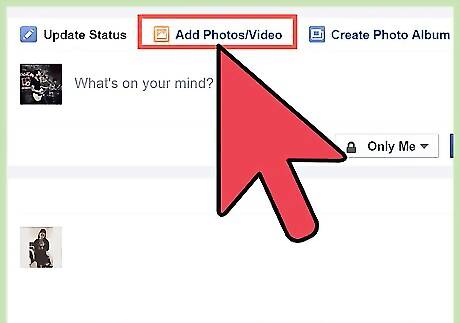
Add photos. Once you click the post box, some options for posting will appear. You can post photos and videos, along with your status in text. Click the Photo/Video link in the post box. A small window will open with your local computer directory.
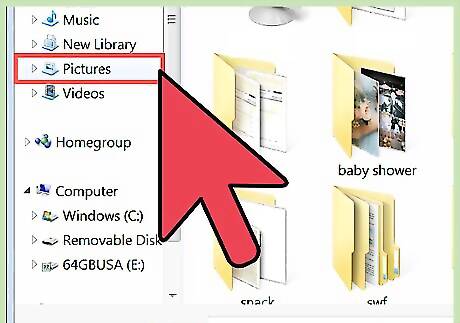
Select the scanned photos. Select the photos that you scanned from your local computer. You can select multiple photos to be uploaded at the same time. Facebook supports various photo formats, including JPEG, BMP, PNG, GIF, and TIFF files.
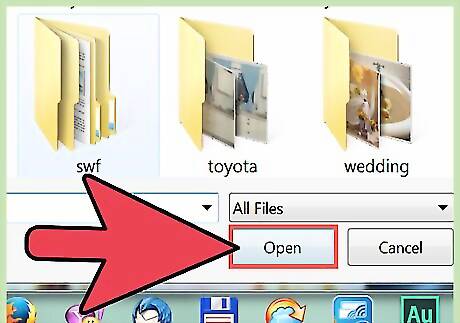
Upload photos. Click the “Open” button on the lower right corner of the small window. The selected photos will start uploading to the post box. You can see them being uploaded right on the post box.

Post photos. Once the photos have uploaded to the post box, they will be displayed in thumbnails. You can add an accompanying status or message to your post and tag your friends. Click the “Post” button on the post box to post your new post with the scanned photos. It will appear on your wall and on the feeds of your network on Facebook.
Scanning a Photo to the Facebook Mobile App (Android/iOS)
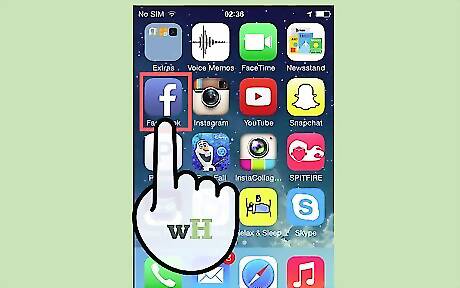
Launch Facebook. Look for the Facebook app on your mobile device and tap on it.

Log in. If you had logged out of your previous session, you will need to log in again. Enter your registered email address and password into the fields provided, and tap “Log in” to proceed. You will be taken to your News Feed by default. Three icons will be displayed in a blue bar at the bottom.
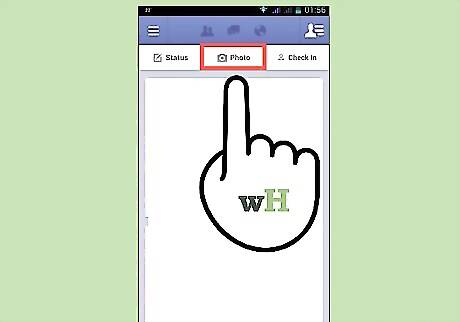
Tap the Photo icon. This will open your Camera Roll. You can view all the photos in your camera in thumbnail view.
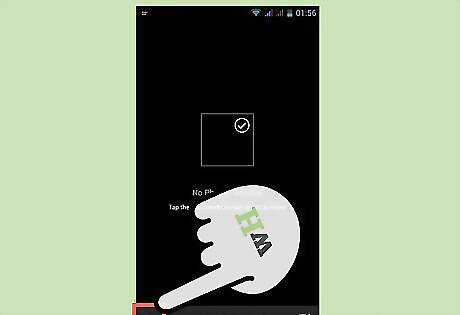
Trigger the camera. There’s a camera icon with a plus on it to the top right of the screen. Tap it; this will open your mobile device’s camera. You can upload newly taken photos directly to Facebook.
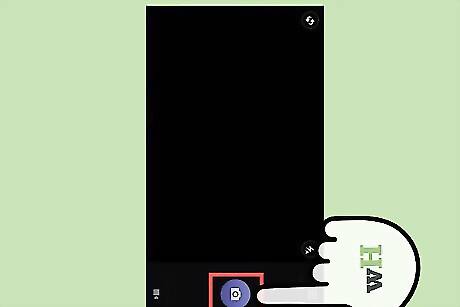
Scan photos. Point your mobile device’s camera on the photos you want to scan and upload. Capture them, and the shot will be saved.
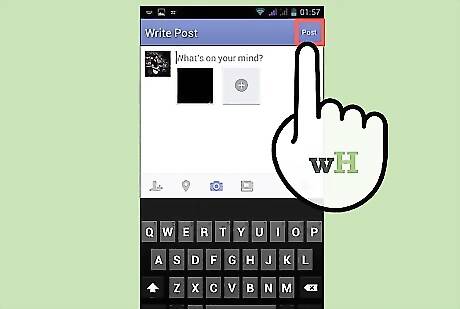
Post photos. Tap the “Save” button to the bottom right of the image preview. A small “Update Status” window will appear with your scanned photos. You can filter the audience of these photos here, and you can also add a description or a message with your post. Tap the “Post” button on the upper right corner of the “Update Status” window to upload and post your photos. Your status update with your scanned photos will be posted on your Timeline or wall.





Comments
0 comment