
X
Research source
The Tor network relies on volunteers to donate bandwidth. The more people who run relays, the faster the Tor network will be. If you have at least 30 kilobytes/s each way, please help out Tor by configuring your Tor to be a relay too. You can run a Tor relay on pretty much any operating system. However, Tor relays work best on Linux, OS X Tiger or later, FreeBSD 5.x+, NetBSD 5.x+, and Windows Server 2003 or later.

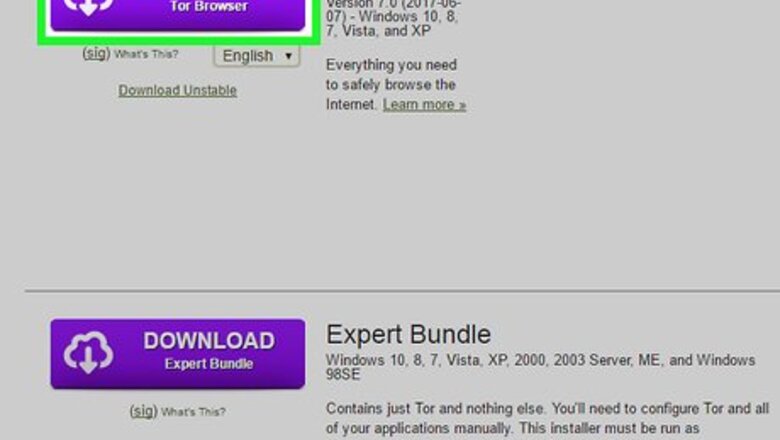
Download and install the proper version of Tor for your OS. If you'd like to use Tor to make anonymous your Internet traffic in the future, the Tor Browser Bundle is recommended. If you don't plan to use Tor for personal purposes but simply want to contribute, the Vidalia Relay Bundle is your best bet.
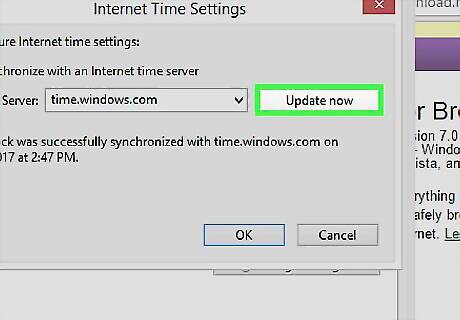
Verify that your clock and timezone are set correctly. If possible, synchronize your clock with public time servers.
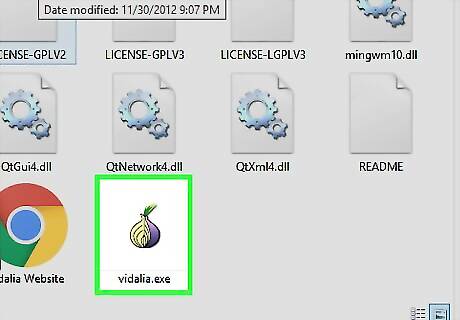
Run Vidalia, the graphic interface for Tor. In Windows, it will be in your start menu under Vidalia Bundle.
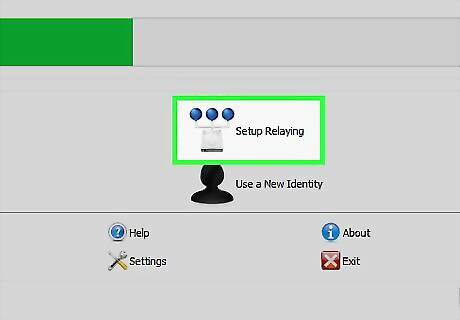
Right click the Vidalia icon in your task bar. Choose Control Panel. Click Setup Relaying. Choose "Relay Traffic for the Tor network".

(Optional) Enter a nickname for your relay, and enter contact information in case the developers of Tor need to contact you about a problem. You can avoid spam by munging your email address, i.e.
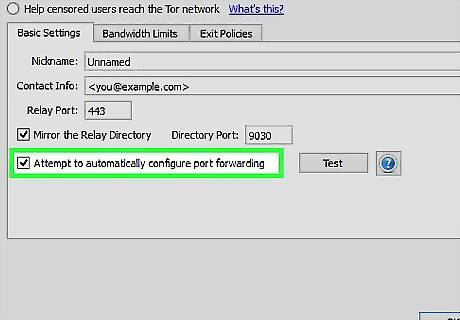
Leave "Attempt to automatically configure port forwarding" clicked. Push the "Test" button to see if it works. If it does work, great. If not, see step 9.
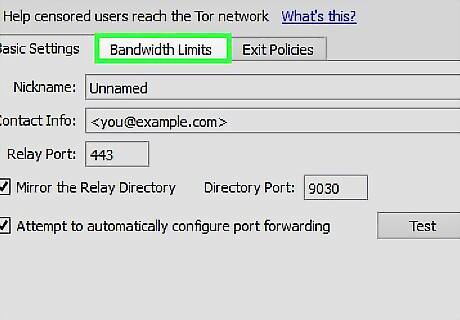
Choose the "Bandwidth Limits" tab. Select how much bandwidth you want to provide. You can find out your upload speed using this wikiHow article.
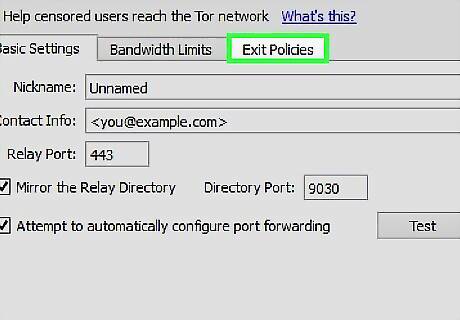
Choose the "Exit Policies" tab. Verify that all checkboxes are unchecked. Click the "OK" button.
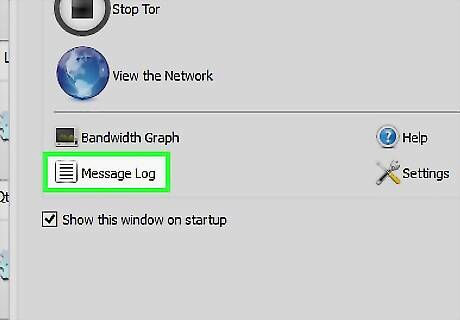
Return to the Vidalia Control Panel and click "Message Log". Wait a few minutes and look for messages that say "Server Port Reachability Test Successful! - Your relay's server port is reachable from the Tor network!" and "Directory Port Reachability Test Successful! - Your relay's directory port is reachable from the Tor network!" If either message does not show up, return to the "Setup Relaying" dialog "Basic Settings" tab and note the two ports displayed (these should usually be 443 and 9030). Make sure that these ports are opened in your software and hardware firewall.

If the "Attempt to automatically configure port forwarding" Test button in step 6 doesn't work, most likely UPnP is disabled. Access your router configuration through the web interface and either look for an option "allow changes for security settings via UPnP" or manually (preferably for security) create a portforwarding rule [from port 443(default) to port 443 TCP and select your "computername" or IP] which is needed to be reachable from the network and a similar rule for port 9030(default) if you checked "Mirror the Relay Directory".


Comments
0 comment