
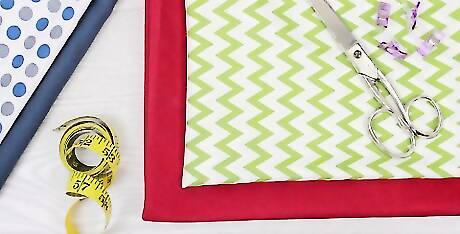
- Choose fabric based on how you intend to use the bag. For example, if you plan to carry heavy books, use sturdy fabric like denim or canvas.
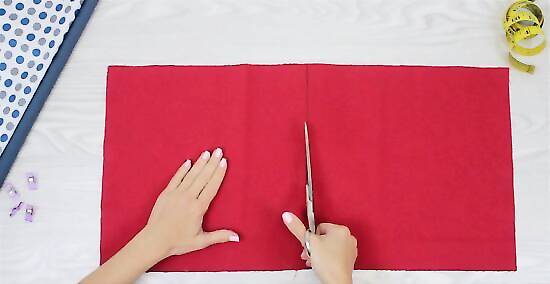
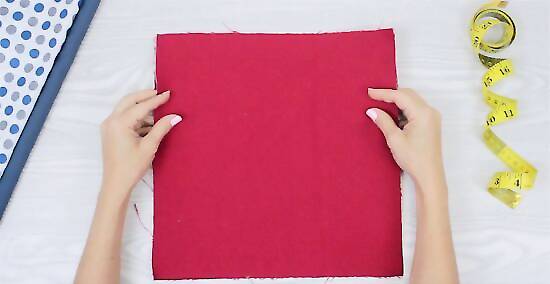
- Measure 2 identical rectangles and cut them out of the fabric. These rectangles are the sides of your tote.
- Hem along the edges of both rectangles, then sew the rectangles together. Miter the bottom corners for a clean profile.
How to Sew a Simple Tote Bag
Choose the fabric for your tote bag. While tote bags can be made of almost any type of fabric, the best fabric for a simple tote bag is usually medium-weight canvas or cotton. Just remember that lighter fabrics will rip if you carry something heavy or sharp, so select a fabric based on your intended uses for the tote. If you want to upcycle old clothes, try using denim from an old pair of jeans. If you’re going to use the tote to carry heavy items like books, choose a sturdy fabric like heavy cotton, corduroy, or some type of thick polyester fabric. Choose any color or pattern based on your preference. If you plan to decorate your tote bag, go with a solid color to offset the decorations. If you’re using brand-new fabric, wash and iron it first so it doesn’t shrink after you make the tote. Note that heavy fabrics require stronger needles and/or a heavy duty sewing machine.
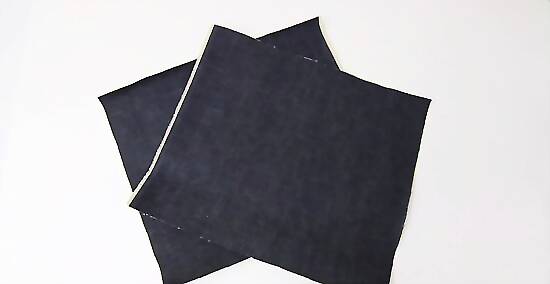
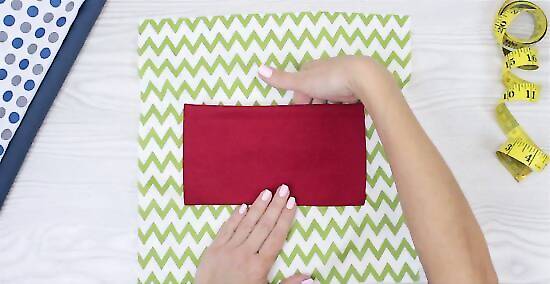
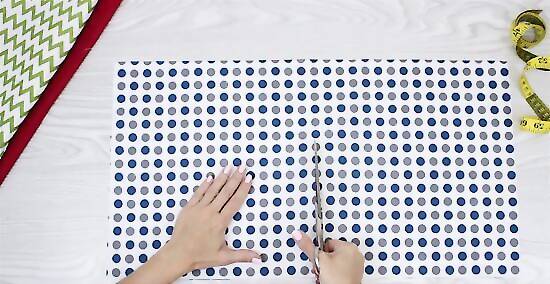
Cut the fabric into 2 rectangles of equal size. Decide how large you want the tote bag to be and measure out a rectangle using a pencil or fabric pen to mark where you’re going to cut. Then, use fabric scissors to neatly cut the rectangle out, and repeat with the second piece. Keep in mind that the finished tote bag will be an inch or so smaller than the rectangle you cut since the fabric will be hemmed. Here are a few size suggestions: 12 by 14 inches (30 cm × 36 cm) for a very small tote 14 by 16 inches (36 cm × 41 cm) for a medium-sized tote 24 by 20 inches (61 cm × 51 cm) for a large beach tote
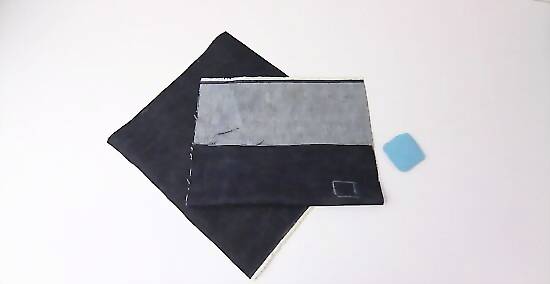
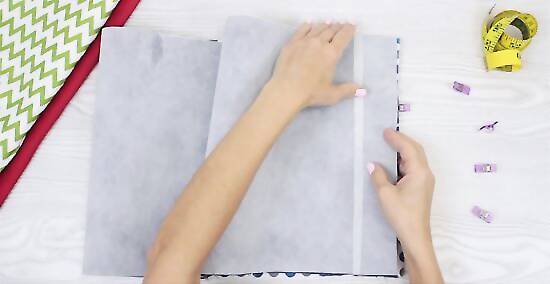
Mark the place where the handles will go. Fold the rectangles into thirds lengthwise and use a fabric pen or pencil to mark the 2 inside creases. These marks will show you where to center the handles later, so be sure to fold across the length of the fabric and not down it to position them correctly.
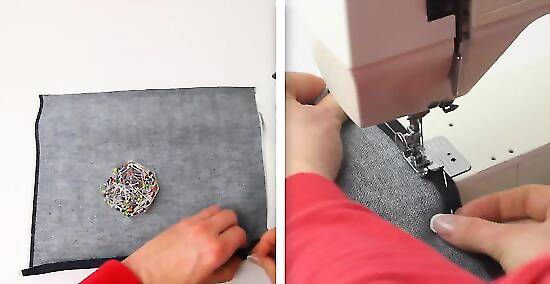
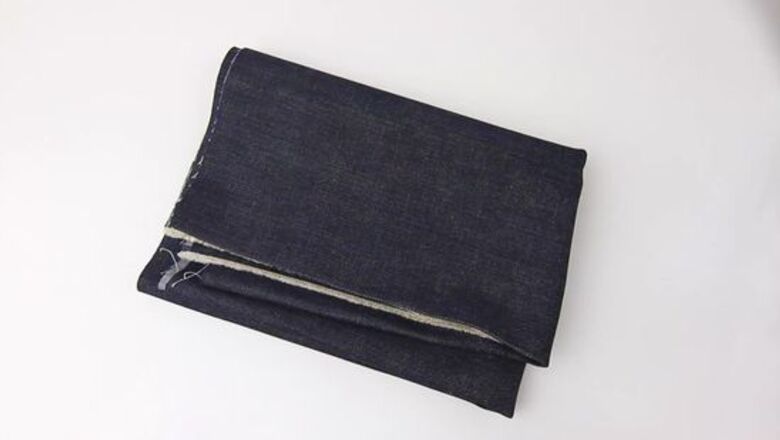
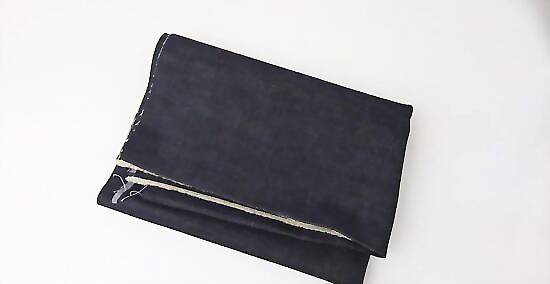
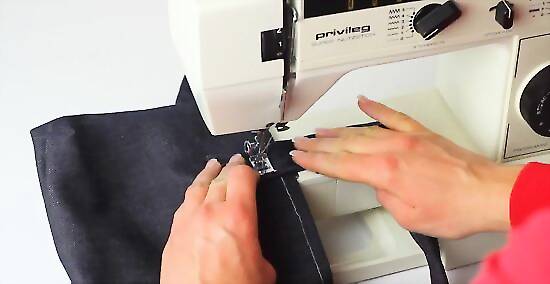
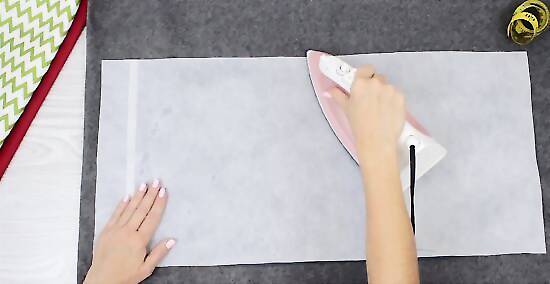
Hem the top edges of the rectangles. Lay out the rectangles so that the “wrong” side of the fabric—the side on which the pattern is less bright—is facing up. Fold the top edge of the fabric down by 1 inch (2.5 cm). Use straight pins to keep the fold in place and iron its edge to create a crease. Repeat with the other rectangle, and sew a straight stitch ⁄2 inch (1.3 cm) below the folded edge of the fabric on both rectangles. It’s easiest to hem the top edges of the tote, which will become the two edges at the opening, before you sew the body of the tote. Use either a sewing machine or work by hand to sew the straight stitch. If you sew an uneven line, use a seam ripper to rip out the stitch and start over.
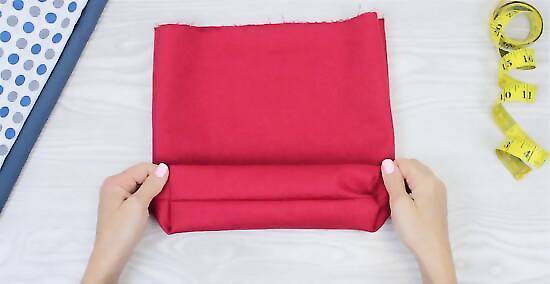
Sew the two rectangles together. Place the hemmed rectangles back-to-back so that the wrong sides of the fabric are facing out. Sew along the sides and bottom using a straight stitch. Remember to keep the top open.
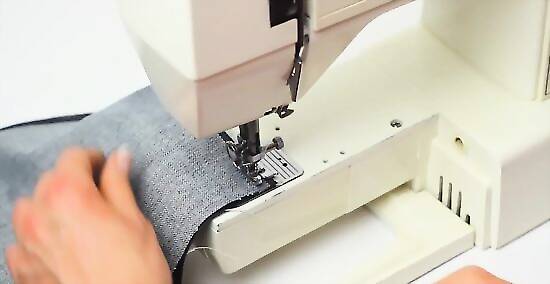
Miter each bottom corner. Fold the bag so that, instead of coming together at a 90-degree angle, the bottom and side seam are stacked on top of one another. Now sew across the corner, keeping the new seam perpendicular to the existing seams. Repeat this process on the other corner. When you flip the bag right-side-out, the corners will be blunted.
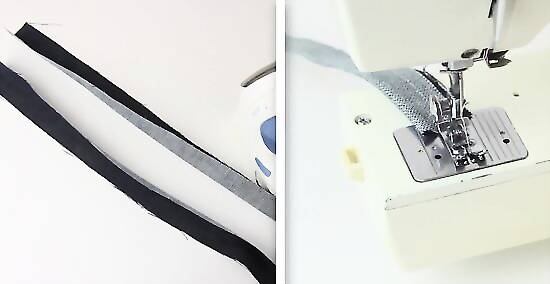
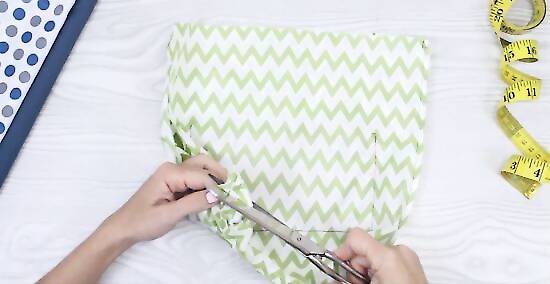
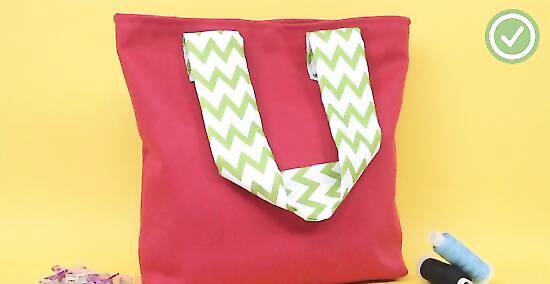
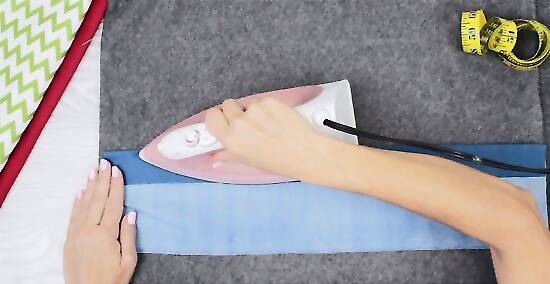
Create the tote bag’s handles. Decide how long you want the handles to be and cut two 2 inches (5.1 cm)-wide strips of equal length from the fabric. Fold each strip in half so the inside of the fabric faces outward and crease the fold with an iron. Then, make a straight stitch along the long edges of both handles and turn them right-side-out by feeding a wire from a coat hanger through the tube, attaching it to the end, and pulling it back through to invert the tube. Flatten the handle with an iron. When deciding on length, keep in mind that the handles will be looped. When attaching the wire to the end of the tube, you can either hook or tie it. Alternatively, you can fold the raw edges of the handle to the middle and zig-zag-stitch them in place.
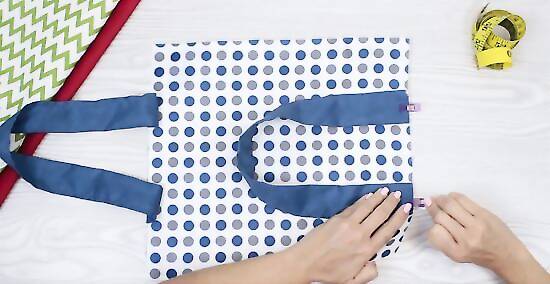
Sew the handles to the tote. Fold the ends of the handles under by ⁄2 inch (1.3 cm) and iron them to create a crease. Place the ends over the marks you made earlier, approximately 1.5 inches (3.8 cm) below the edge of your bag opening, and pin or baste them in place. Then, top-stitch a square onto the overlapping handle fabric to hold it firmly in place.
How to Sew a Lined Tote Bag
Choose 2 fabrics for your tote bag. Typically, lined tote bags are made from a sturdy outside fabric and a softer liner fabric, like canvas and cotton. However, choose a lining based on your intended use for the tote bag. For example, if you’ll be using your tote at the pool or beach, choose a water-resistant lining. If you need to carry heavy items in your tote, opt for a sturdy fabric like heavy cotton, corduroy, or some type of thick polyester fabric. Choose any color or pattern based on your personal taste. If you plan on decorating your tote bag, try solid color to offset the decorations. If you’re using new fabric, wash and iron it first so it doesn’t shrink after you’ve made the tote. Know that heavy fabrics require stronger needles and/or a heavy duty sewing machine.
Cut 2 rectangles of equal size from both fabrics. Decide how large you want the tote bag to be and measure out a rectangle using a pencil or fabric pen to mark where you’re going to cut. Then, use fabric scissors to neatly cut the rectangle out, and repeat until you have 2 rectangles of the outside fabric and 2 of the liner fabric. Be aware that the finished tote bag will be an inch or so smaller than the rectangle you cut since the fabric will be hemmed. Here are some size suggestions: 12 by 14 inches (30 cm × 36 cm) for a very small tote 14 by 16 inches (36 cm × 41 cm) for a medium-sized tote 24 by 20 inches (61 cm × 51 cm) for a large beach tote

Mark where the handles will go on the outside fabric. Fold the rectangles into thirds lengthwise and use a fabric pen or pencil to mark the 2 inside creases. These marks will show you where to position the handles later, so fold across the length of the fabric and not down it to position them correctly.
Sew the two outside rectangles together. Place the hemmed rectangles of the outer fabric back-to-back so that the wrong sides of the fabric are facing out. Then, sew along the sides and bottom using a straight stitch. Remember to keep the top open. Finishing the seam isn’t necessary because you have a lining.
Miter each bottom corner. Fold the tote so that the bottom and side seam are stacked on top of each other instead of coming together at a 90-degree angle. Sew across the corner, keeping the new seam perpendicular to the existing seams, then repeat the process on the other corner. When you flip the bag right-side-out, the corners will be blunted.
Add a lining pocket (optional). If you want to add a pocket to the inside of your tote bag, cut a piece of fabric into a square the size of your choosing. On the “wrong” side of the pocket, press over the side and bottom edges by ⁄2 in (1.3 cm), then press over the top by ⁄4 inch (0.64 cm) then ⁄4 in (1.9 cm) to create a double-fold hem. Center the pocket with the middle of your lining fabric about 4 inches (10 cm) down from the top, and top stitch the sides and bottom. If you’re unsure how big to make the pocket, start by measuring 9 in × 9 in (23 cm × 23 cm) and adjust until you find the right size.
Sew and miter the lining rectangles. Following the same process you used for the outer fabric, sew the lining rectangles together and miter the bottom corners. This time, however, leave a 4 inches (10 cm) gap at the bottom of the lining bag. When you’re finished, you’ll have two separate bags: the outside and the lining.
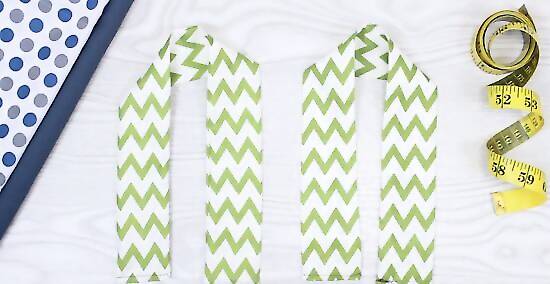
Create the tote bag’s handles. Choose how long you want the handles to be and cut two 2 inches (5.1 cm)-wide strips of equal length from the fabric. Fold each strip in half so the inside faces out and crease the fold with an iron. Then, make a straight stitch along the long edges of both handles and turn them right-side-out by feeding a wire from a coat hanger through the tube, attaching it to the end, and pulling it back through to invert the tube. Flatten the handle with an iron. When deciding on length, remember that the handles will be looped. You can either hook or tie the wire to the end of the tube to attach it. You can also fold the raw edges of the handle to the middle and zigzag stitch them in place.
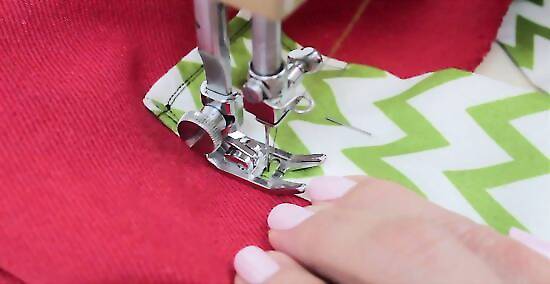
Sew the handles to the tote. Fold the ends of the handles under by ⁄2 inch (1.3 cm) and create a crease using an iron. Line the ends up with the marks you made earlier, approximately 1.5 in (3.8 cm) below the edge of your bag opening, and pin them in place. Then, top-stitch a square onto the overlapping handle fabric to hold it in place.

Attach the lining to the outside fabric. With your outside fabric facing the right way and your lining inside out, slip your outside fabric inside the lining so the right sides are facing each other. Match the side seams and raw edges at the top and stitch around the top edge of the bag with a ⁄2 in (1.3 cm) seam.
Sew the lining closed and complete the bag. Flip the bag right-side out by turning it through the opening you left in the lining. Stitch the gap in the lining closed by either hand or machine, then press the top seam and push the lining into the bag. Top stitch around the top of the bag to neaten the edge and make the lining top sit flat.
How to Sew a Heavy Duty Tote Bag
Choose 2 fabrics for your tote bag. You’ll need a fabric for the outside of the bag and the inner lining. In general, for a heavy-duty tote bag, it’s best to choose a sturdy fabric like heavy cotton, corduroy, or a thick polyester, but since this bag will use interfacing, you can choose any fabric you want. Craft interfacing is a heavy-weight fusible fabric backing used to add strength to your bag. Choose any color or pattern you want. If you plan to decorate your tote bag, offset the decorations by choosing a solid color. If your fabric is brand-new, wash and iron it first so it doesn’t shrink after you make your tote bag. Heavy fabrics require stronger needles and/or a heavy duty sewing machine.
Cut your fabrics into rectangles of different lengths. For the lining, cut a 17 in (43 cm) x 36.5 in (93 cm) rectangle, and for the outer fabric, cut a 17 in (43 cm) x 24.5 in (62 cm) rectangle. Use fabric scissors for a clean edge.
Attach the interfacing to the fabrics. With the shiny side of the interfacing facing the “wrong” side of your fabric, follow the interfacing’s instructions to correctly adhere it to the fabric. Typically, this involves ironing so the glue sticks to the fabric. Do this for both the outside fabric and the lining. Interfacing can bubble up if it hasn’t been adhered well. Take your time and make sure it’s secure before moving on to the next step. To avoid getting glue on your iron, leave about a quarter of an inch around the edge of your fabric free of interfacing. However, this isn’t necessary.
Cut 2 handles for your tote. Each handle should be 34 in (86 cm) long. If you’re cutting your own fabric handles, cut them at 4 in (10 cm) x 34 in (86 cm), then fold them and half and press them with your iron. Take both outer edges and fold them into the center crease, fold them again, and sew a seam along the outer edge.
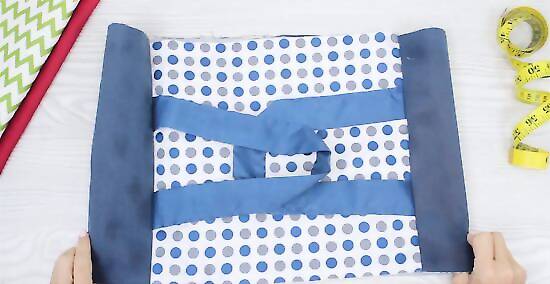
Place the handles where you’ll attach them on the outer fabric. Lay the fabric flat with the right side facing up, and on the shorter sides, measure in 4.5 in (11 cm) from both edges and lay your handles in place. The ends of the handles should align with the edge of the fabric. Hold the handles in place by clipping them to the fabric. Make sure the handles aren’t twisted anywhere before moving on.
Attach the lining to the outer fabric. After placing the handles, lay the lining on top with the “wrong” side facing up. Line the shorter sides of the lining up with the shorter sides of the outer fabric and pin them in place on both sides. Then, sew a 0.75 in (1.9 cm) seam across both outer edges, starting and ending with a backstitch. Since the lining is longer, the fabric will fold over when you attach the second side.
Turn your bag right side out and line the edges up. Your tote should have an even amount of visible lining on both sides. Press the fabric with your hands to create a nice crease and then clip the edges in place. Fold the fabric in half and double-check that your seams line up.
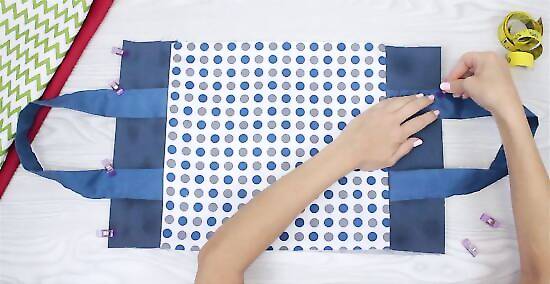
Sew a seam along the bottom edge of the lining. First, iron the seam of the outer lining, then sew a seam ⁄4 in (0.64 cm) below the edge where your lining meets the outer fabric.
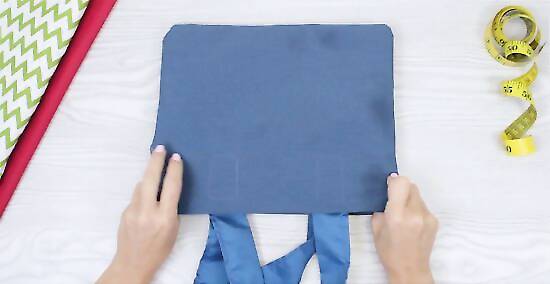
Sew the tote bag together. Using a thread that matches the color of the handles, sew a rectangle around the outer edge of all the straps to attach them to the bag. Fold the bag in half and line up the edges, then sew a ⁄4 in (0.64 cm) seam down both sides of the tote, starting and ending with a backstitch. Then flip the bag inside out, making sure to push out the corners, and sew another, slightly larger seam along both outer edges. Then, flip it right side out again. Go slow along thicker parts of the bag, and if your sewing machine struggles, try using a jean needle. Use a rotary cutter to trim away any extra threads.
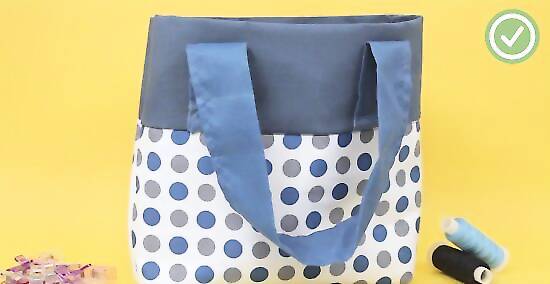
Add a boxed bottom (optional). Fold the bottom of your bag so you have triangles at both points. Measure in 1.5 in (3.8 cm) and draw a line straight across, then sew a seam at that line. Trim along that seam to cut off the corner. Do this for both sides and flip the tote inside out. Finger press the 2 boxed edges, then sew another seam across them, slightly larger than ⁄4 in (0.64 cm). Turn your bag right side out to finish.
How to Decorate a Tote Bag
Screen print a design onto the tote. Screen printing is a popular way to decorate tote bags. Create a neat design and make it into a stencil, then use fabric paint or ink to apply the image to your bag. Be sure to choose a color that will show up well against the fabric.
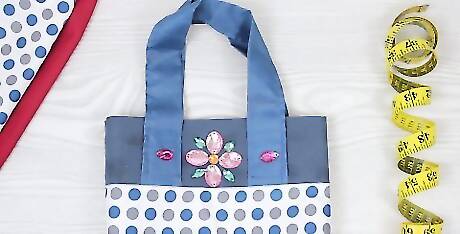
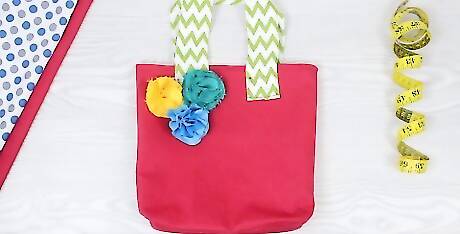
Glue on some rhinestones or sequins. If you want your tote bag to sparkle, attach sequins with some craft glue or a hot glue gun. Try gluing the rhinestones to your bag in a fun shape like a star, a heart, or a swirl.
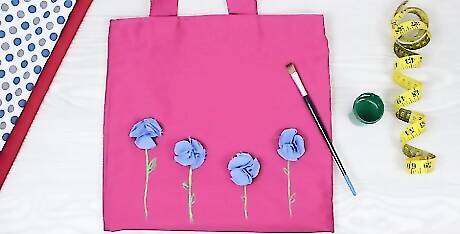
Paint a design onto the tote. Use fabric paint to decorate your bag in whatever way you choose. Work with stencils or freehand your own design to make your bag unique.
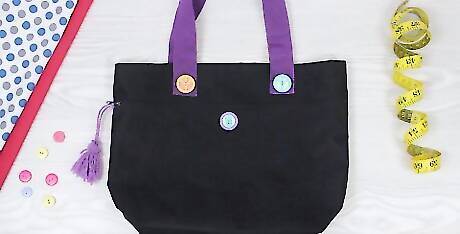
Sew buttons on the bag. Sewing buttons is a trendy, inexpensive way to decorate your new tote bag. Use old buttons you already have or pick some up at the fabric or craft store.
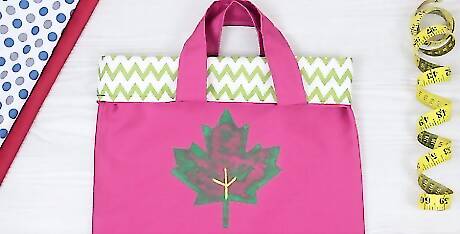
Add an applique. Create an applique design and sew it to your tote bag in the form of a patch. You can make an applique using your favorite photograph, your initials, or an original drawing—the sky’s the limit.
Embroider a design onto your bag. If paint is too messy for you, hand embroider your tote to add a personal touch. Use a fabric pen to sketch or trace your design onto the fabric, then use embroidery floss of your choosing to stitch it on.
Tie-dye your tote. If you didn’t choose a specific pattern or color when making your tote, tie-dye it to add a splash of color. This will work better with tote bags made out of softer materials. You can also apply bleach to a colored tote for a reverse tie-dye effect.


Comments
0 comment