views
Creating the Glove Pattern
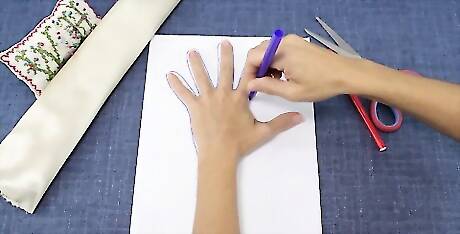
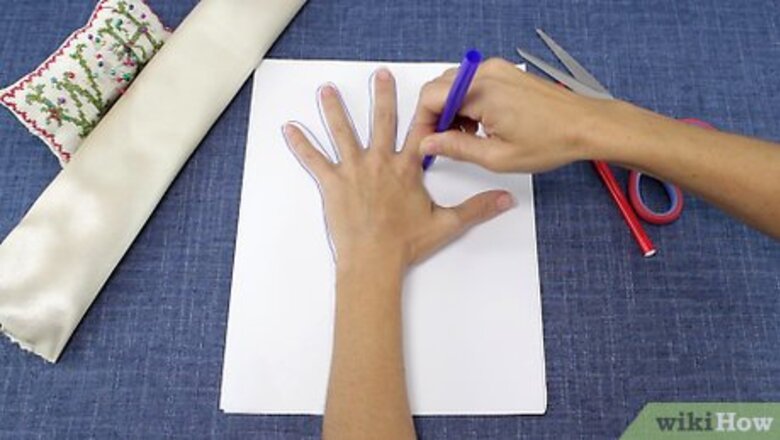
Trace the outline of your hand onto a piece of paper. Use a piece of paper that is long enough to create the size glove you want. Press your non-dominant hand on the paper with your fingers spread apart. For example, use your right hand if you are left-handed. Hold a pen or pencil in your dominant hand and use it to trace around your other hand. Keep the pen or pencil close to your skin as you trace. Go around every finger as well as the sides of your hand. If you want to create fingerless gloves, trace only to the point on your fingers that you want the gloves to go. Then, add an extra ⁄2 in (1.3 cm) to the end of each finger for seam allowance.
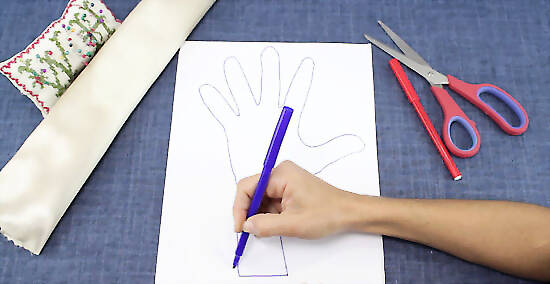
Extend the sleeve of the glove to the desired length. You can end the glove at the wrist if you want short gloves, or extend the lines down from the wrist to make the glove longer. Make sure to include an extra ⁄2 in (1.3 cm) for hemming the sleeve later. Press your forearm against the paper and continue to trace alongside your non-dominant arm. Trace along both sides of the glove and then draw a line to connect the ends of the 2 lines. This will indicate the end of the glove. Try making a pair of gloves that go to your mid-forearm for a fancy pair of gloves, or make a pair that go up to your biceps for a dramatic looking pair of gloves.
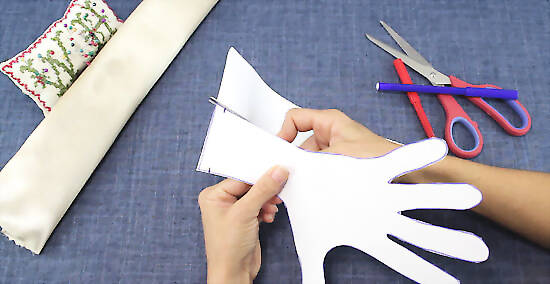
Cut along the lines you’ve drawn on the paper. Use a sharp pair of scissors to cut along the lines of the paper pattern. Go slowly to avoid creating any jagged edges or cutting off part of the pattern.Tip: If you don’t want to go to the trouble of making your own pattern, there are many free patterns available online. Search for “glove pattern” and then download and print one that you like. Follow the patterns instructions for how to use it.
Sewing the Glove
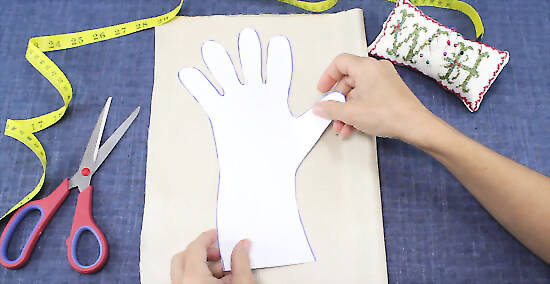
Fold a piece of fabric that is large enough for the entire glove pattern. Fold the fabric so that the right (outer or front) of the fabric is facing in, and then smooth it out so that there are no lumps or bumps. Check to ensure that you can fit the whole pattern on the folded fabric and cut it out in 1 piece. You may need to angle the pattern slightly to get it to fit on the fabric if you’re making long gloves.Tip: You can use any type of fabric you like to make your gloves. If you want your gloves to fit snugly, opt for a fabric with a bit of stretch to it, such as a stretch cotton or fleece, or if you want a fabric that looks luxurious, opt for something soft, such as satin or faux suede.
Pin the paper pattern to the folded fabric. Once you have the pattern in place on the fabric, insert pins along the edges of the paper pattern and going all the way through both layers of fabric. Insert 1 pin every 2 to 3 in (5.1 to 7.6 cm) going all the way around the edges of the gloves. For the each of the fingers and the thumb, insert 1 pin near the ends as well. EXPERT TIP Shaelynn Haning Shaelynn Haning Professional Tailor & Business Owner Shaelynn Haning is a Tailor & Business Owner based in Tulsa, Oklahoma. Shaelynn is the founder of the highest-rated and most-reviewed alterations and tailoring service in Oklahoma, Tallgrass Tailor, employing a team of skilled craftsmen and women from across the country and the world. Shaelynn is a member of the State of Oklahoma Education Careers and Technologies Board and a member of both the Custom Tailors and Designers Association and the Association of Sewing and Design Professionals. She is the host of The Sew Show with Shae, an entertaining and educational sewing channel posting weekly videos on YouTube. Shaelynn earned her BS in Apparel Design and Product Development from Marist College. Shaelynn Haning Shaelynn Haning Professional Tailor & Business Owner To sew gloves well, you have to understand their shape. Sewing gloves is tricky because each finger needs its own seam and fit. You have to be very precise with tiny seam allowances to make the gloves comfortable for each finger. It takes skill, plus the knowledge of how the flat fabric will stretch into a 3D shape for hands.
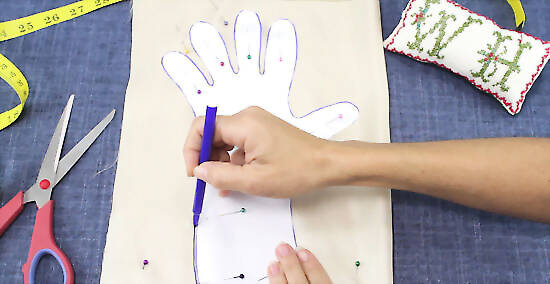
Trace along the edges of the paper pattern with a pen or fabric marker. Outline the paper glove pattern directly onto the wrong side of the top layer of your glove fabric. Trace right along the edges of the glove pattern. Make sure to use a pen or fabric marker that will show up on the fabric since you’ll need to be able to see it clearly.
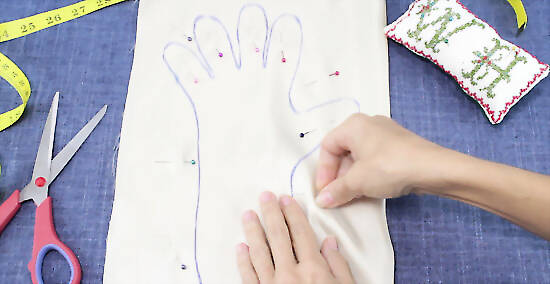
Remove the pins from the paper pattern and insert pins through the fabric only. Insert a pin every 2 to 3 in (5.1 to 7.6 cm) along the edges of the fabric and 1 through each of the fingertips. This will help to keep the fabric together while you sew. Make sure that the fabric is smooth and even on both sides when you do this.
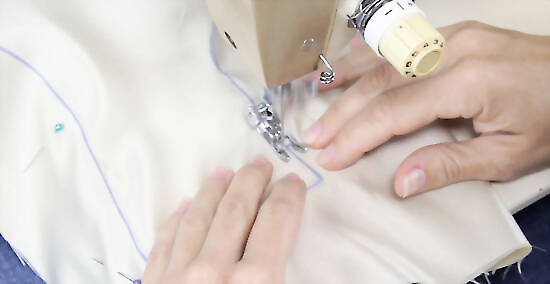
Sew a straight stitch along the lines except for at the glove opening. Set your sewing machine to the straight stitch setting and raise the presser foot. Then, place the fabric under the presser foot and lower it over the fabric. Begin sewing where the sleeve of the glove begins. Sew a straight stitch all the way up the side of the glove sleeve and around the sides and tips of the thumb and fingers. Then, sew back down and around to the other side of the sleeve. Do not sew across the glove’s opening! If you're making fingerless gloves, leave the end of each of the fingers and thumb open as well.Tip: Remove the pins as you sew if they’re in your way. Otherwise, you can leave them in place. Just don’t sew over any of the pins or you may damage your sewing machine.
Finishing the Glove
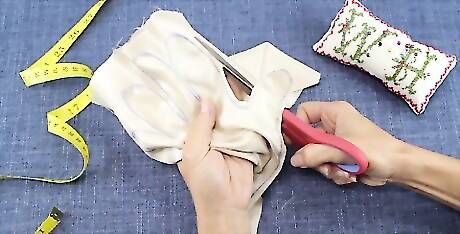
Cut off the excess fabric ⁄4 in (0.64 cm) from the stitches. After you finish sewing, raise the presser foot and pull the fabric away from the sewing machine. Snip the thread with a pair of scissors. Then, use a sharp pair of scissors to cut around the outside of the stitches and remove the excess fabric. Cut about ⁄4 in (0.64 cm) from the stitches and across the line at the bottom of the glove. Be careful not to cut through any of the stitches or you will create a hole in the glove.
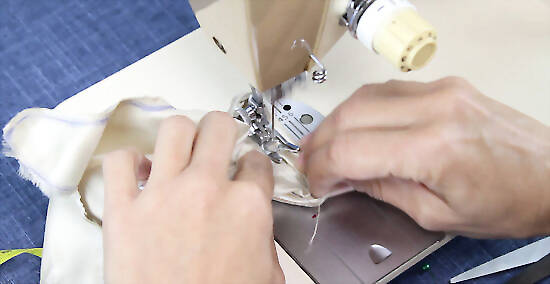
Hem the opening of the glove. Fold over ⁄2 in (1.3 cm) of the fabric at the glove’s opening so that the wrong sides of the fabric are together. Then, sew a straight stitch about ⁄4 in (0.64 cm) from the folded edge going all the way around the end of the glove. Cut the excess thread when you get back to the beginning of the hem. If you're making fingerless gloves, hem the ends of the fingers and thumb as well.
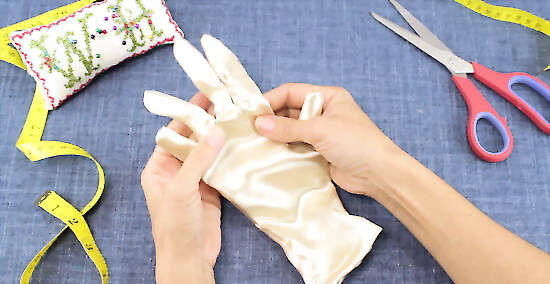
Turn the glove right side out and try it on. After you finish sewing the hem, the glove is ready to wear. Just turn it inside out and slip it on to see how it fits.Tip: Make sure to remove any pins still left in the glove before you do this.
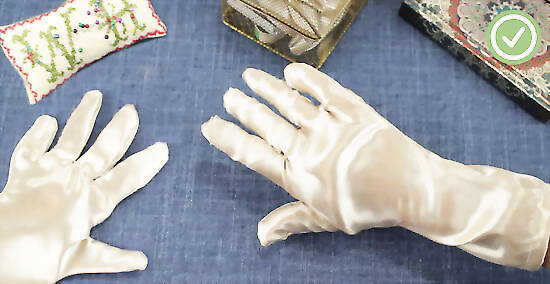
Repeat the process to make a second glove. Make the second glove exactly how you made the first glove. You don’t need to create a new pattern. Use the same pattern to create a matching glove and follow the same process for tracing the pattern onto the fabric, sewing along the lines, and cutting it out.




Comments
0 comment