views
Do-It-Yourself Home Slaughter
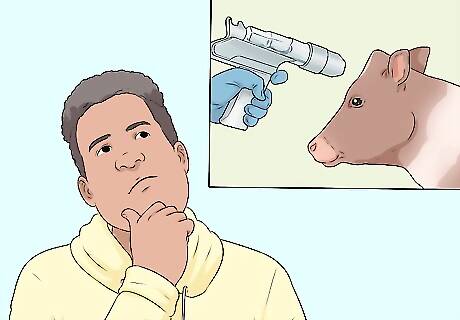
Make careful preparations for doing the slaughtering process. This will help you remain calm and make sure you make the euthanization process as quick and painless as possible. You will get a strong surge of adrenaline and emotional stress when the animal is killed, but make sure you learn to direct these feelings into doing the job right instead of letting them get the best of you and botching the job .
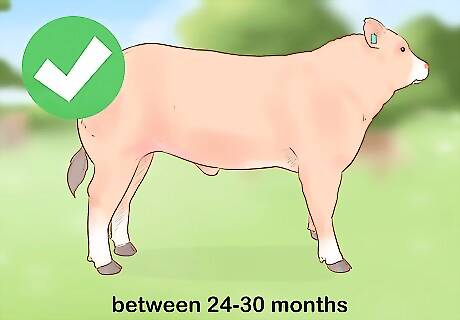
Make sure the animal you are going to slaughter is of the right age to butcher. This is especially true with a steer or heifer that you have raised for beef. If you are or have finished a young animal on grain, aim to butcher when they are around 15 to even 18 months old. Some people prefer to butcher their cattle between 10 and 15 months of age. If they are finished on pasture, the best age to butcher is between 24 and 30 months of age.
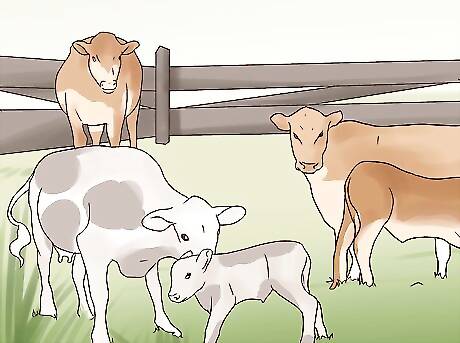
Make sure you are slaughtering at the right time of year, or even day. Try to avoid slaughtering and butchering cattle, or any other animals, during fly season, which is typically between May and October in most countries except Australia. For some areas, you can butcher anytime between October and May, especially the areas that don't get much or any snow and temperatures remain 40 degrees Fahrenheit (10 degrees Celsius) during the day. However, the window for slaughtering cattle is much more narrower for areas that do get snow from November or December through to May. For these areas, slaughtering should be done in the fall, between October to the first snowfall. You should also note the time that your animals were born and when the best age and time to slaughter should be. For example, if the steer you are raising on grass was born in April and you are wanting to slaughter him when he's around 18 months of age, then you should slaughter in October of the following year. However, if the steer was born in February and you want to slaughter at the same age (18 months), then you may have to consider waiting a couple of months more (into October or November instead of in August of the following) to slaughter it. Consider withholding feed for 24 hours prior to slaughter. It's not mandatory, but it's easier to clean or gut an animal when there is no food in the gastro-intestinal (GI) tract than if there was. If you feel bad about leaving your cattle hungry before slaughter, then that's fine. But remember to be very careful when the skinning and cleaning process has to commence to avoid contaminating the carcass.
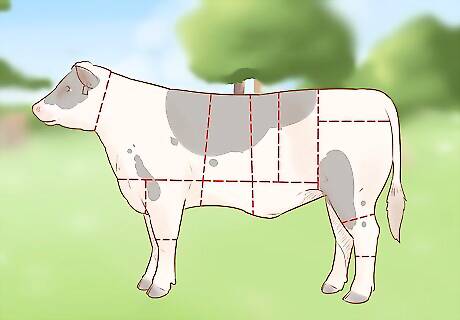
Consider which parts of the animal you want to keep before slaughtering. Some people like to use all parts of the animal for various uses. If you choose not to use the different parts available to use, the value is only in learning and experimenting, as well as knowing the possibilities of what you can save and use.
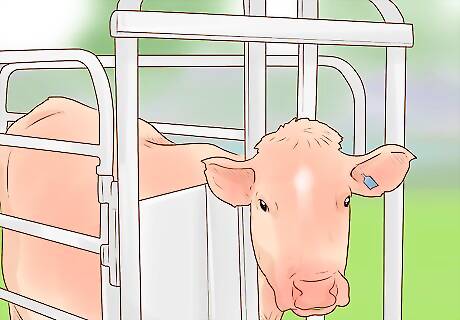
Locate the area where you are going to euthanize your beef animal. The best place would be in an area where it is most comfortable in, where you can easily get into with a tractor to haul it out, and were chances of bullet ricochet (a real danger if location is not thought out thoroughly enough) is minimal. Ideally, many recommend to restrain the animal first for your safety, or move the animal into a small enclosure where you can make the shot as close as possible. If necessary, restraint in a box chute with a side-access door is also recommended so that you can quickly access the animal as quickly as possible after the unpleasant deed (next step) is done. This is an exception if the animal you are slaughtering is already a "downer" from an injury and is unable to get up.
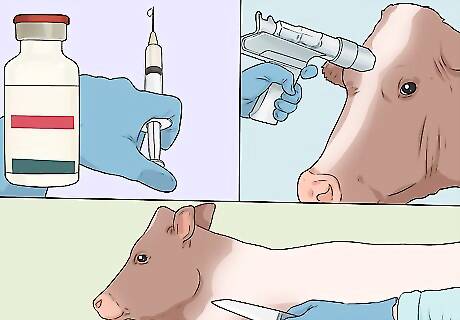
Load the gun and make sure the knife you have with you is razor sharp. Your gun of choice should be capable of at least 300 ft/lb of muzzle velocity (according to the AVMA) for yearlings or cows, or over 1000 ft/lb for bulls and adult cows (CVMA recommends the latter for all adult cattle). Use solid-point bullets. See How to Humanely Euthanize a Cow for more information on proper gunshot euthanasia procedures. A small .22 caliber gun will not be enough to kill an adult cow, but it may be best on younger cattle. A large-caliber handgun like a .44 Magnum, or a large caliber rifle like those used with hunting large game such as deer, elk, bear, or moose, such as a .30-30, are sufficient to effectively kill a cow or a bull. Rifles like the .30-30 are excellent at killing a bovine from a distance where a pistol or a shotgun will not be so effective. Shotguns can also be used, but need to be used at closer range (within 1 to 2 yards). Use of the 12, 16, and 20-gauge shotguns are ideal for mature cows and bulls, loaded with slugs or No. 2-, 4-, or 6-size birdshot.
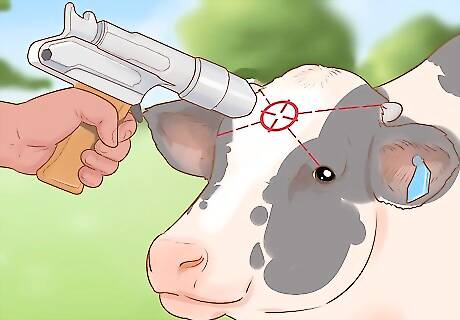
Make the shot. There are two areas that you can aim for in making a quick and painless kill to the bovine: At an invisible X just above the eyes, or at the back of the head where the spinal cord and the medulla oblongata (part of the brain that controls all organ function) are located. The latter is ideal if the animal is down from injury or illness and is unable to get up, and the angle for a shot at the skull is too acute to make a proper kill. Either way, what's especially important is that you must make sure the shot you take is precise so that the bovine will not struggle nor feel any pain. You owe that animal, that has been in your care, to make its death as quick and painless as possible, so please try to make the first shot count the most so you don't have to do it again and allow the animal to suffer. Visualize an invisible X on the forehead, for cattle older than 6 months: Start at the top of the base of the animal's horn bed, then trace it to the inner corner of the opposite eye. Do the same with the opposite horn bed and eye. (Or think of it this way: left horn bed to right eye, right horn bed to left eye.) The center were the two lines meet is where you must aim for and place the bullet. For cattle 6 months and younger, the aim should be from the top-base of each ear to the inside corner of the eye on the opposite side: left ear, right eye, right ear, left eye. No matter the age, the angle of the gun itself should be perpendicular to the angle of the face from poll to nose. This is so that maximum impact can be achieved and there is a lower chance of bullet ricochet. If the gun is placed between the eyes, the shot will completely miss the brain and cause suffering to the animal instead of intended instantaneous death. Do not allow this to happen. If you have chosen to place a bullet in the back of the head, aim below the poll (the rounded portion at the top of the skull) and just above the neck-line. Your aim should be parallel with the angle of the face or, at a 45-degree angle to the neck-line. Do this only with a downer animal. This can be the most nerve-wracking, emotionally-distressing, and very unpleasant portion of slaughtering an animal, especially for those doing it for the first time. If you find you cannot do it, there is nothing wrong with finding someone else who can do it for you.
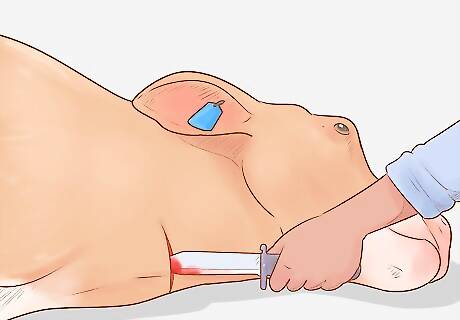
Cut the throat right after the animal goes down. With a very sharp knife (a hunting knife is recommended), insert just above the breast bone at a 45-degree angle toward the head, and make the cut outwards and away from you. You should have been able to severe the carotid artery and jugular vein in one movement. Never cut into the skin through the hair; you need to cut through the skin and out. This avoids the knife slipping and cutting you or some part of the animal. So, it's point in, then cut out. Note: Before and during the sticking process many people who have viewed videos of animal slaughter or have personally watched the slaughter process observed that the animals' legs were still moving and kicking as their throats were being slit, and this has lead them to believe that the animal was still alive after being stunned or killed. This is false. Leg movements after stunning and sticking are merely unconscious muscle reflexes that are initiated by synapses that come from the spinal cord, not the brain itself. This is because the brain would already be non-functioning after being severely damaged enough to initiate brain death. Even decapitated animals will kick out or "appear to struggle." In order to determine if an animal is unconscious and insensible, leg movement must be ignored. Eye reflexes, eye blinking, vocalization and rhythmic breathing or movement of the animal's sides must be absent in order for an animal to be considered deceased.
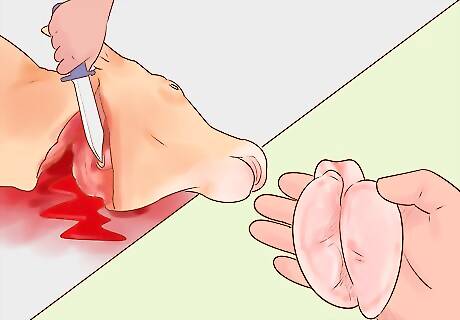
Remove the head and testes immediately. Removal of the testes is only applicable to the slaughter of bulls. This is so that the meat doesn't get tainted. Be careful when removing the testes because the animal may still be involuntarily kicking out. The head should be removed by cutting all the way around with the hunting knife, careful to keep the blade between the skin and flesh, never into the hair, and cutting outwards but never towards you. You will need a meat-saw to cut through the spinal column.
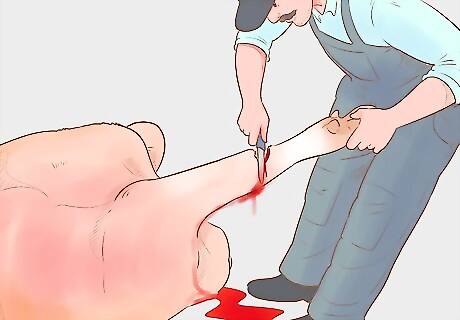
Remove the front feet/lower leg. Stick the point of the knife into the knee-joint and cut outwards, keeping the point of the knife in the cartilage and cutting around, until you can completely remove the leg.
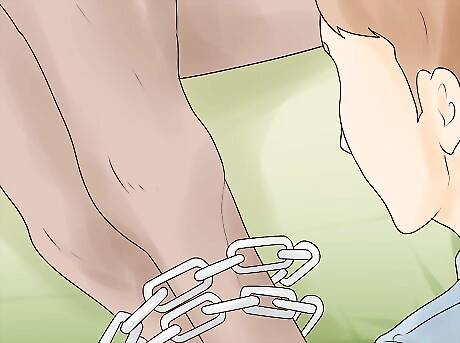
Get the tractor. Make sure it has a front-end loader attached first, otherwise you won't be able to do dress the carcass, unless you can do it on the ground like with wild game (deer, moose, bear, etc). If you choose to use the latter, note that you could do this for skinning the front of the animal, but not for removing viscera and splitting the carcass.
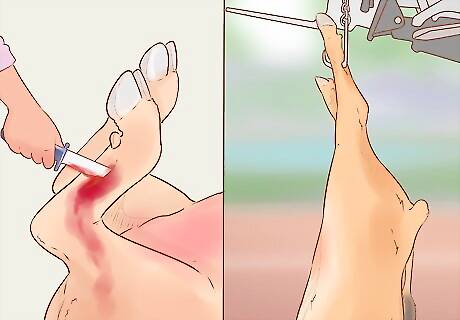
Make slits between the achilles tendon (or gam cord) and the hock bone (equivalent to our ankle/heel) of the hind leg and insert a hook called the gambrel or beef hook into this slit, and repeat for the other hind leg. The two hooks should be attached to a beef-spreader or single-tree. Shackle the single-tree to chains and attach the chains to the loader. Raise the loader up as high as you are comfortable with so that the animal's head is both not dragging on the ground and at a sufficient height where you can start to work on the hind quarters. If you choose to start slaughtering the animal on the ground, all that's needed to be done is to move the animal onto its back and place a short prop or square post on either side of the rib-cage (below the elbow) to hold it there.
Move the carcass to the designated slaughter area. This is where you will be able to do the rest of the slaughtering procedure. Make sure the area is located in a[n]: Dry, dust-free and well-drained area. Area not visible to the public, like from roads, neighbor's houses, etc. Well-lit area, such as in a sunny spot or where you can access electricity if you have to do the slaughtering process in the evening or at night. Sheltered area to protect yourself and the carcass from the elements like wind and precipitation. You may already have a designated slaughter facility where a tractor is not needed, but simply a cable and a winch. Come-along winches are the best for cattle, and can be used to hoist the animal to the height that is most convenient for you to work on the animal.
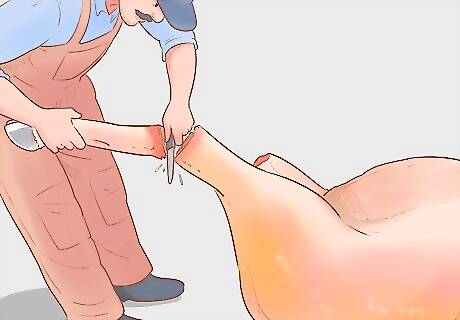
Remove the hind feet and shanks. Skin the hind legs just like with removing the front legs mentioned above (only up to the hock joints, not past it), then saw through the bone below the hock (above the hock joint when you have the carcass hanging).
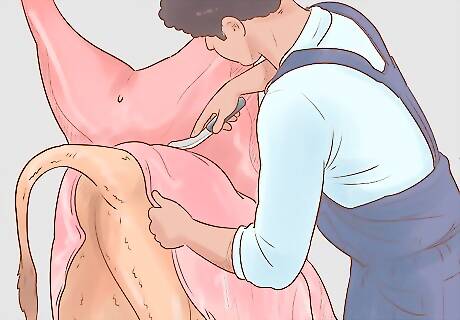
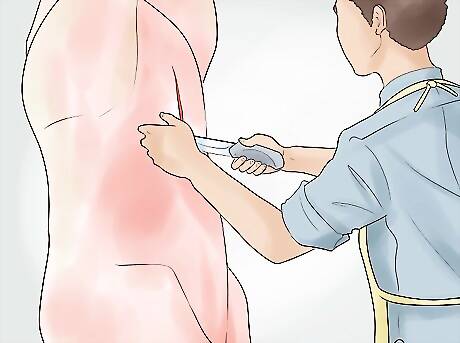
Start skinning the animal. You need to work from the back legs to the neck front to back. To do this use the following steps: 1) Slip the short-pointed knife into the slit made at the gam cord and cut around the hock, cutting outwards. 2) With the knife between the flesh and the skin, slice a line down each leg to the midline, then all the way down to the neck or dewlap. 3) Using your skinning knife, begin at the junction where the leg cuts meet the mid-line cut. Grasp the hide with one hand and pull hard (out and down for hanging, up and out for carcasses on the ground) to create tension as you use your knife to separate the hide from the flesh. Place your knife firmly against the hide with the cutting edge turned towards the hide at a slight angle. Keep pulling the hide away with your hand and keep slicing down and to the side until the belly and rib cage is completely skinned. You may want to wash down this area at this point to remove any dirt or other contaminants before proceeding to the rest of the skinning process. 4) Start skinning the back legs by starting at the top of the "Y" and skinning the hide up and over the groin (scrotum or udder). The hide tends to be tautest here, so you need to be especially careful if you're wanting to save the hide. Just like with skinning the belly, pull the hide out and down to create tension as you work. Fat is good when skinning the animal as it makes it relatively easy to skin, so you should leave as much fat on the carcass as possible. 5) Continue skinning over the anus to the tailbone. Give the tail a sharp jerk downward to sever it from the vertebrae. (If you can't do it, simply cutting it off with a knife works just as well.) 6) The weight of the hide itself will help skin the rest of the carcass for you. Work all around the animal until you reach the forefront of the carcass 7)Skin the forelegs near the shoulders, starting on the outside of the leg and working around to the front. Repeat for the other leg. 8) Skin the neck and inner forelegs. By this time the hide should be completely shed.
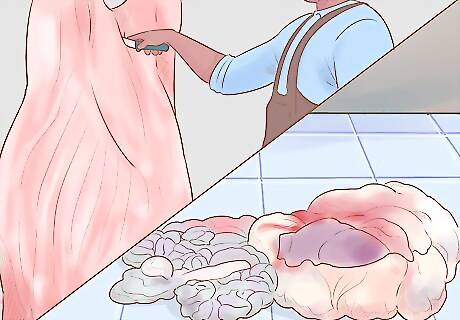
Remove the offal/viscera of the animal. You will need to first separate the large intestine from the body and tie it off, then remove the penis if it's a steer or bull you are butchering, then continue with the removal of the rest of the internal organs, as follows. 1) Lower the animal so that you can work comfortably on the rear end of it. 2) Cut around the anus with a short, pointed knife, being very careful not to make any holes in the intestine, as that could contaminate the meat. This anal area is known as the bung. 3) Pull the bung out slightly or enough that you can tie it off. Unless you know your knots and can make a slip-knot prior to pulling it out, you may need a helper to hold the rectum as you tie it off. 4) If the animal is male, cut out the penis before slicing through the belly. 5) Cut down the belly, cutting from the inside out, working your way down from the udder/scrotal area to the sternum. Use your other hand to hold the viscera away from the point of the knife, cutting through the belly fat as you go. 6) Place a large container underneath to catch the viscera, as by now they would be bulging out of the body. 7) Cut through the fat surrounding the offal and sever any tissue that connects offal to the back of the abdominal cavity. Pull the bung through to the inside of the cavity then out through the slit made to access the internal organs. Take your time separating the intestines from the cavity since you don't want to spill the contents into the carcass. Also be careful to not rupture the bladder. 8) Pull the intestines and bladder out of the body, as well as the stomachs since it should also be free by now too. Reach in and down to lift it all out into the container, severing the remaining flesh and connective tissue connecting the stomachs (also called the paunch) to the body cavity. This includes severing the esophagus from the stomach at the point where it goes through the diaphragm. If there are some innards that you want to keep, you'll want to get a separate "keeper" bowl to put them in. This would include the kidneys and liver. The kidneys should be removed after the intestines are taken out, as well as the abdominal fat that can be cut up and fed to the chickens (if you have any). Remove the liver and place it in the bowl along with the kidneys. 9) Cut out the diaphragm and remove the heart and lungs. To do this you need to grasp the heart and lungs and pull forward and downward, cutting the large blood vessel attached to the backbone. You should be able to remove the heart and lungs with the esophagus and trachea attached. You will need to sever the connective tissue between them if you want to keep the heart along with the liver and kidneys. You may need to squeeze the heart a bit to get any blood out that may have not been completely pumped out. You should inspect the offal to see if there are any abnormalities that may affect the quality of the meat. If you're not sure what to look for, it may be best to get a large-animal veterinarian out to do the postmortem inspection for you.
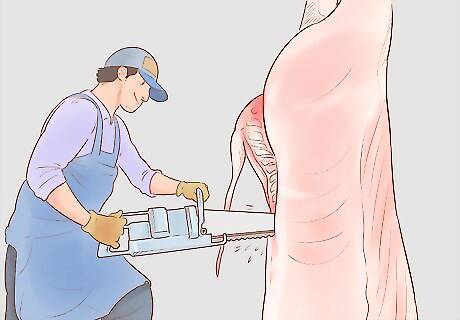
Split the carcass in half. Start by sawing through the sacral vertebrae from the inside and the cartilage that joins the pelvic bone. As soon as the pelvic area is cut through you can saw from the back, but some prefer to keep sawing through the back since the vertebrae is much easier to see in the front than the back, especially if the animal has a lot of back fat. Continue sawing to the neck. Cut down through the center of the brisket to cut the ribcage in half. You should consider splitting the carcass into quarters to handle the carcass a bit easier. Cut between the 12th and 13th rib, and leave the 13th rib intact to allow air to circulate over the kidney knob and prevent bacterial growth if additional hanging time is needed.
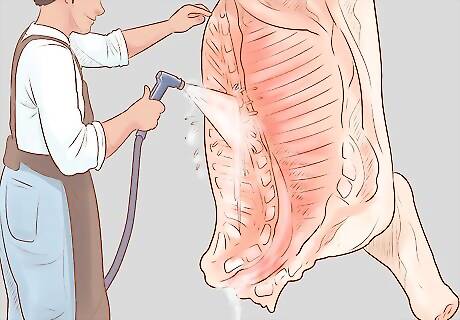
Clean the carcass with cold water to wash any excess blood and dirt off. You may have to trim any soiled, bruised or bloodied pieces of flesh off as well.
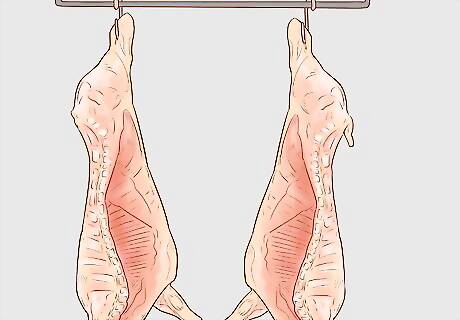
Hang the carcass to age it. How long to age depends on the air temperature, fat covering and desired flavour. Most should hang the carcass to age for seven to five days (some say two weeks), longer if aging is done during the colder conditions and if there's more fat on the carcass. If the carcass is entirely covered in fat then it is recommended to hang longer than 10 days. A good way to tell if you have the meat aging at the right temperature is if the temperature of the round (the hind-quarter) and other thick parts are lowered to 40 to 45 degrees Fahrenheit (7 to 4 degrees Celsius) within 24 hours after slaughter. Hang the carcass in an area where off-odors will not be absorbed and do not exist. Odors like manure, gas, paint or musty odors can be readily absorbed by the carcass. The hanging area should, in addition to cool and dry, also be dust-free, odor-free and relatively sterile.
Commercial Slaughter
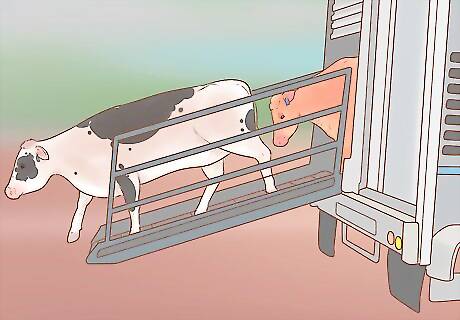
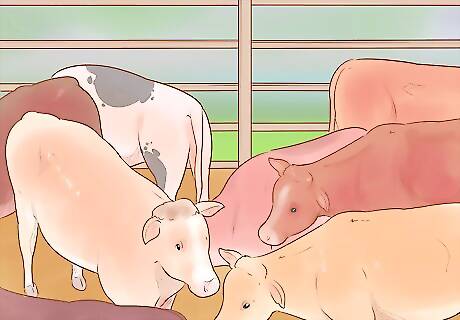
Cattle are herded off the cattle liners and herded through a race or chute to be weighed then put into holding pens. These pens, usually holding around 20 to 50 cattle in each, are such that they separate the various grades and even coat color of cattle that have to go through the slaughter facility. This is so that it makes it easier for the personnel in the slaughter plant to grade various carcasses that go through. The pens are also a way for them to undergo ante-mortem (before death) inspection by licensed veterinarians. This is to detect any evidence of disease or any abnormal condition that would indicate a particular animal is diseased. If any such animal is found, a metal ear-tag is placed so as to give special postmortem scrutiny. If there is definite and conclusive evidence that, in the antemortem examination, the animal is not fit for human consumption, it is condemned and no postmortem exam is necessary.
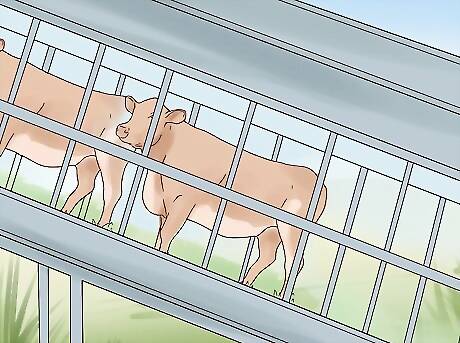
The group that is ready for slaughter are herded out of their holding pen down a race that leads into the plant. It's important that cattle are herded and kept in a calm state to not affect the quality of the meat. Cattle that are in a state of anxiety or panic will have darker-colored meat (called "dark-cutters"), than cattle that are calm and relatively relaxed.
Reaching the kill floor, cattle are herded into a movable cradle or box chute, like the one pictured on the right. This cradle is specially designed to block the animal's view from what's going on outside of the cradle, restrain it, enable the person above to stun it, drop the side to release the stunned or killed animal to shackle one or both of the hind legs, and complete the rest of the slaughtering and dressing process. The box is open above and the sides are high enough so that the animal cannot see over even if they try to raise their head. The right side of the box chute is released and let down to free the stunned animal once the killing/stunning process is complete. This allows access to the legs so that they can be shackled. More on this in later steps. In addition, there is a solid-sided gate at the rear of the box stall so that the cattle behind the one that is being killed do not see what is going on in front of them. This is so that they remain calm and quiet.
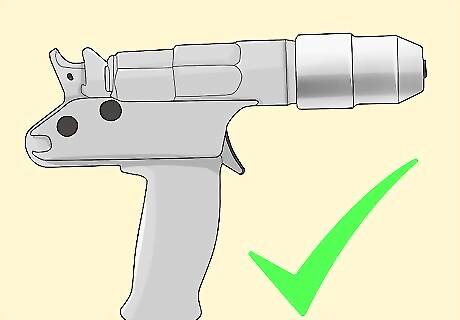
Inducing instantaneous insensibility. The captive bolt gun (also named cap-bolt, cap-bolt gun, cap-bolt stunner or captive bolt stunner) is the primary tool that is used to stun and kill cattle in a commercial slaughter plant. This device uses a steel rod that is driven instantly into the forehead of the animal. The gun is placed in the middle of the forehead, never between the eyes, to effectively kill the animal instantly. The steel rod from the captive bolt gun is driven by compressed air or a blank cartridge, and is retracted and reset for the next animal. The cap-bolt gun will remain effective if maintained properly. Cartridges should be stored in a dry place and the steel rod cleaned regularly. The gun itself must also be cleaned to ensure it induces instantaneous death to the animal it is used on. Veal calves are often killed with carbon dioxide.
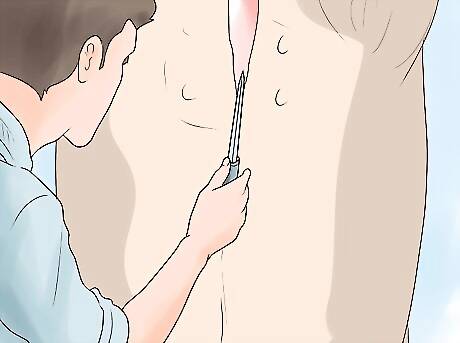
After cattle are rendered senseless, they are released from the restrainer. The side panel of the cradle drops down to allow access to the animal's legs. Chains are shackled to their hind legs and attached to a hook in the conveyor system that hoists the animal up. The stunned bovine then travels to the proceeding areas to be bled out, skinned, gutted and halved.
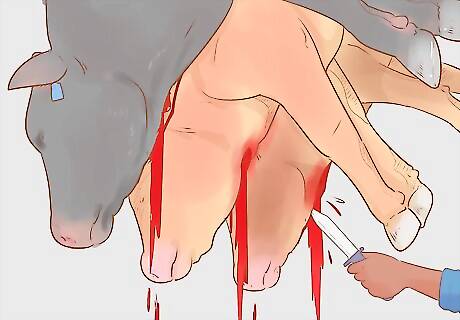
Sticking and bleeding out. A very sharp knife is used in this process: the point of the knife cuts into the animal's throat and cuts through the dewlap, trachea, esophagus and jugular vein immediately below the jaw-line to allow the blood to flow out. The cut can be made perpendicular or parallel to the neck, depending on what the standards are of the slaughter plant. Animals are bled out before being dressed because it prevents blood from coagulating in the tissues and thus making the meat go rancid.
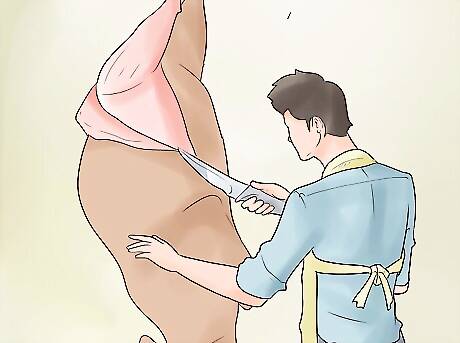
Skinning. The hind shanks are skinned and removed at the hocks: beef hooks are inserted between the gam cord (which is the tendon that runs from the tip of the hock (tuber calcaneus) up to the tibia) and the tibia, freeing the chain on one of the hind legs that had been used to hoist up the animal. The hide is opened along the median line of the belly and is removed from the belly and sides. Down-pullers are used for removing the rest of the hide, including skinning the head. This method greatly increases the efficiency of skinning and the yields of headmeat/cheekmeat.
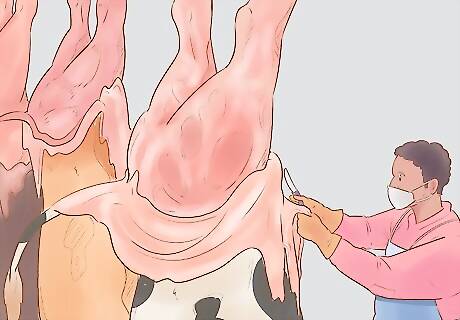
Removal of the head and limbs. The head is not severed from the carcass until the hide is completely removed. Until then the legs, head, breast and aitch (rump) bones are split from the carcass by sawing or by using a mechanical saw similar to a chainsaw, except it's built for cutting cleanly through bone, not wood.
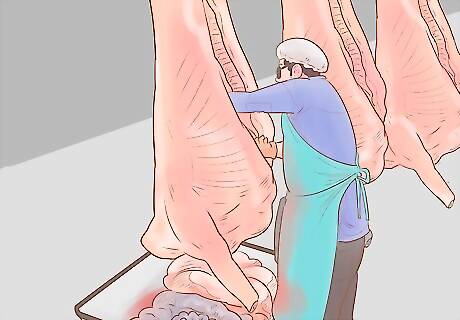
Removing viscera or offal. All internal organs are removed except the kidneys. The anus is cut out, and the offal is dumped out into a cart or barrel to be hauled away. Most slaughter plants do not find it cost effective to discard the offal, legs, head, blood or hide to the landfill. A large number of facilities sell the waste material to various butcher shops or other factories that use the remains for various users from cosmetics to car seats, home insulation and material for paving roads.
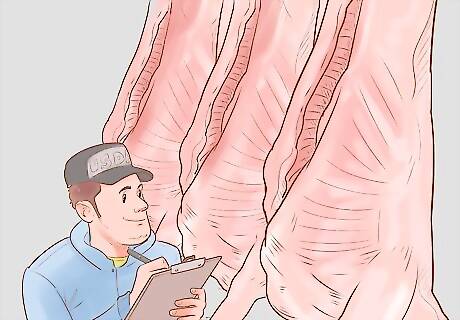
Postmortem inspection. If the plant is under federal inspection (USDA-FDA in the United States or CFIA in Canada), the carcass and viscera are examined by a federally licensed veterinarian hired by the FDA or CFIA at this stage in the slaughtering process. Since the head is cut from the neck, the brain and brain stem also needs to be examined for signs of BSE (Bovine Spongiform Encephalopathy). In the United States and Canada, the brain, spinal column, eyes, and other organs that are most likely to hold prions that cause BSE are discarded as SRMs or Specified Risk Material and never put into the food chain for either livestock or humans.
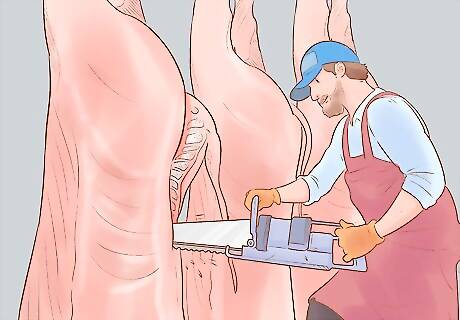
Splitting the carcass and removing the tail. The carcass is split through the centre of the backbone and the tail is removed. The spinal cord also needs to be removed during this process and discarded, since, as mentioned above, is designated as Specified Risk Material.
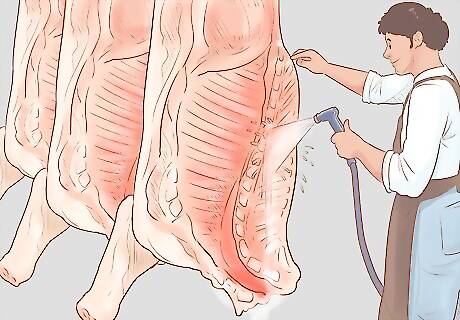
Washing the carcass. The split carcasses or halves are washed with cold water using a pressure-washer, and let to dry.
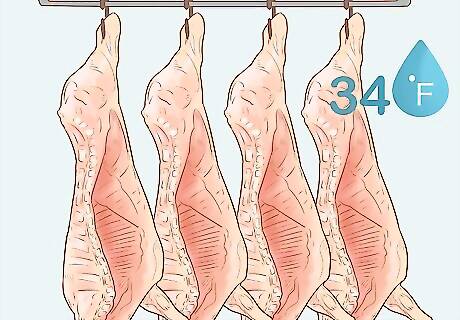
Sending the halves to the coolers. The halves, after slaughtering is complete, are sent to a cooler room where they are kept at a temperature of around 34 degrees Fahrenheit for a minimum of 24 hours. Often carcasses are left in the cooler for two to three weeks to allow the meat to cure before it is cut up or "ribbed" into various cuts of beef.
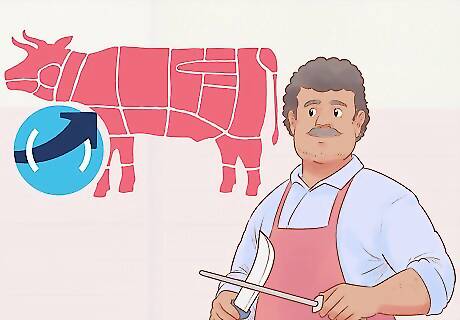
Next phase. Once the carcasses have cured, butchering will commence. Please the How to Butcher Cattle page for more information.







Comments
0 comment