views
- The easiest way to upload an Instagram Reel via your computer is to open Instagram in your web browser.
- If you are more comfortable with Instagram's mobile app, you can install the INSSIST Chrome extension.
- You won't have as many editing features when uploading Reels from your computer as you would in the mobile app.
Instagram Website
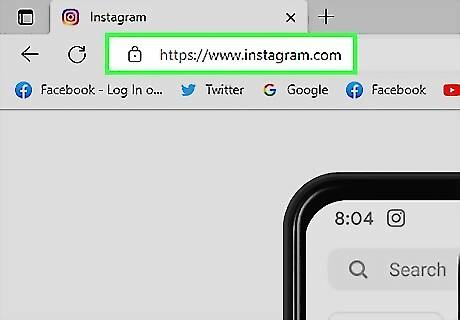
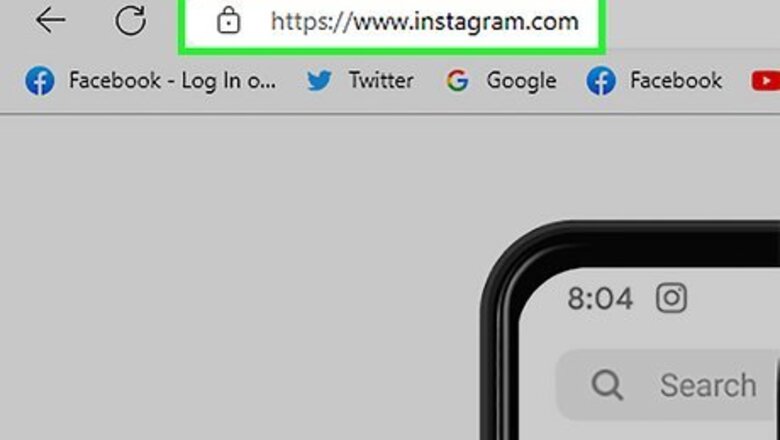
Go to https://www.instagram.com in a web browser. No matter your OS, you can simply open a web browser and visit Instagram's website to begin uploading your Reel. Log in to your account if you haven't already. In addition to posting Reels, you can also post photos from your computer.

Click + Create in the lefthand column. It is represented by a plus sign inside a square.

Click Select from computer and choose your video. Alternatively, you can drag the video you want to share to the "Drag photos and videos here" window. Remember, the Instagram website will not allow you to edit the video the way you can in the app, so you won't be able to do things like speed up your video or use VR filters.
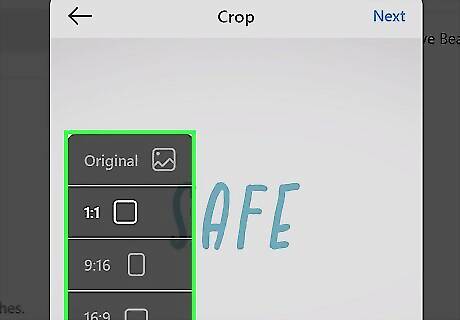
Crop and trim your video. This is the extent of your Reel editing capabilities within the Instagram website. You can crop the image, trim its length, change its cover photo, and turn its sound on or off.Click Next through each of the editing steps until you are content with your Reel. If the video is not already in a 9:16 aspect ratio, you can crop it to that aspect ratio now.
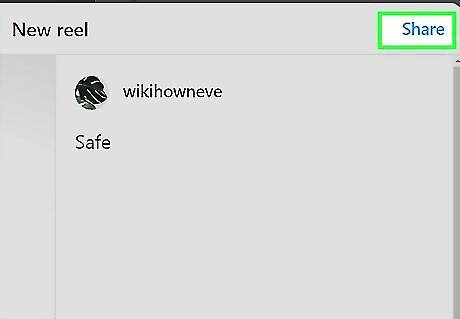
Post your Reel. On the last page, you are encouraged to add a caption or location, tag people, and adjust the post's privacy settings. Once you are pleased with your changes, tap the blue Share in the top-right corner of the pop-up.
INSSIST Extension (Chrome only)
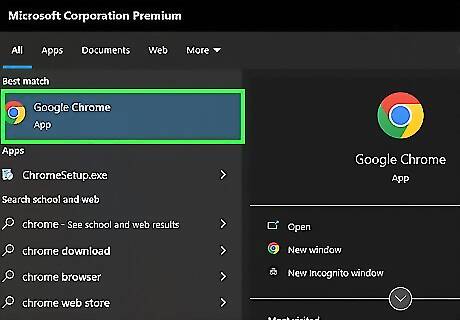
Open Google Chrome on your Windows or Mac computer. INSSIST is an Instagram assistant available exclusively on Chrome. This Chrome extension can emulate the Instagram mobile app so that you may better recognize the process for uploading a Reel. Keep in mind that you will still not be able to edit your video within INSSIST the way you could on your mobile device. Edit the video prior to uploading it through INSSIST.

Add the INSSIST extension. Visit https://inssist.com, click GET FREE PLUGIN, then click Add to Chrome to install it. If you prefer not to use Chrome, you can also download a client for Mac, Windows, or Linux.
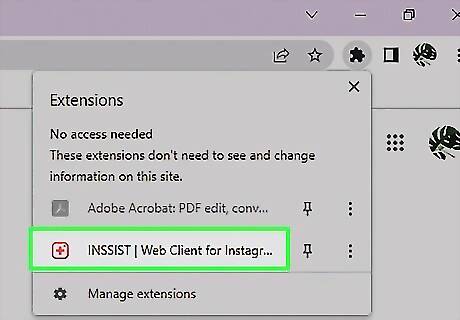
Open INSSIST and sign in. To open INSSIST, click the pink and orange icon with a + inside at the top-right corner of Chrome. If you don't see it, click the puzzle piece icon to expand all of your extensions first. Then, click OK, LET'S GO and follow the on-screen instructions to sign in to Instagram through INSSIST.
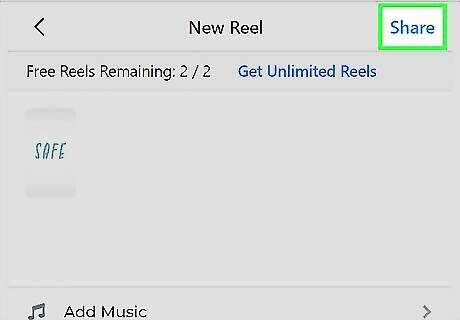
Post your Reel. Now that you are looking at the Instagram app, you can upload your Reel just as you usually would. INSSIST does not let you edit the video in any way (including cropping or trimming). You may only add a caption or location and tag others.


Comments
0 comment