
Loading the Camera
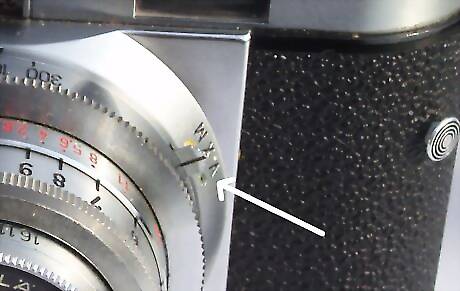
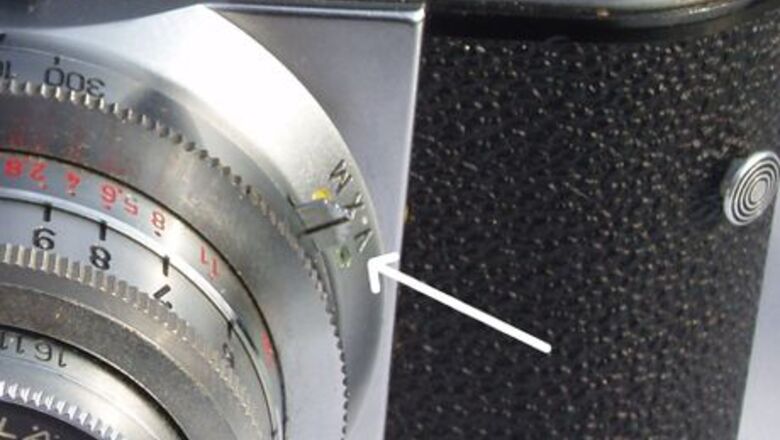
Make sure that the synchronizing lever is not set to V (green). This is the self-timer mode; because of the age of the camera and the weak governing spring, using this can cause the camera to stop working altogether if it has not been serviced recently.
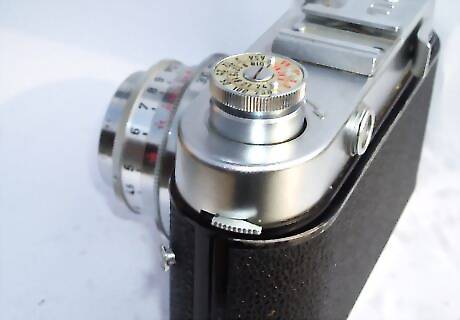
Pull the reversing lever backwards. This is the small lever on the side of the camera, on the left if you are looking at it from the back. The reversing knob will spring up.
Lift the lever on the hinged base plate, and turn it clockwise. Pull on the lever to lift the base plate up. Don't be discouraged if this is stiff.
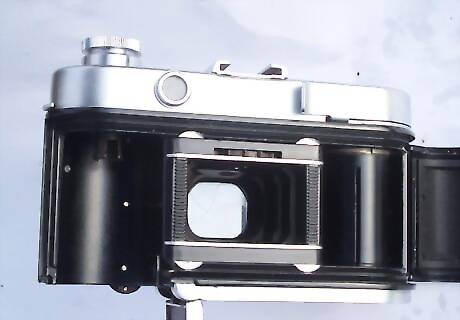
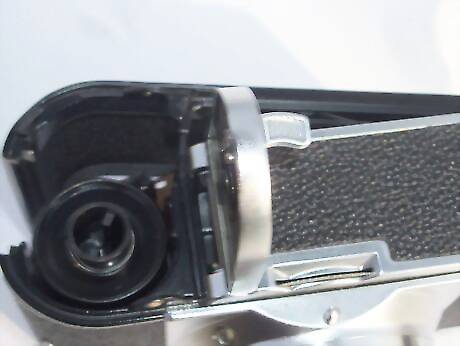
Pull the back of the camera open. Wind on the camera until you can see the slot in the take-up spool.
Fold a small crease about an inch (25mm) from the end of the film and slide this into the slot of the take-up spool.
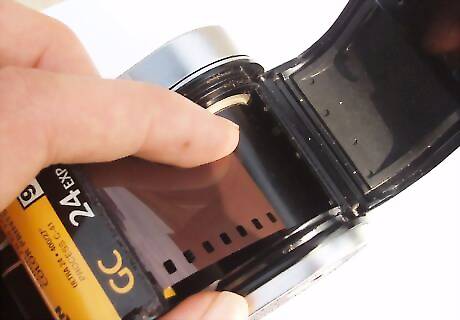
Hold the film into position in the take-up spool and draw the film spool over to its chamber on the left. You may have to turn the reversing knob a little for it to fit properly.
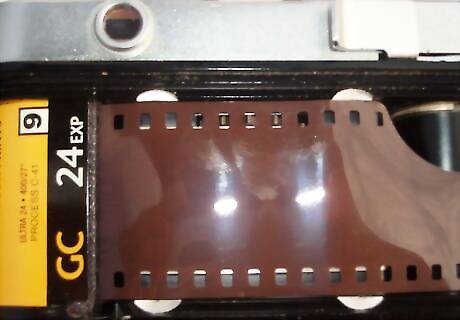
Push the wind-on lever until the teeth of the sprocket engage the perforations of the film.
Push the rewind knob down and close the back of the camera, then firmly push the base plate closed, and lock it by turning the lever counter-clockwise, then fold the lever back into place.
Turn the milled knob on the underneath of the camera until the film counter (on the front of the camera, just next to the viewfinder) reads the same as the number of exposures your film has, plus two. For 36-exposure films, turn it until the diamond mark is visible.
Push the wind-on lever until it locks; this means the shutter has armed. Press the shutter release, then wind it on until it locks again. The film is now loaded and you are ready to take photographs.
Taking Photographs
Measure or guess the distance to your subject, or whatever you are focusing on. A rangefinder is useful, but not essential; longer distances are quite easy to guess (and are more forgiving of errors); at shorter distances, use a tape measure. Turn the distance ring so that the red triangle immediately behind the ring matches up with the guessed or measured distance.
Set the aperture and shutter speed. If you have a light meter, use it; if not, experiment. A full explanation of these functions is beyond the scope of this article, but some brief reminders can be given here: A larger aperture (smaller number) means less depth of field (i.e. less of your scene in focus), and more light being let onto the film. A smaller aperture will let less light onto the film, and give more depth of field. To demonstrate, turn the distance ring to 8 feet (2.4 m) and look at the red markers. At an aperture of f/5.6, the portion of your scene from about 6.5 to 11 feet (2.0 to 3.4 m) will be in focus. At an aperture of f/16, the portion from about 4.5 to 60 feet (1.4 to 18.3 m) will be in focus. A faster shutter speed (a larger number on the shutter speed ring; the "100", for example means 1/100th of a second) will let less light onto the film. A slower one will do the opposite. If you have a cable release and a tripod, you can use the "B" setting, which will hold the shutter open for as long as you need it to. Therefore, you can compensate for a smaller aperture by using a faster shutter speed, or a larger aperture by using a slower shutter speed. Compensating for lack of light with a slower shutter speed can result in motion blur (or blur from unsteady hands); compensating for it with the aperture will result in less depth of field. Which you will do, will depend from scene to scene.
Look through the viewfinder, and aim your camera. Remember, you're not looking through the lens, as you would be on an SLR; you're looking through what is not much more sophisticated than a hole in the top of your camera. At shorter distances, the view through the viewfinder will be grossly inaccurate; at longer distances, it doesn't matter so much. Deal with the fact that your viewfinder is, much of the time, full of lies.
Press the shutter release to take a photo and wind the film on. Observe the film counter; once this goes "blank" you have no exposures left.
Unloading the film
Pull the reversing lever backwards. The reversing knob will spring up.
Turn the reversing knob clockwise. Watch the film counter, and continue turning until it reads the number of exposures your film has,plus two again. Turn it a further half turn.
Unfasten and open the hinged bottom plate and open the back of the camera.
Remove the film, store it in a film canister and process it as soon as you can.
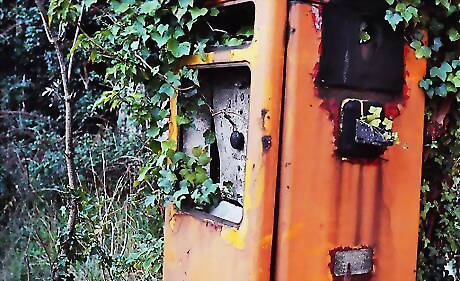
Enjoy your photographs. And if they aren't very good, keep trying! The Vito B is an excellent little camera that can give some astoundingly sharp and well-saturated pictures. But it will take a lot of experimentation to get things right.


Comments
0 comment