views
What can I use to cover kitchen cupboard doors?
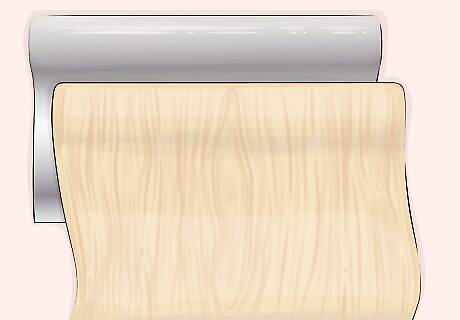
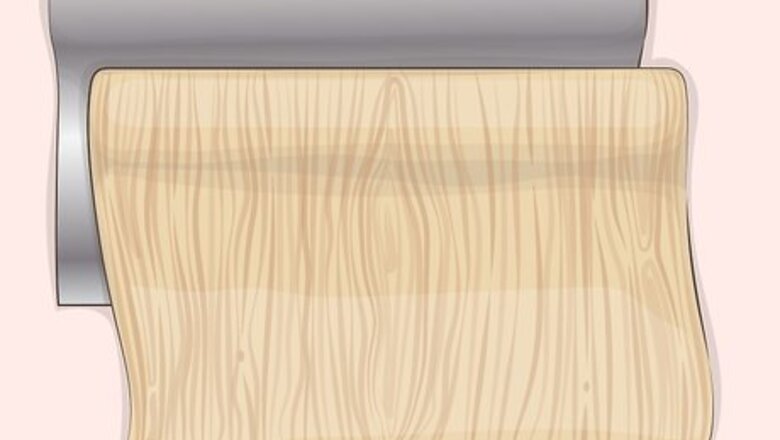
Use vinyl wraps. Vinyl wraps provide a sleek, seamless finish to your door. Plus, these wraps can look like a variety of surfaces, like wood, concrete, and metal. You can use vinyl wraps on both flat and grooved cabinet doors.
What types of vinyl wraps are there?
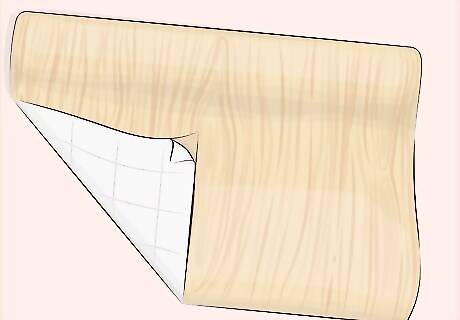
Adhesive-backed vinyl wraps are the most convenient. Adhesive vinyl wraps are smooth on 1 side and sticky on the other, and are really easy to use. Just remove the backing paper and press the sticky side of the vinyl wraps onto the cupboard.
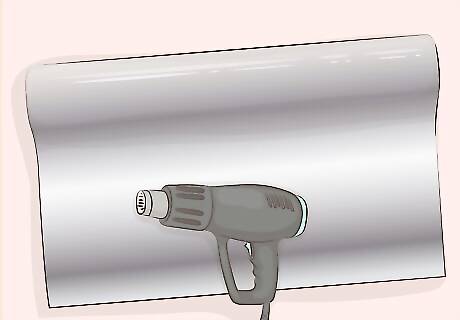
Heat-activated vinyl wraps are another option. For this method, place the vinyl wrap directly on top of your cupboard. Then, heat the material with a hair dryer so the wrap sticks to the door.
Which vinyl wrap should I use if I’m a beginner?
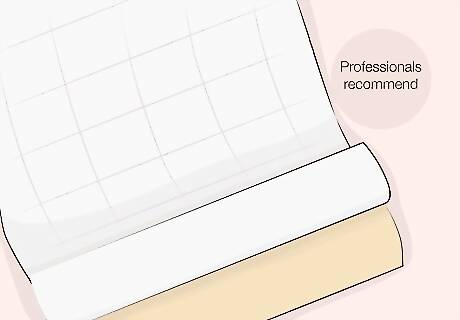
Professionals recommend using an adhesive-backed vinyl wrap. These are easy to use, even if you’ve never wrapped a cupboard before.
Is wrapping cupboards difficult?
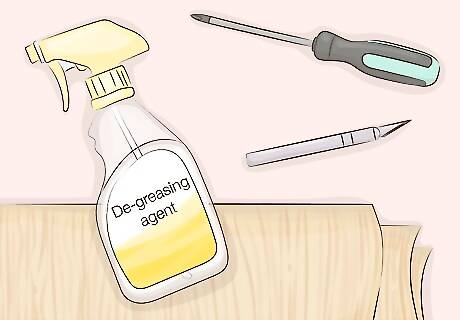
No, but you’ll need the right materials. To wrap your own cupboards, you’ll need a screwdriver and de-greasing agent, along with an X-acto knife and multiple sheets of vinyl wrap that are larger than your cupboard doors.
How do you vinyl wrap a cupboard?
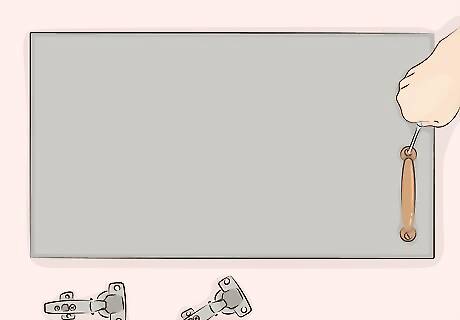
Remove, disassemble, and clean the cupboard door. Disconnect the door hinges from the cupboard with a screwdriver, and set the door on a flat surface. Then, remove the handle from the front of the cupboard, setting it aside for later. Clean off the front of the door with a de-greasing agent, so the surface is prepped and ready to go.
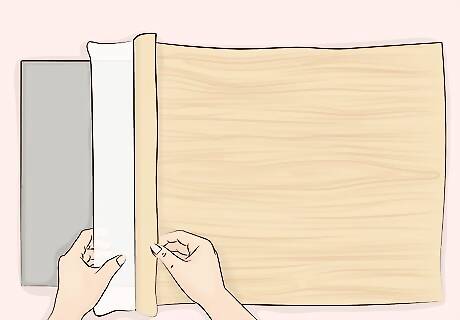
Apply the vinyl wrap to the front of the cupboard door. Lay a sheet of vinyl wrap on a flat surface. Then, peel back 4 to 6 in (10 to 15 cm) of the backing paper, so part of the sticky side is exposed. Take a moment to center and place your cupboard door front-side-down on the vinyl wrapping. This way, the top of the vinyl wrap will stick to the top 2 in (5.1 cm) of the cupboard door. Try to leave around 2 to 3 in (5.1 to 7.6 cm) of vinyl hanging off each side of the cabinet door, so you can wrap it along the inside of the door.
Remove the rest of the backing paper and squeegee it onto the cupboard door. Flip the cupboard door over, so the backing paper is facing down. Use 1 hand to slowly peel away the backing paper, and your other hand to smooth the sticky vinyl onto the door with a squeegee.
How do you finish setting up the door?
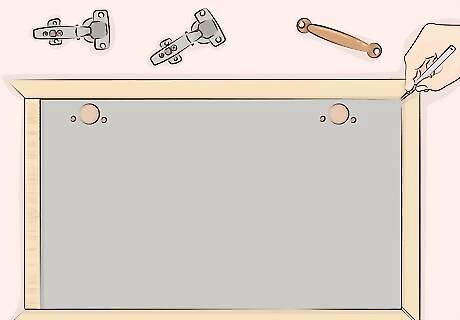
Slice the corners of the vinyl wrap with an X-acto knife. Cut through the wrap at a 45-degree angle, slicing from the outer corner of the wrap to the outer corner of the cupboard door. Repeat this along all 4 corners of the door.
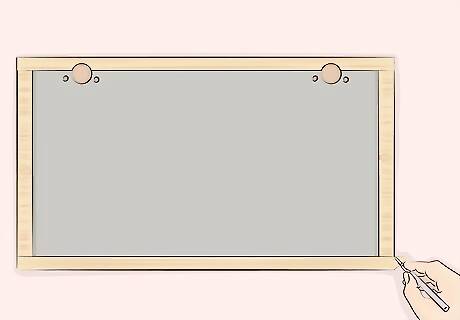
Wrap the extra vinyl along the inner door and cut away any excess. Carefully and tightly fold the excess vinyl over and onto the inner door of the cabinet. Then, slice away any leftover material that’s hanging over the edge of the door with your X-acto knife, so the next vinyl edge is easier to fold and smooth into place. Repeat this process along the other 3 edges of the door. You’ll need to trim the vinyl wrap so it fits snugly around the door hinges.
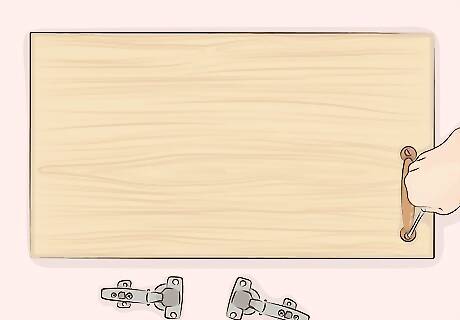
Attach the handle and reinstall the door. Screw the handle back along the front of your newly-wrapped cupboard door. Then, reattach the door hinges into your cupboard. You can now admire all your hard work!
How do you wrap kitchen cupboards with grooves?
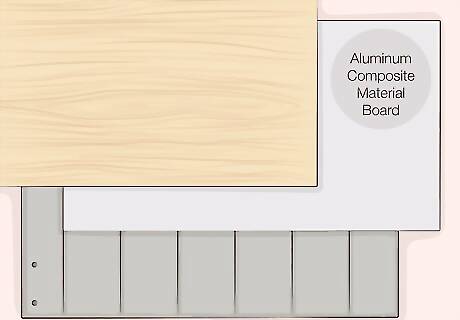
Add Aluminum Composite Material Board (ACM) before you wrap them. An ACM board is a light, flat panel that will cover the grooved section of your cupboard door. Apply some adhesive along the back of your ACM board, and place it on top of the grooved section of your cabinet door. Once the adhesive dries and cures completely, wrap the cupboard door as you normally would.








Comments
0 comment