views
Select an object around which to wrap text.
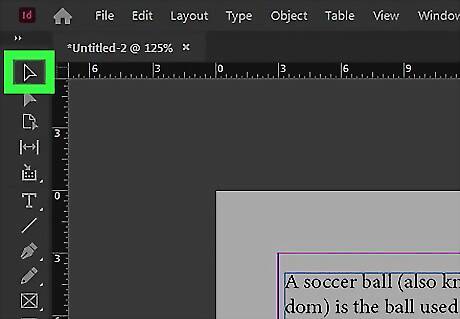
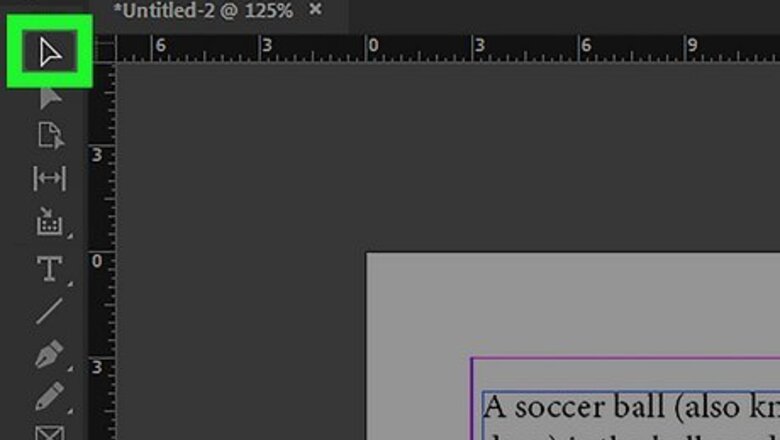
You can use the selection tool to click the object's frame. For example, if you want to wrap text around a photo, use the "Selection" tool to click its frame. The element you select will be highlighted with a light-blue border and have handles at its corners.
Open the Text Wrap palette.
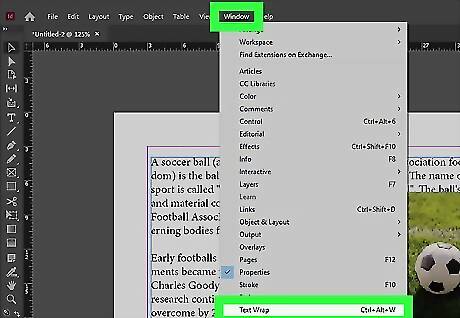
Click the Window menu and select Text Wrap. You can also use the keyboard command "Ctrl+Alt+W" on a PC or "Command+Option+W" on a Mac.
Select a wrap design.
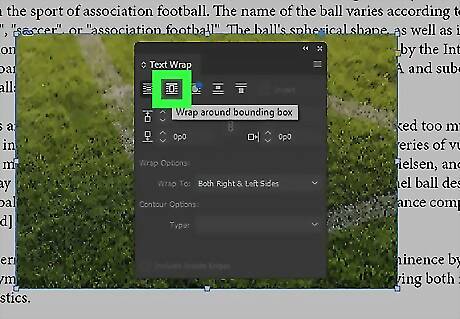
The icons at the top of the palette contain text wrapping options. Once you choose one of the layouts, the text will wrap around the object in that design. Click Wrap Around Bounding Box to wrap text around all sides of the photo or graphic frame. A dialog box will open, prompting you to enter how far off the frame you want the text to run. You can enter different values for each edge of the frame. Click Wrap Around Object Shape (the circle surrounded by text) to use contour wrapping, which creates a text wrap boundary that's the same shape as the selected object. Click Jump Object to prevent text from showing up in any space to the left or right of the frame. Click Jump to Next Column to force the surrounding text or paragraph to the next column or text frame. This option prevents undesired text wraps along the sides of the frame.
Wrap text around the edges of an imported image.
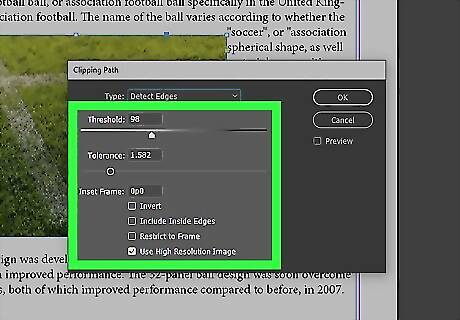
If you imported an image and want to wrap text around an object within it, try a clipping path. To get started, choose an imported image with a solid background as your object, and then: From the main toolbar, click Object, select Clipping Path, and then Options. Drag the Threshold setting to the desired level to help create the path. The higher the setting you choose, the wider the range of pixel removal. Manipulate the Tolerance setting to dictate the path's detail. Higher settings make the path less accurate but smoother. Enter a single offset value in the "Inset Frame" field. Choose Include Inside Edges command to make paths inside the image. You might need to adjust the Tolerance setting for the program to select these spaces. Click OK and then click to select the object. Choose Wrap Around Object Shape on the Text Wrap panel. Select Show Options from the palette menu and choose Same As Clipping. Enter the value you want the text to bounce off the object.


Comments
0 comment