views
- Give your Keurig a dedicated outlet to prevent an overload and ensure it always has enough power.
- Power cycle your brewer by turning it off and unplugging it. Wait 30 seconds, then plug it back in and turn it on.
- Clear the entrance and exit needles with a paper clip to get rid of old coffee grounds that might be clogging them.
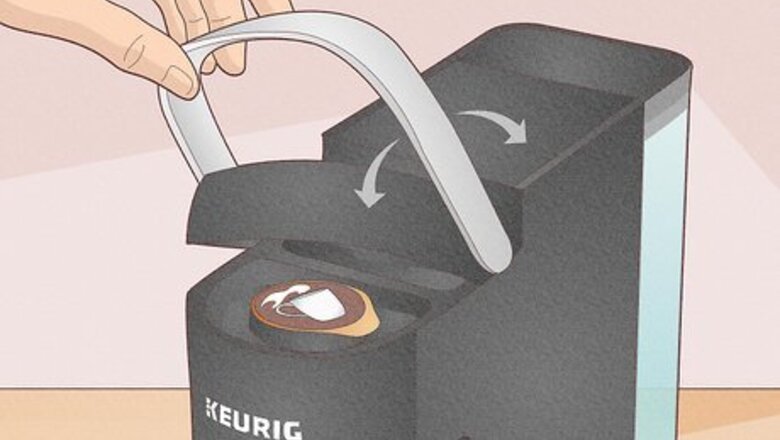
Lift and lower the handle if the brew cycle was interrupted.
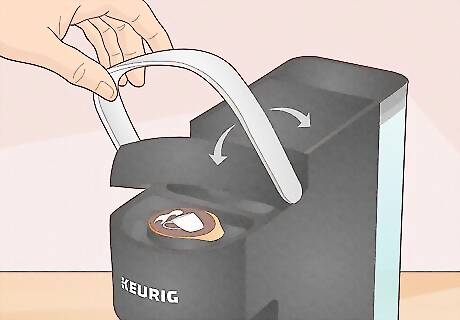
If your brewer stopped in the middle of a brew cycle, reset it and start over. This could be an issue if your brewer lost power for any reason while you were trying to make a cup of coffee. The power might've flickered on and off briefly or someone might've jostled the plug by accident. When this happens, lift the handle and then snap it back down in place. That usually does the trick, although you'll probably want to get a new K-cup if it had already started brewing. You might be able to estimate the size and keep the old K-cup in. For example, if there's just a small amount of coffee in your cup when you originally selected the largest size, try a medium size the second time around.
Check the outlet if your brewer doesn't have power.
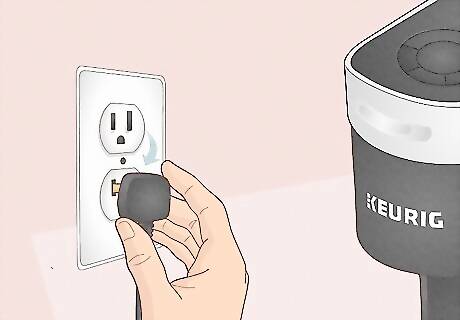
Try plugging your brewer into a different outlet and see if it works. Start by tapping the power button. If the "Add Water" button flashes blue, your brewer definitely has power. If not, it's possible that the problem isn't your brewer at all but the outlet. This is particularly likely if there are no lights or sounds coming from your brewer at all. If you have a reset switch on the outlet, you might try pushing that in as well. Plug in a different appliance and see if it works where you had your Keurig plugged in. Because Keurig brewers use a lot of power, Keurig recommends plugging your brewer into its own dedicated outlet. If the outlet is overloaded with other appliances, your Keurig might not work.
Unplug your brewer for at least 30 seconds.
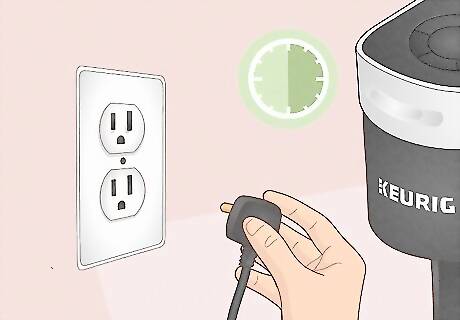
If your Keurig isn't brewing, a basic power cycle might do the trick. Turn the machine off (if it's not already off), then unplug it from the wall. Leave it unplugged for at least 30 seconds to allow the tiny bit of power that remains in the machine to drain. Like most devices, a Keurig coffee maker contains a tiny computer. Power cycling that computer can get rid of any glitches that are causing it to malfunction. Plug it back in after 30 seconds and see if this solves your issue. If it's still not working, unplug your machine again, and continue on to the following steps.
Remove the water reservoir from your machine.
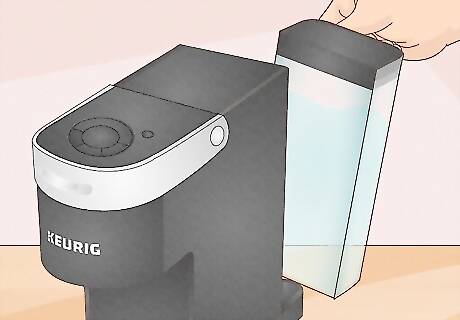
Sometimes removing the water reservoir helps reset the machine. While your machine is unplugged, go ahead and take off the water reservoir. Give it a rinse and clean any gunk off the connectors. If your Keurig can't get the water, it's not going to brew. Fill it back up with fresh water so you can put it back on your machine. If there's any water left inside that had already been pumped out of the reservoir before the machine stopped working, you can clear that by pressing and holding the brew button after you plug your Keurig back in.
Declog the entrance and exit needles.
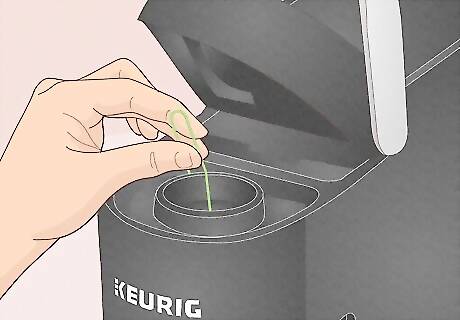
While your brewer is unplugged, try cleaning out the needles. Since the needles go down into the coffee, they get grounds inside them. Just straighten out a paper clip and poke it inside the needle to clean it out. If you had a K-cup in your machine, take it out before you try to declog the needles. The way to access the needles varies depending on which Keurig model you have. You should be able to see them when you lift the handle and remove the K-cup from the holder.
Plug your brewer back in and run a brew cycle.
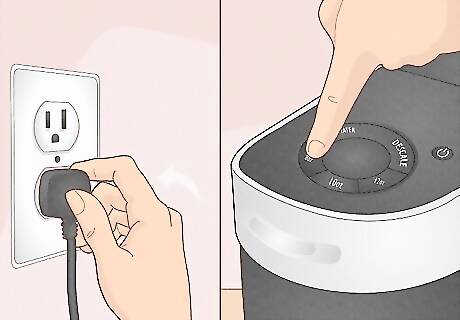
Restore power to your Keurig through a dedicated outlet. If your Keurig is the only thing plugged into that particular outlet, you can be certain that it's getting enough power. When you plug it in, watch for the lights on your machine to flash, showing that it's back and ready to work. You might need to open and close the K-cup holder. If you clamp down the handle and the lights come on, you should be good to go! If the lights don't come on or your Keurig still won't run a brew cycle, you might need to clean or descale the machine.
Run a clean or descale cycle to eliminate buildup.
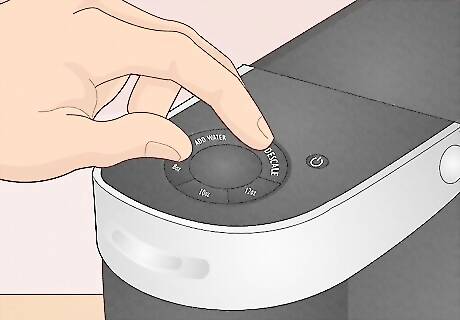
If your Keurig won't brew, it might need to be cleaned. Keurig recommends cleaning your brewer at least once every 3 months. Some models are programmed to prompt you for cleaning and won't brew at all until you've completed at least one cleaning cycle. If this was your issue, once you run the clean or descale cycle, your machine will be up and running again. You might think of cleaning and descaling as a chore, but they're quite simple once you get the hang of it and shouldn't take more than a few minutes of your time. If the red drip tray light comes on, that means the drip tray is full and needs to be emptied. Just slide it off toward you and empty it in the sink. You can give that a rinse as well, but don't put it in the dishwasher.
Call Keurig Customer Service at 1-866-901-BREW.
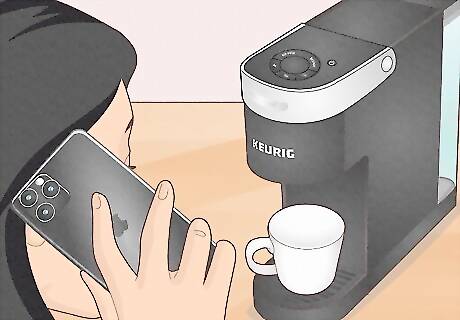
If none of the basic steps get your Keurig to work, get customer service to assist. This is especially important if your brewer is relatively new because you don't want to do anything to void the warranty. Tell the agent who takes your call what's going on with your machine and they'll tell you what to do next. Have the model of your Keurig handy when you call, as well as how old it is (if it's more than a year old, a rough idea is fine). Keurig's warranty lasts one year from the date of purchase. They'll extend it an additional 12 months beyond that year if you connect your brewer to the Keurig app through WiFi at least once every 90 days for that full 2 years.






Comments
0 comment