views
Planning Your Reference Photos
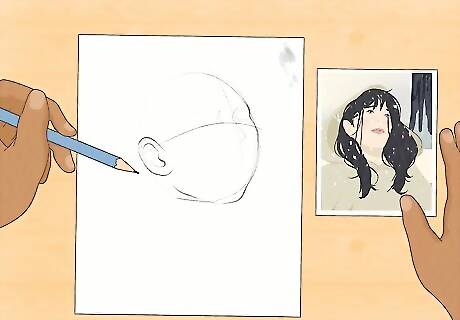
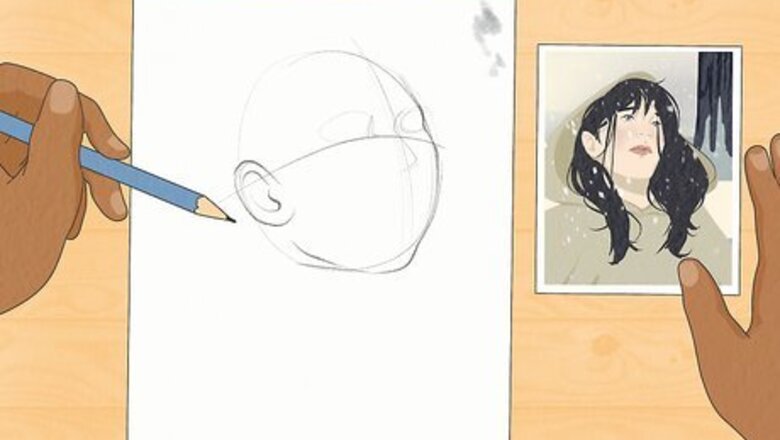
Determine how you will use your photo. Some options are: Duplicating the photograph using visual tracing. Referencing the photo for shapes, shadows, visual texture, light direction, etc. Picking out elements whereby you use only a part of the image for reference or tracing.

Develop an idea of what you want your end result to be. You might end up using Photoshop for manipulation or wanting to create your own reference photos.
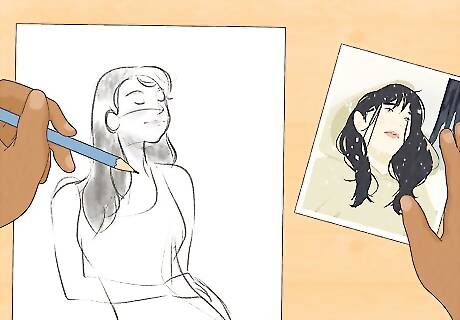
Sketch it out on paper or on a tablet. It doesn't have to be pretty, but you will want to take into consideration the following: Direction of light in relation to the subject Direction, quality, and color of light Your subject and the subject's motions (if any) Your subject's pose Composition of the shot (or shots)

Know ahead of times the basic shots that you will need. As your project evolves, you will find yourself needing more shots (or different ones).
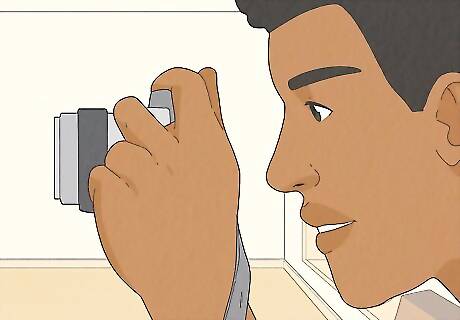
Take your photo. They don't have to be perfect. These are reference photos, after all.
Using the Photo Reference for Sketching
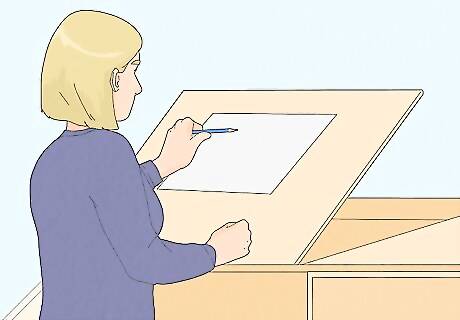
Keep your work tilted towards you. Use something like a drafting and drawing table. This will lessen the chance that your work will be distorted.
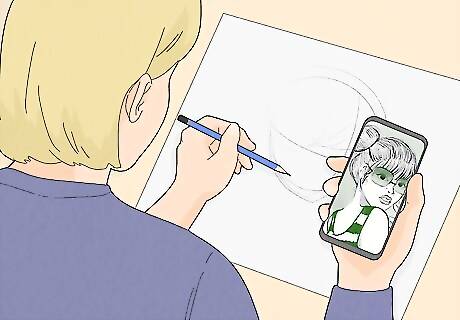
Keep your photograph close to where you will be referencing it. That means working directly beside it. This will also keep your eyes level when moving from your reference photo to your sketch.

Pay attention and focus on your work. While drawing, place your finger on the reference photo where you are sketching it on the paper.
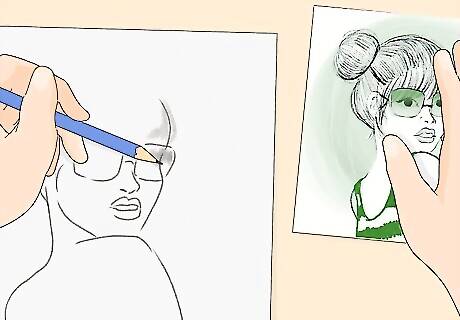
Take your time. Make sure that your finger stays on the photo where you are sketching on the paper.
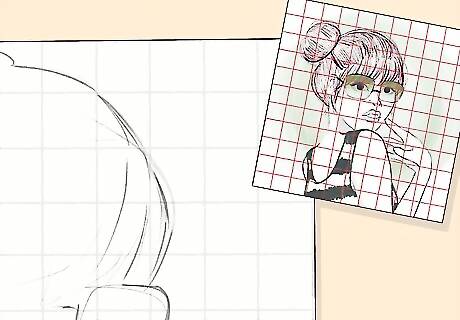
Use straight lines and angles in your work. Breaking your image down into a grid with horizontal and vertical lines can really simplify your work.





Comments
0 comment