views
- Most laptops have built-in web cameras. If you don't have a camera in your laptop, you can connect an external USB camera.
- You can only take photos of objects facing your built-in webcam unless you have an external webcam that can be adjusted.
- Webcam photos tends to be much lower quality than smartphone, tablet, or DSLR pictures.
On a Windows Laptop
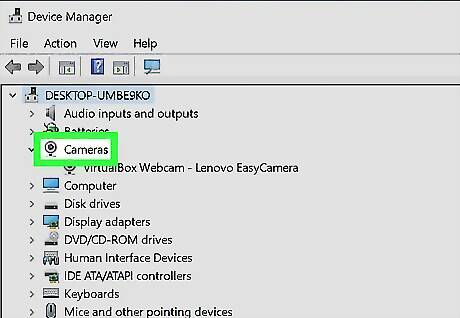
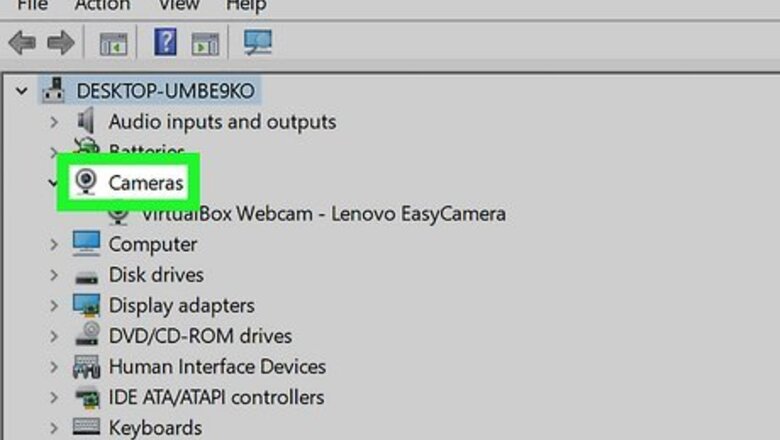
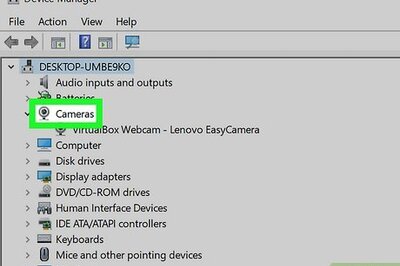
Make sure your computer has a webcam. If your laptop has a built-in webcam as most do, you can easily take a photo. If not, however, you'll need to install a webcam on your computer before continuing. Some laptops have a physical shutter that you can toggle back and forth across the lens. Before taking a photo, check the camera lens (typically at the top-center part of the screen) and make sure the shutter is open.

Open Start Windows Start. Click the Windows logo in the bottom-left corner of the screen, or press the Windows key on your keyboard.
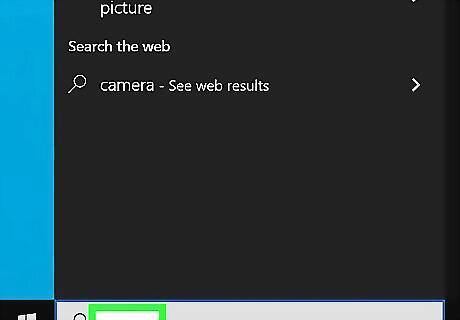
Type camera into Start. This will search your computer for the Camera app, which allows you to take a photo with any attached camera.
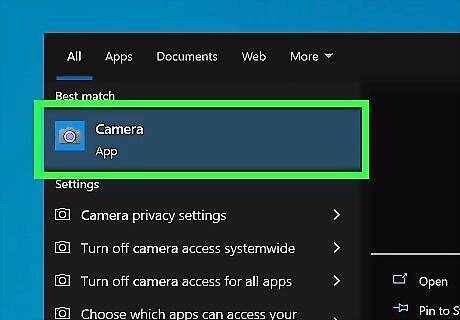
Click Camera. It's a white, camera-shaped icon at the top of the Start window. Doing so will open your Windows Camera app. Make sure to activate your camera with the proper permissions.
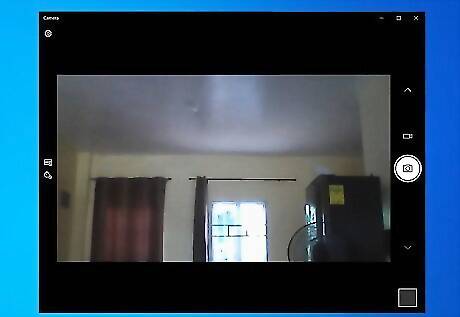
Wait for your computer's camera to turn on. A light next to your camera should come on once the camera is on, and you should see yourself in the Camera app's window.
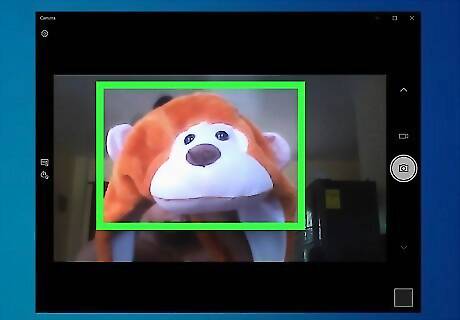
Face your computer toward whatever you want to photograph. You should see your photograph subject's image on the screen.
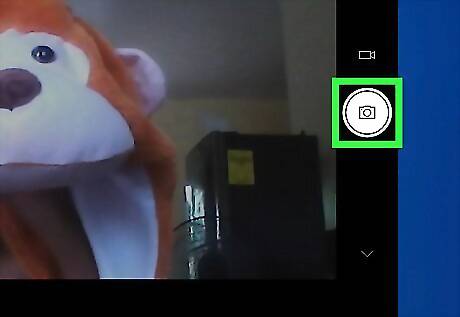
Click the "Capture" button. This camera-shaped icon is at the bottom of the Camera app window. Doing so will take a photo and save it to your Windows computer's Photographs app.
On a MacBook
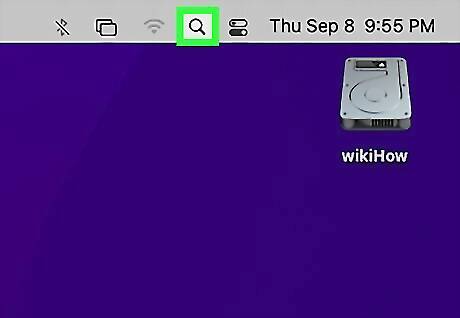
Open Spotlight Mac Spotlight. Click the magnifying glass icon in the top-right corner of the screen.
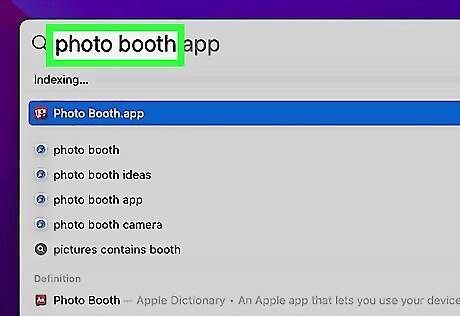
Type photo booth into Spotlight. This will search your Mac for the Photo Booth app.
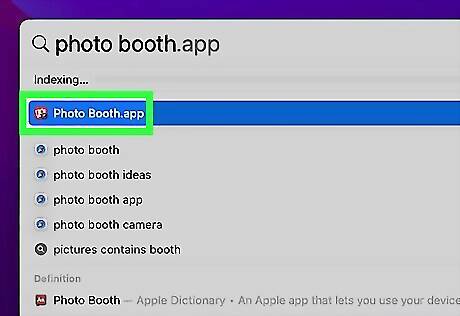
Click Photo Booth. It's the top result beneath the Spotlight search bar. Doing so will open your Mac's Photo Booth.
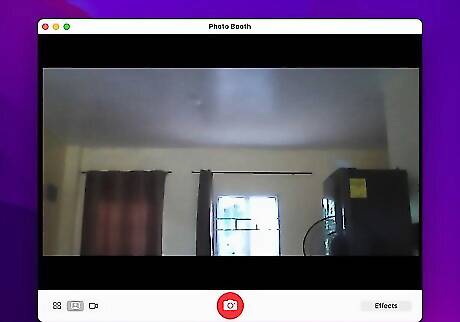
Wait for your Mac's camera to turn on. When your Mac's camera is on, there will be a green light next to it. You should also see yourself appear on-screen in Photo Booth once the camera is on.
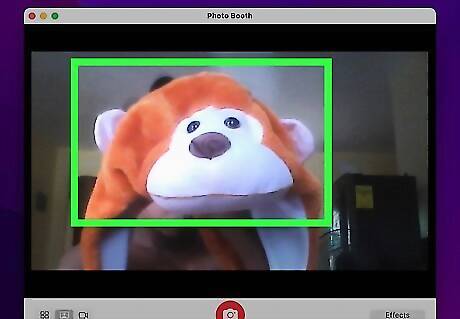
Face the Mac's screen toward whatever you want to photograph. Anything that appears in the main Photo Booth window will be a part of your photo, so feel free to adjust as needed based on what shows in the Photo Booth window.

Click the "Capture" button. This red-and-white camera button is at the bottom of the page. Doing so will take the picture and add it to your Mac's Photos app. If you have an iPhone or iPad with Photo Stream enabled, the photo will also appear on your iPhone or iPad. You can add extra effects in Photo Booth such as a customized background.






Comments
0 comment