views
Tying a Knot and Weaving in the Ends
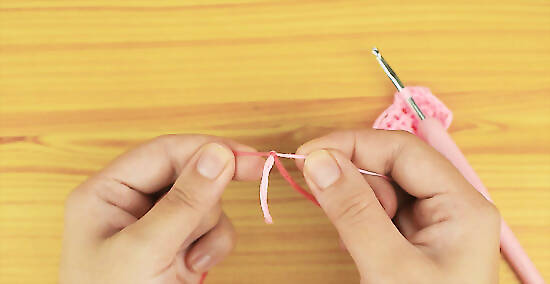
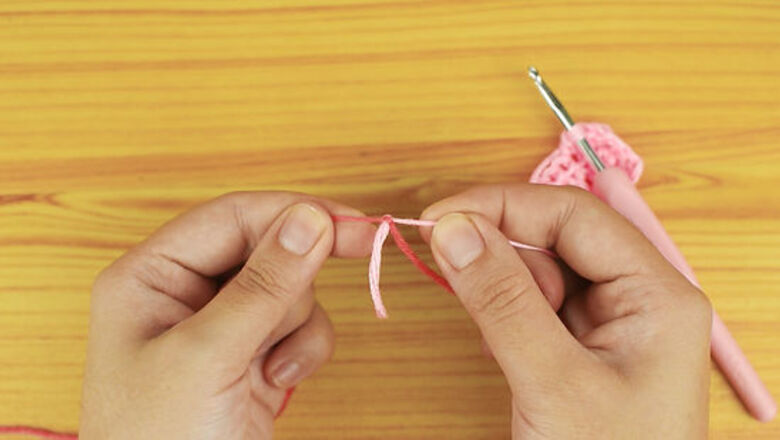
Tie a loose knot around the old yarn with a 6 in (15 cm) tail. You can do this anywhere in the row, such as at the beginning, middle, or end. Make the knot tight enough to hold the yarn in place, but also loose enough so that you can easily untie it later. Move the old yarn strand to the side, but do not cut it yet.Tip: Use this method of joining yarn if you want something quick and easy, and you don’t mind weaving in the ends later on.
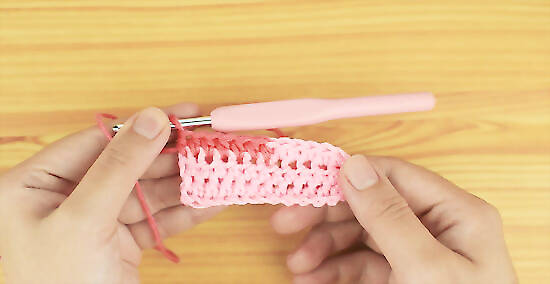
Crochet with the new yarn leaving the knot in place. To ensure that the yarn is secured seamlessly into your work, begin working the next stitch in your pattern using the new strand of yarn. Do not untie the knot after you work the stitch. For example, if you are doing a single crochet stitch, insert the hook into the next stitch, and yarn over. However, instead of yarning over with your old yarn, yarn over with the new strand. Then, pull this yarn through the stitch, yarn over again, and pull through 2 to complete the stitch.
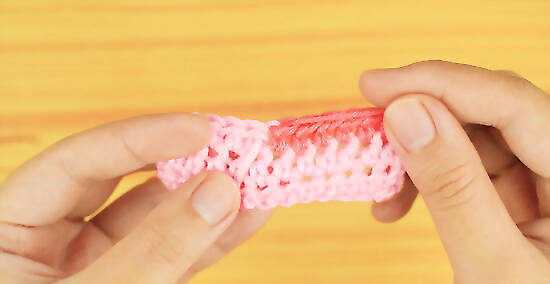
Cut the old yarn and untie the knot after working a row. After you have crocheted 1 row past where you joined the yarn, untie the knot connecting the new strand to the old strand. Then, cut the old yarn to the same length as the new yarn, if needed. If the old yarn is already the same length as the new yarn, then don’t cut it.
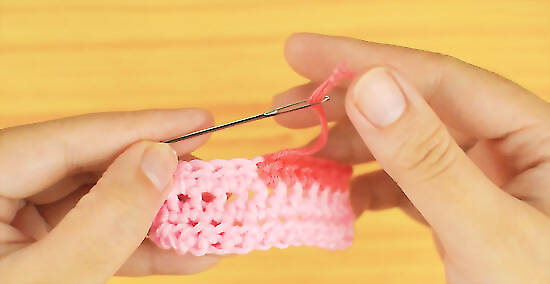
Weave in the ends with a yarn needle. Thread the end of the new yarn through a yarn needle. Then, insert the yarn needle into the stitch nearest its base. Sew all the way through the stitch, and bring the needle back through the next stitch on the other side of the item. Repeat this until you cannot sew any further, then cut the excess yarn about 0.25 in (0.64 cm) from the surface of the crocheted item. Repeat the same process to weave in the other strand of yarn.
Crossing and Doubling for a No-Weave Connection
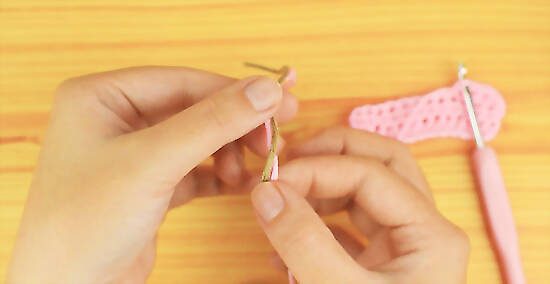
Cross the old and new yarn about 3 in (7.6 cm) from their ends. Match up the ends of the new and old yarn. Then, pinch the 2 pieces about 3 in (7.6 cm) from their ends. Twist the pieces around each other 1 time so that they are crossed. Make sure to crochet until you have 6 in (15 cm) left on your current ball of yarn. This will provide enough slack to join the yarn strands.Tip: Try this technique if you don’t want to weave in any ends and you don’t mind doubling up the yarn for a small section.
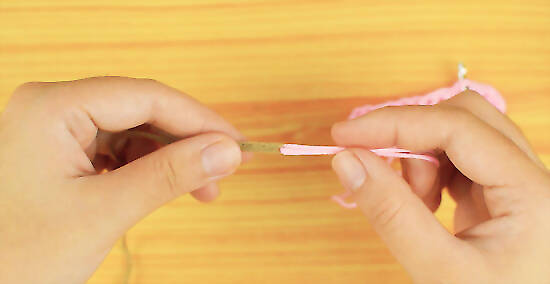
Cross the strands and hold onto the end of the old strand. Grasp the end of the strand of old yarn and bring it towards the stitch that is currently on the hook. Hold it in place with your thumb. Then, grasp the end of the new yarn and pull it in the opposite direction so that it is doubled over and laying flat. This will allow you to crochet to the very end of the old yarn and pick up the new yarn without any loose ends to weave in later.
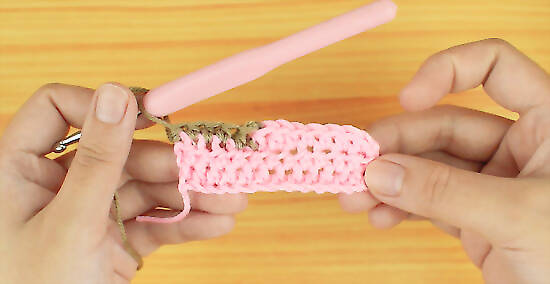
Crochet with the doubled over yarn strands. Continue crocheting according to your pattern or stitch. Work the doubled over strands of yarn as you would work a single strand of yarn. Hold the end of the new yarn with your thumb until you have crocheted over this section. Be careful not to pull too hard on either strand of yarn as you crochet this section, or the strand might get disconnected and you will have to start over.
Creating a No-Weave Knot
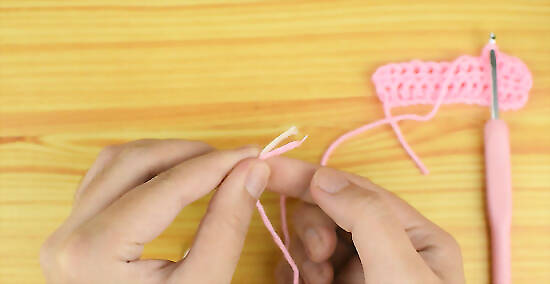
Pinch the new and old yarn 0.25 in (0.64 cm) from the ends. Take the end of your old yarn and the end of your new yarn and line up the ends so that they are even. Then, pinch the ends between your non-dominant thumb and forefinger to hold them in place. Make sure that the ends of the yarn strands are poking out past your fingertips.Tip: Use this option if you want to keep the yarn in a single strand without having any ends to weave in later.
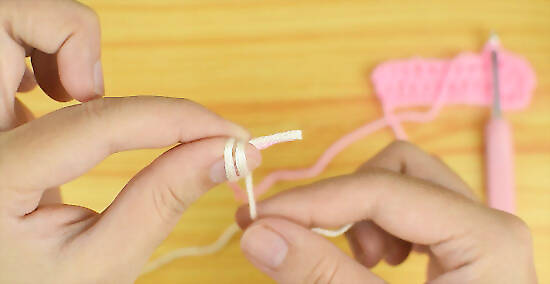
Wrap the new yarn around your thumb 2 times. Use your other hand to grasp the new yarn extending from your forefinger and thumb and wrap it around your thumb and the pinched yarn ends. Make sure that the yarn goes in between your forefinger and thumb as well, but on the outside of the pinched yarn ends. Leave the old yarn alone as you do this. Just let it hang loose and don’t wrap it around anything!
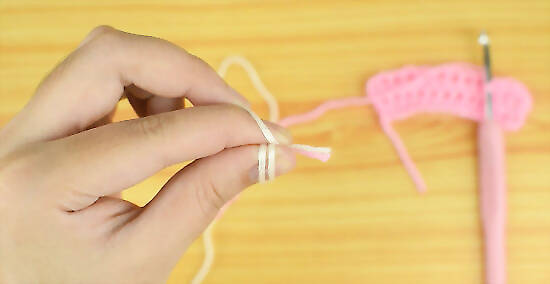
Bring the new yarn back between your thumb and the ends of yarn. After wrapping the yarn around your thumb for the second time, bring the strand back in the opposite direction. Pull it so it goes between your thumb and the 2 ends of yarn instead of around them. Make sure to keep pinching the ends of the yarn as you do this!
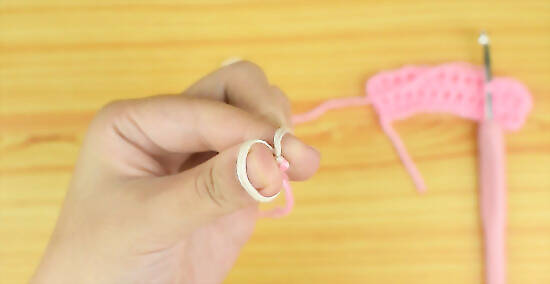
Tuck the ends of the yarn down towards your thumb. Use the index finger on your dominant hand to tuck the ends of the 2 strands down over the new yarn. This is the strand that you just pulled between your thumb and the ends. Push the ends down so that they are completely folded over. If you find it hard to tuck the yarn down with your finger, use your crochet hook to tuck it down.
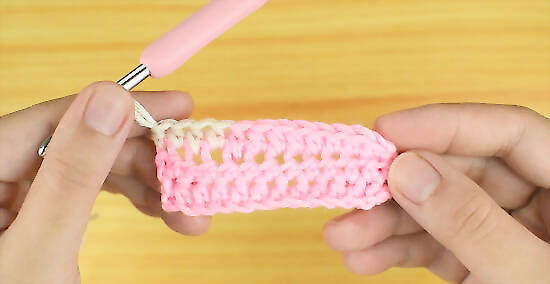
Pull gently on the new yarn and allow the loops to slip off your thumb. Continue to pinch the yarn between your finger and thumb, and use your other hand to start tugging gently on the new yarn. Tug until the first loop tightens and slips off your thumb, and then keep pulling to tighten the other 2 loops into a knot around the end of the old yarn. The ends of the yarn should be joined in a tight knot after you pull off the last loop. You can continue crocheting as you normally would once the ends are joined!






Comments
0 comment