

Wrapping Text in One Cell
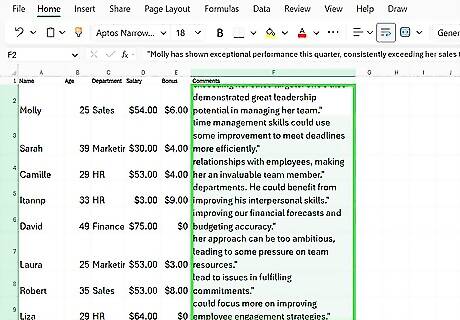
Select the cell you want to add text wrapping to. If you don't have your Excel sheet open, make sure to open it up now. While text wrapping makes it so the text won't get cut off based on the width of the cell, you can change the width of the cell at any time. The word wrapping will persist no matter how wide the cell is.
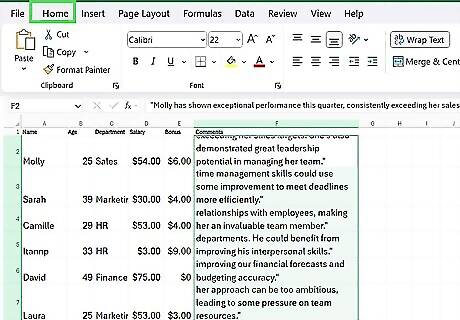
Click on the Home tab. This is the first tab in the ribbon, and it's the default tab. If you are already on this tab, you can skip this step.
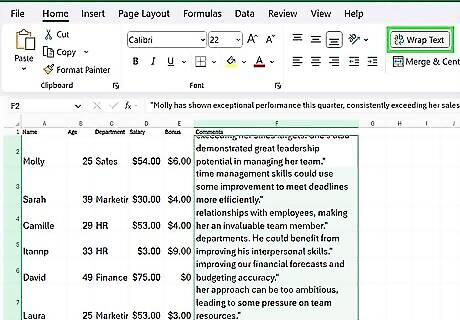
Click the Wrap Text button. It's in the "Editing" subsection of the Home tab. Once you click this button, the text in the cell will immediately wrap and adjust the height of the cell to accommodate the text inside of it. If the cell height doesn't automatically adjust to accommodate the text in the cell, double-click the bottom border of the cell.
Wrapping Text in All Cells
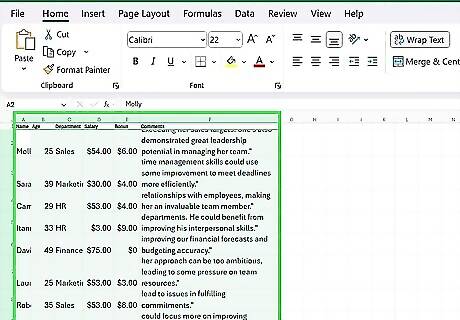
Select all the cells in your document. You can do this by pressing Ctrl+A (Windows)/⌘ Cmd+A (Mac), or by clicking the arrow in the upper-left corner of the spreadsheet.
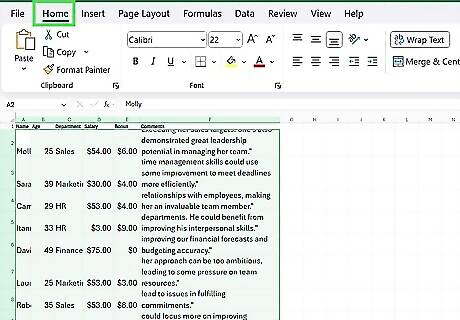
Click on the Home tab. This is the first tab in the ribbon, and it's the default tab. If you are already on this tab, you can skip this step.
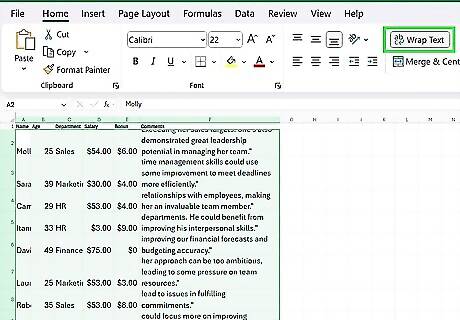
Click the Wrap Text button. It's in the "Editing" subsection of the Home tab. Once you click this button, any text that's currently being cut off in the sheet will wrap onto a new line. However, all of the cells in the document will now be formatted to word wrap even if they're currently empty. If the height of the cells doesn't automatically accommodate any current text in the cells, do the following: In the Home tab, click Format in the "Cells" group. Choose AutoFit Row Height under "Cell Size."
Adding Manual Line Breaks
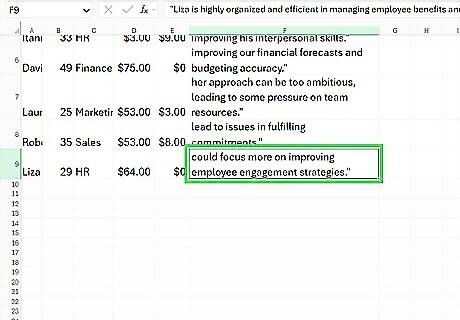
Select the cell you want to add a line break in. This can be a cell that's currently empty, or the cell can have text in it already.
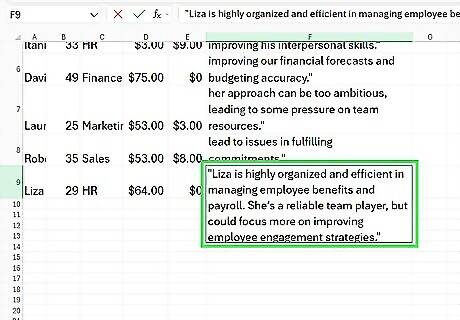
Get to the point where you want to add a line break. If the cell is empty, type content into the cell until you've reached the right edge of the cell. If the cell has text, click into the cell and place your blinking line cursor where you want to add the line break.
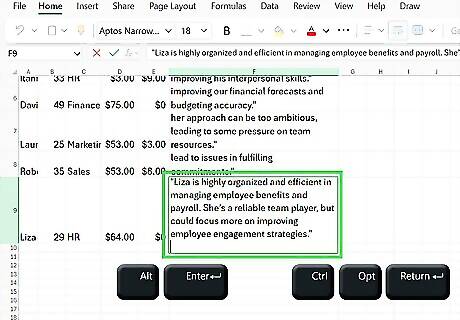
Press Alt+↵ Enter (PC) or Ctrl+⌥ Opt+⏎ Return (Mac). A manual line break will be inserted where you placed your cursor. If you adjust the width of this cell later, the line break will remain in the same place. You'll have to go back and change where the line break is located to make the text wrap neatly in the cell again.


Comments
0 comment